*Author's Note 2018: Please note, the game has evolved quite a bit since this article was written. This article represents the game at that point in time, and is still an enjoyable read, if I do say so myself. Thanks!*
For those who need a refresher of the first half of the game, click here. Otherwise, lets get back to it!
Turn 5
The German FO watches artillery ranging rounds land to the South again, this time endangering their own panzers. Another round of corrections will be needed.
Order dice - Axis: 5 / Allies: 3 (2/3)
The Allies fire with one of the AT guns and miss both shots. The Germans return fire, but first they must resolve the two Received Fire Points taken previously. They roll a die for each point and get a 2 and a 3, either of which would reveal the tank crew to be suppressed, and they place a marker next to the vehicle. They can't fire or move toward visible enemy until they rally.
That leaves two tanks left to fire their MGs at the AT gun. Eight dice needing 5s to hit the concealed gun. Five hits! However, when shooting at non-vehicle teams, only two hits can be assigned to a single team per fire order, and only one gun is a valid target, so two RFPs go on that team and the rest are dismissed. This, alongside the delayed fire results, is to help suggest that most small arms fire is generally area fire, with shooters rarely seeing their target and usually ordered to fire at a section of building or a strech of hedgeline they know to be occupied.
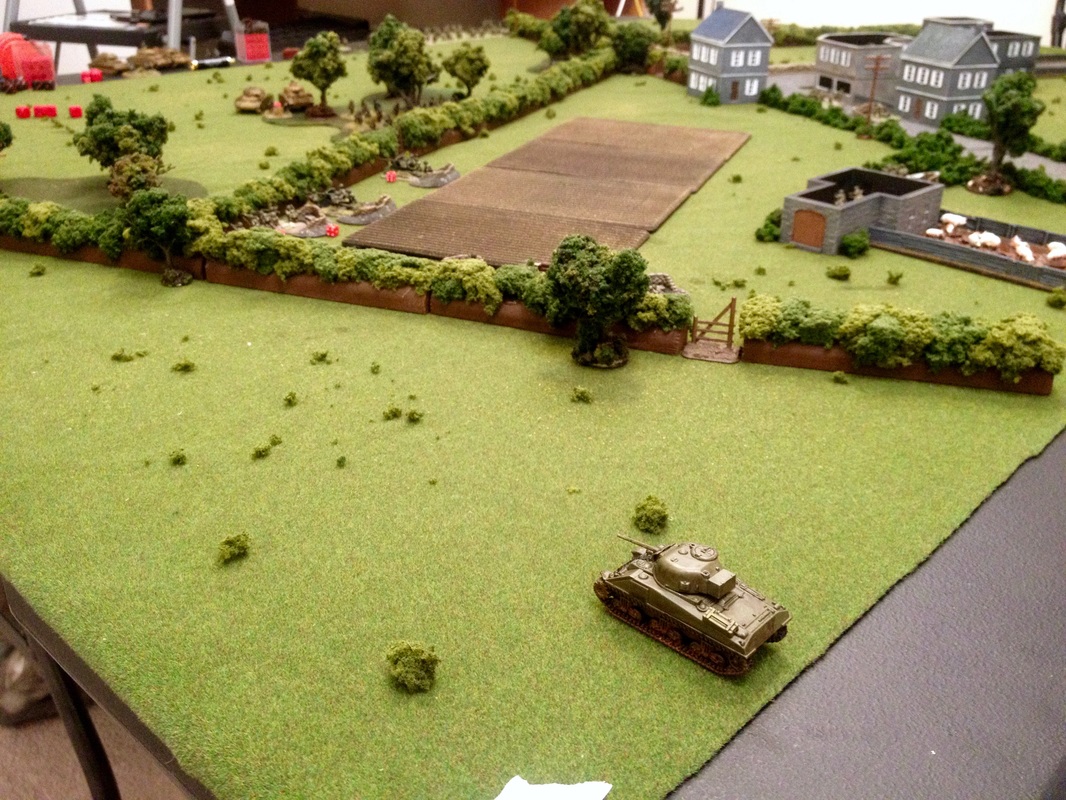
The Allies use all four remaining Order Points for reserves, rolling 2, 4, 4, 5. The 5 allows the Allies to bring in a single vehicle or two non-vehicle teams, while a 6 would have brought in the whole unit. The Allies want armor support asap and therefore place the one tank on the edge of the field, where it can arrive from next turn.
The Allies use all four remaining Order Points for reserves, rolling 2, 4, 4, 5. The 5 allows the Allies to bring in a single vehicle or two non-vehicle teams, while a 6 would have brought in the whole unit. The Allies want armor support asap and therefore place the one tank on the edge of the field, where it can arrive from next turn.
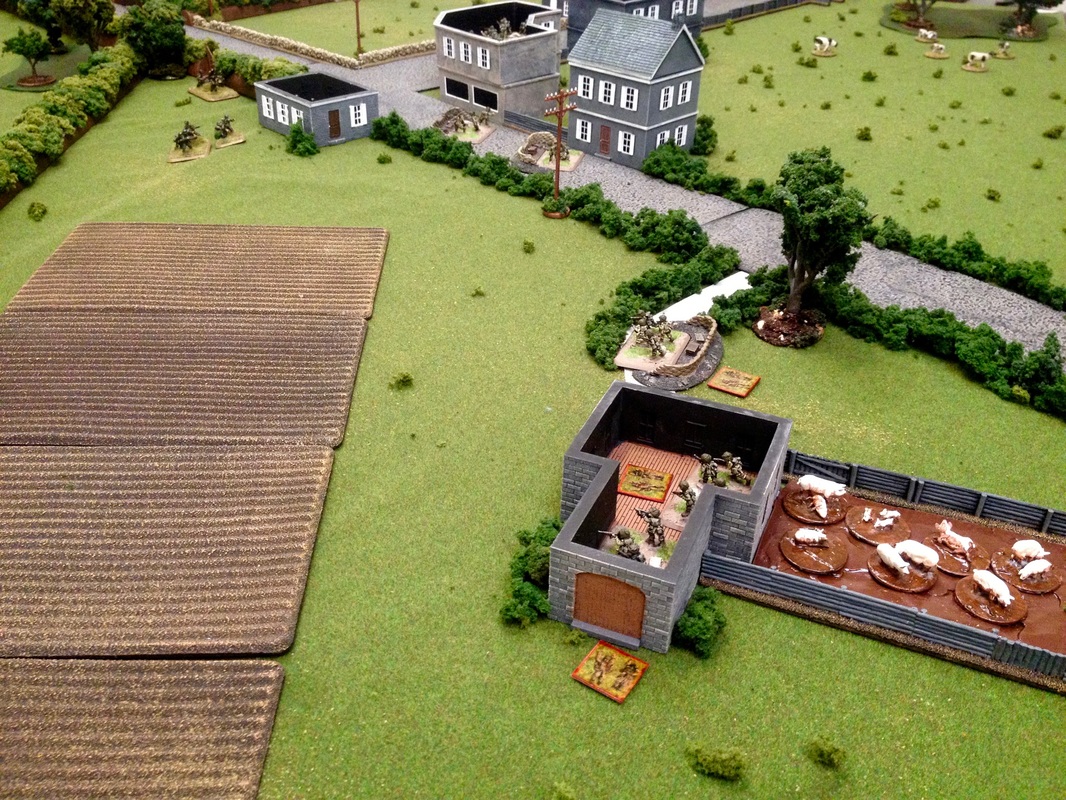
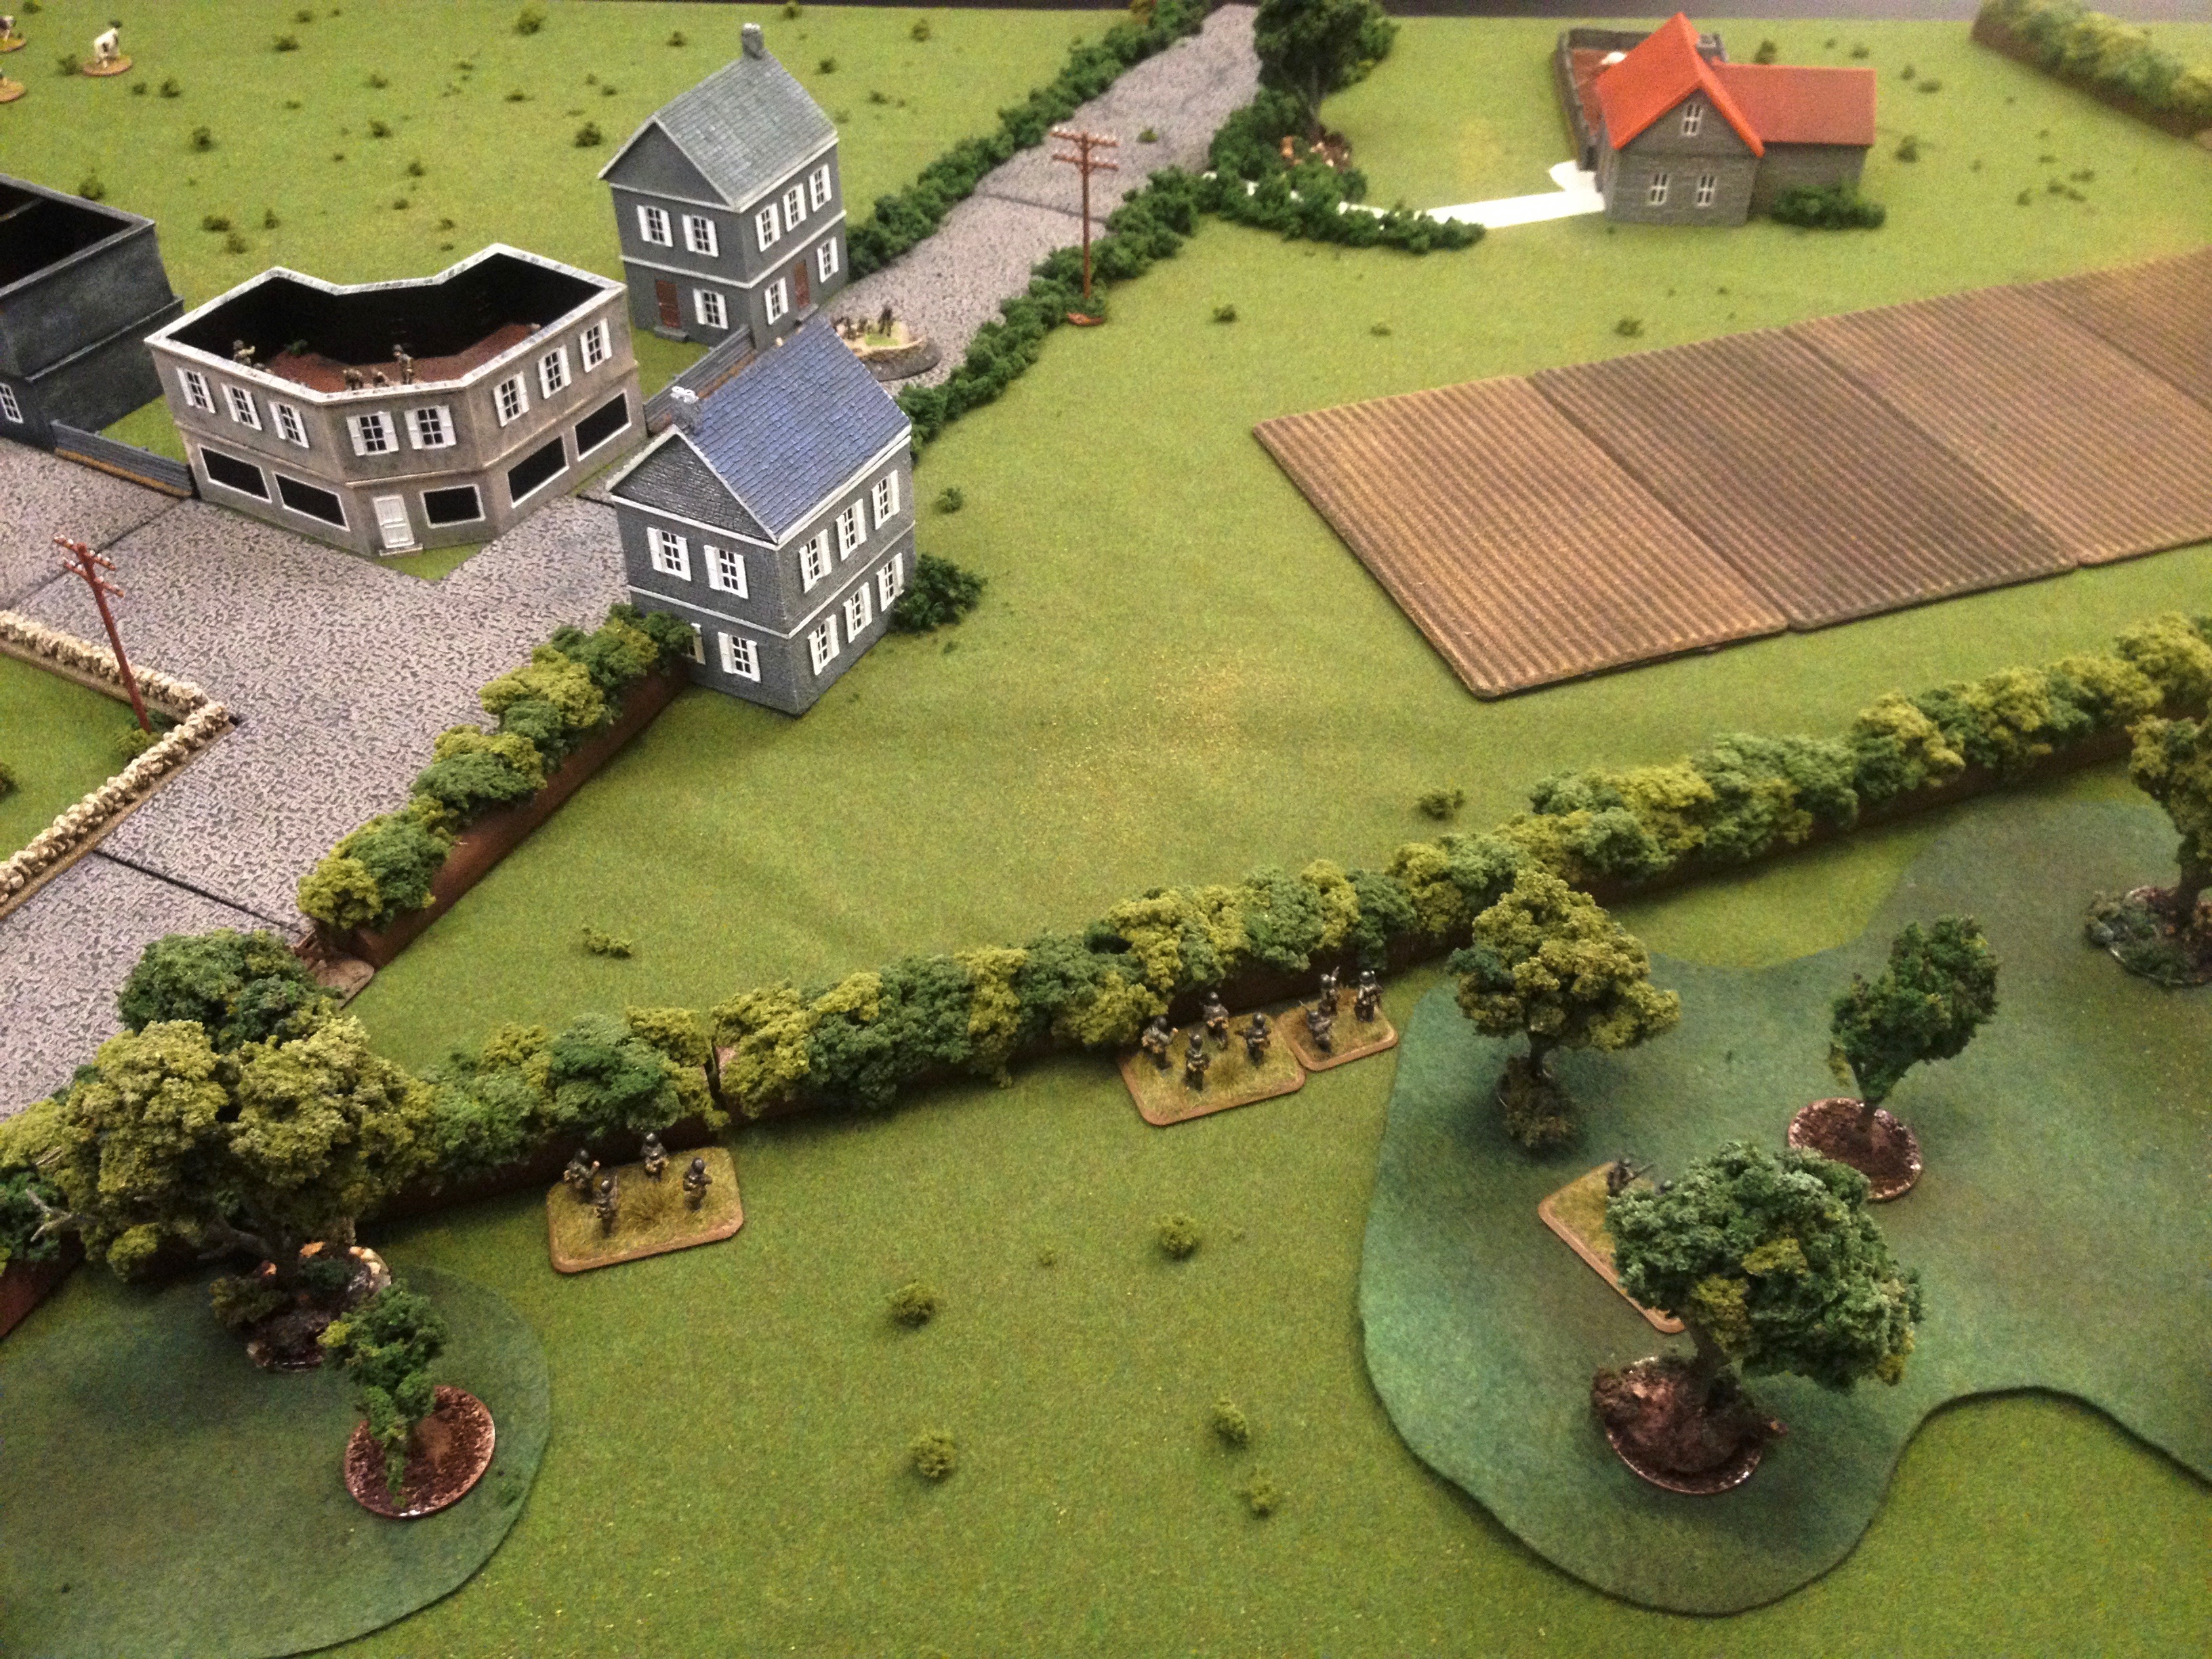
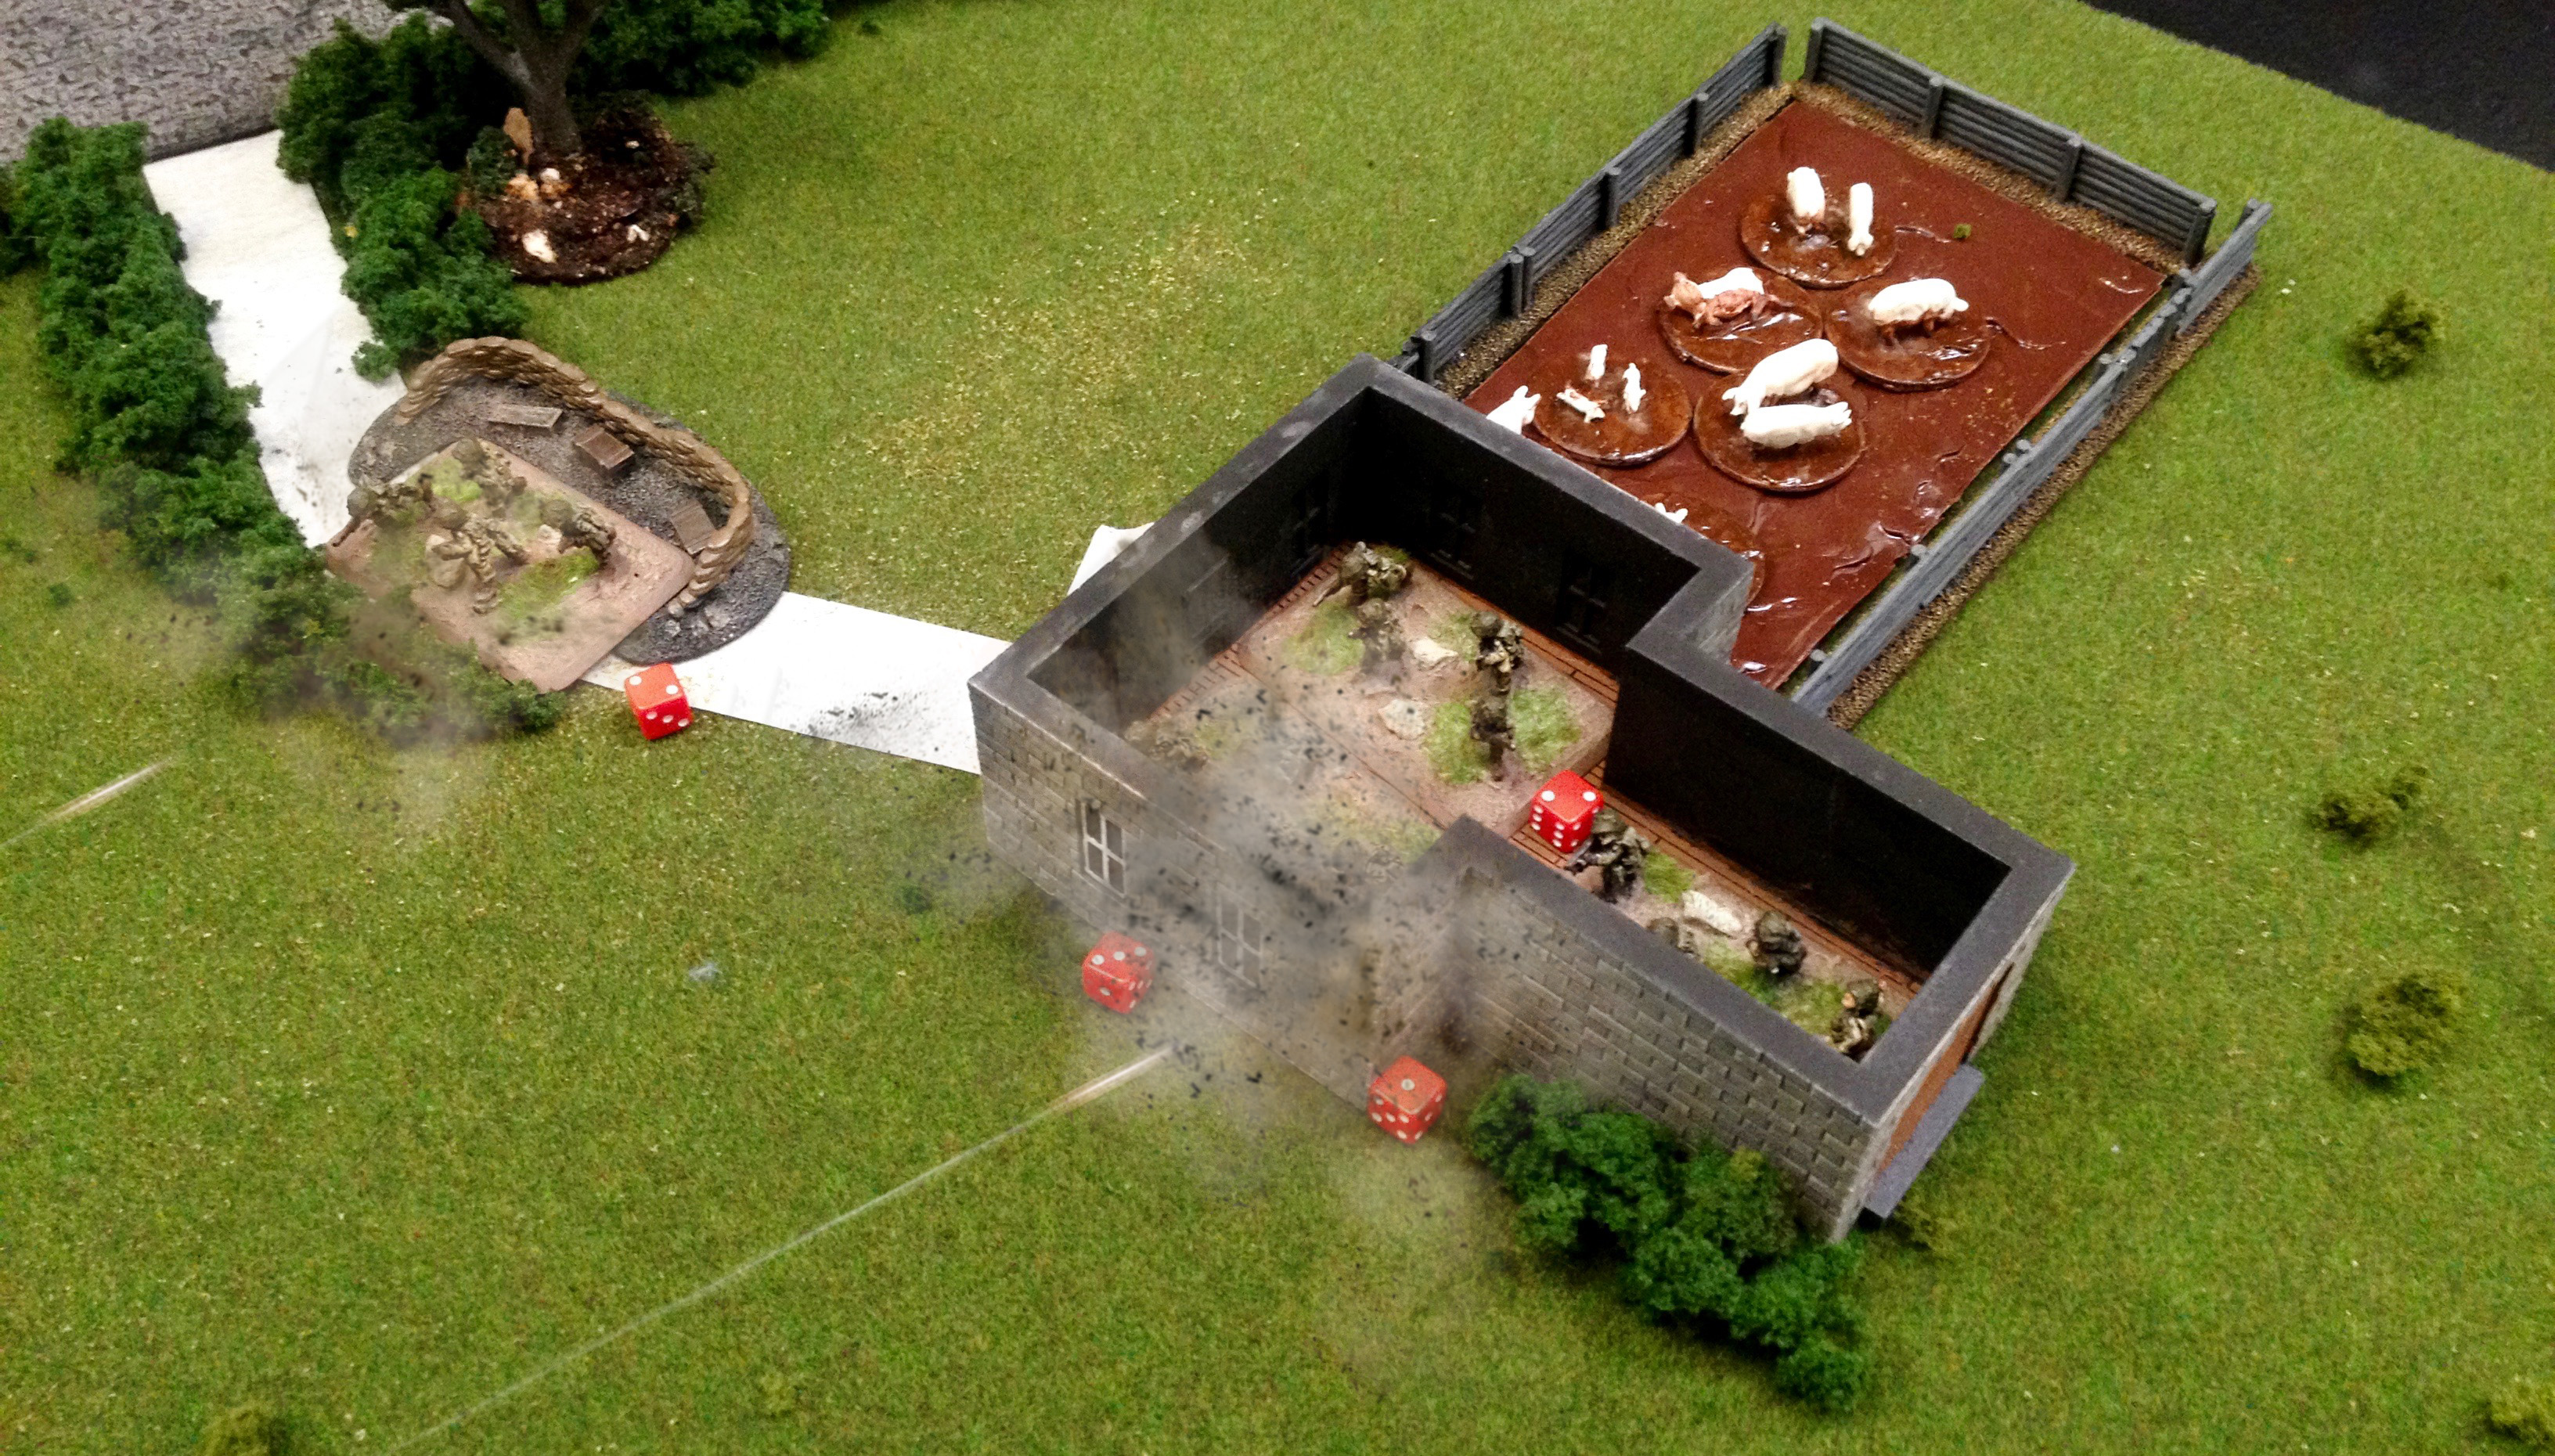
With the East side of the battlefield well occupied (and the paras taking fire) the Germans decide to send their recon forward to occupy the building on their side of the road. First they resolve the one RFP on the rifle team, and find that the team was suppressed by the ambush fire from the paras. The unit moves 4", with two teams crossing the hedge and running over open ground. The platoon leader grabs the men from the suppressed team and they move down the hedge, making sure the suppressed team stays off the bocage and out of line of sight of the enemy.
The Allies use a Hero Point to op-fire on the unit running across open ground. All three teams that can fire have RFPs and resolve them. Two are suppressed and one is killed. No firing over here... The Recon use a Hero Point to move again. First they perform Rally Checks for any suppressed teams with no RFPs assigned to them, however, as our suppressed rifle team is off the bocage and outside of line of sight to any enemy, they rally automatically. They move 4", getting one team inside the building while the platoon leader and the no-longer-suppressed rifle team cross into the field.
The turn ends with the Axis pulling 1 and 3, however the recon has made its way onto the Allies' side of the table and they will now begin drawing as well, starting with a 1.
Turn 6
German artillery tries to range in again, but yet again round falls South. The Observer considers new plans and removes his observing marker.
Order dice - Axis: 2 / Allies: 2
Doubles means new Hero Points. The Germans go from one to five, and the Allies from one to three.
Order dice - Axis: 3 / Allies: 5 (3/2)
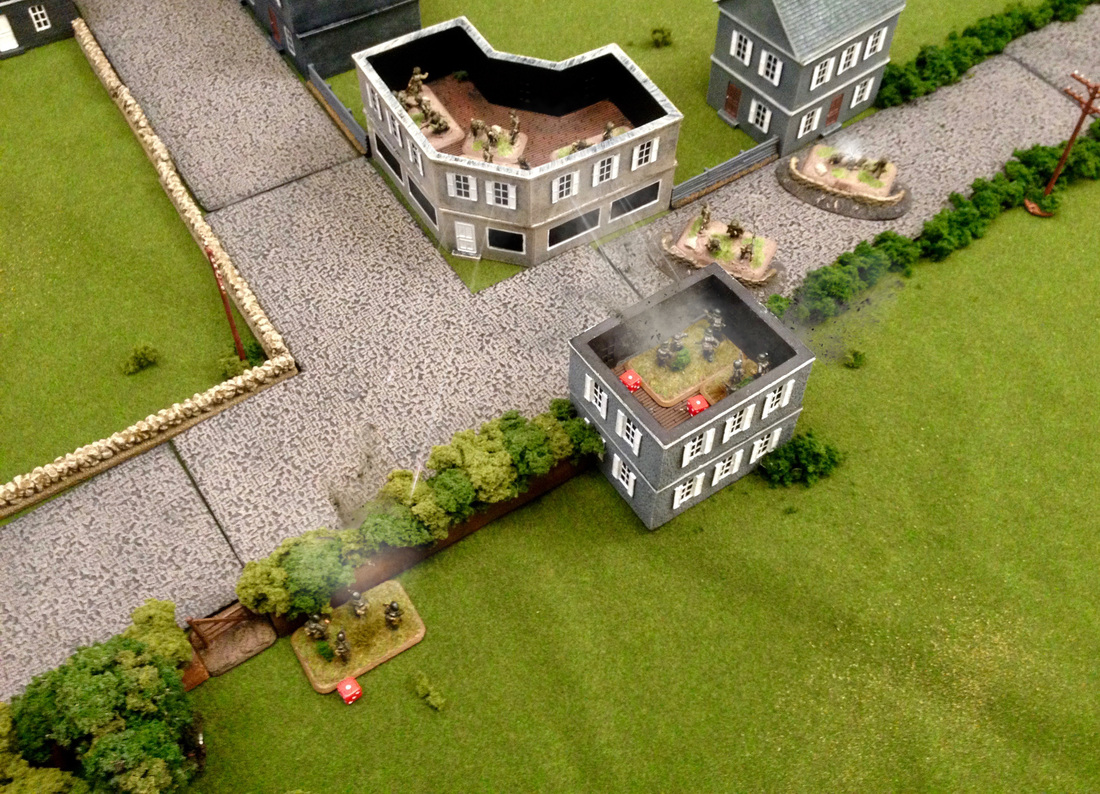
The Axis move their lagging two recon teams into the building. The paratroopers in the buildings op fire. Three rifle team roll six dice needing 5+ (two rolled separately as they can be re-rolled by the platoon leader) and two more dice from the 60mm mortar team that hit on 4+ as they ignore concealment. Four hits, one for each.
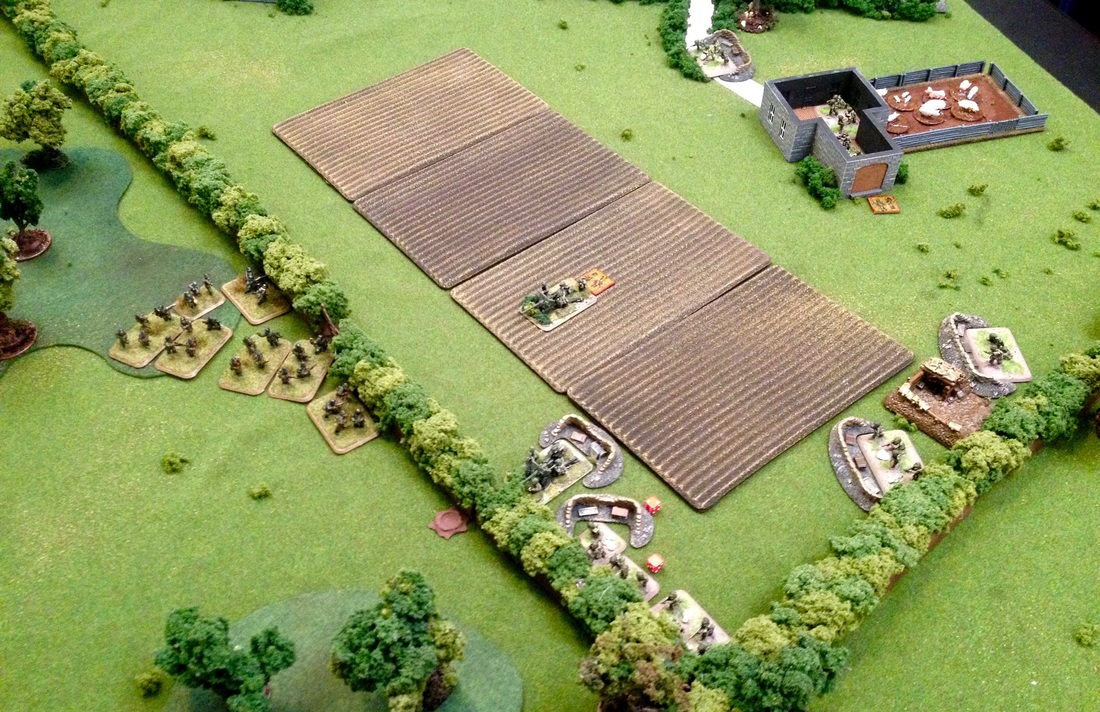
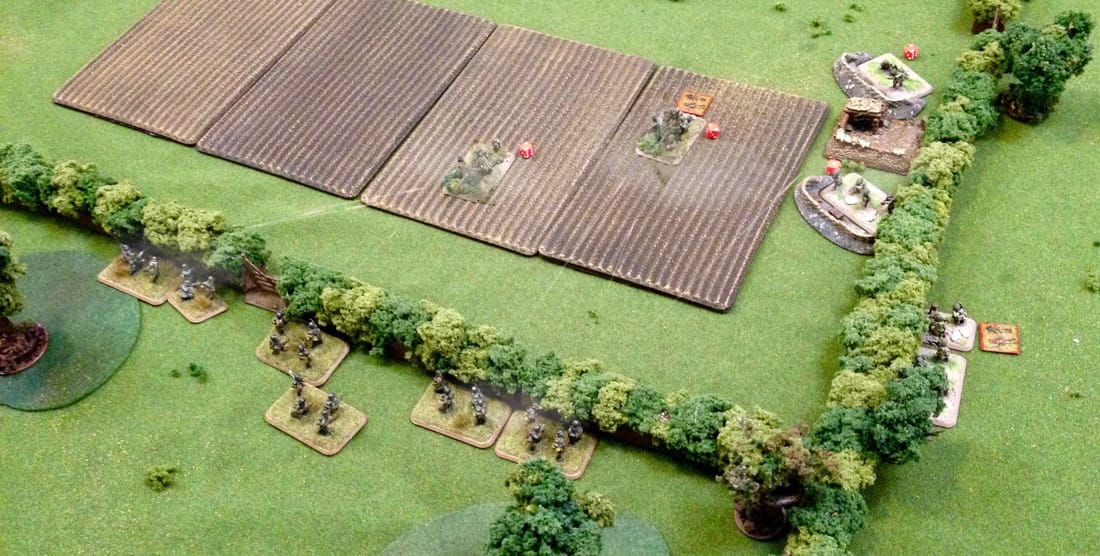
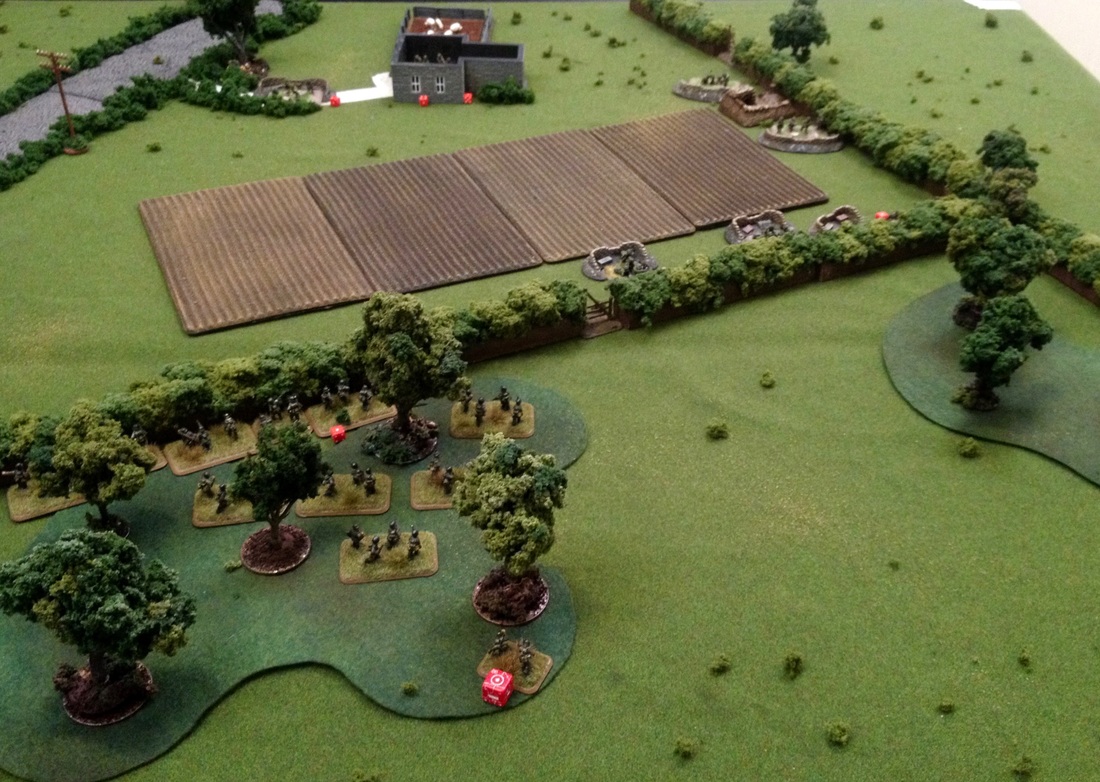
The Axis next move their grenadiers 3" East, toward the AT guns. They move off the hedge to avoid any op-fire. They are then ordered to move again to assault the AT gun. After the order is declared, a Quality Check must be passed, otherwise the teams stay put and forfeit the order. They pass and move again 4" into contact with the first gun.
Teams within 8" of assaulting enemy teams may op-fire for free. The only team within 8" that can fire, though, is the assaulted gun. They resolve they RFPs and they're suppressed and can't fire. The paratroopers however spend a point to join the op-fire, rallying two of the three suppressed teams, and rolling four rifle dice and two from the mortar. One hit. Teams moving in the open resolve their op-fire RFPs immediately, and the grenadier team rolls a 5 and is Ready.
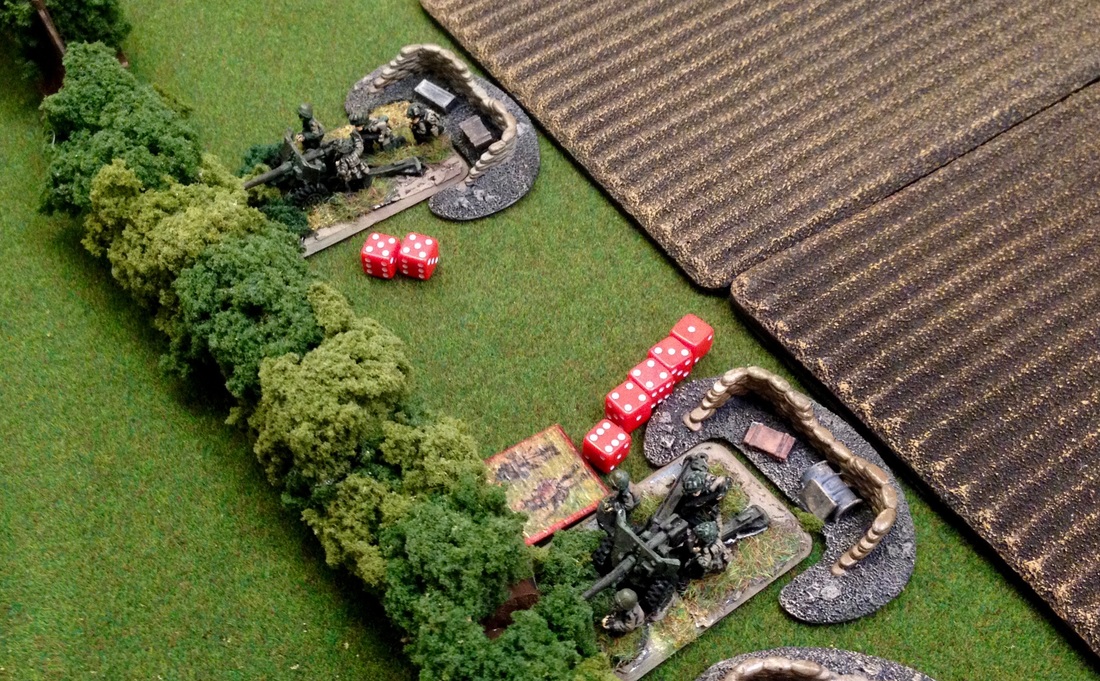
Both sides roll Quality Checks for each team within 2" of enemy (three dice for the Germans, and one for the Allies). The grenadiers and the gliders are both Regular and need 4+. They tie with one success each, meaning they immediately re-roll. The Germans fail all three rolls and the Allied gun team succeeds! The side with more successes kills an enemy team for each success, while the side with fewer may only kill a maximum of one team regardless of any additional successful rolls. In this case, zero successes were rolled, so zero kills will be allotted. For each failure, an enemy team is suppressed, and so the gun would be suppressed if it wasn't already. We then see who has more unsuppressed teams within 8" of the assaulting teams. The Allies have two and the Axis seven. The allies lose and the gun must move at least 4" away from assaulting enemy or be destroyed. The gun rolls two dice and gets a 4 and 6! it moves back 4" and survives.
Both sides roll Quality Checks for each team within 2" of enemy (three dice for the Germans, and one for the Allies). The grenadiers and the gliders are both Regular and need 4+. They tie with one success each, meaning they immediately re-roll. The Germans fail all three rolls and the Allied gun team succeeds! The side with more successes kills an enemy team for each success, while the side with fewer may only kill a maximum of one team regardless of any additional successful rolls. In this case, zero successes were rolled, so zero kills will be allotted. For each failure, an enemy team is suppressed, and so the gun would be suppressed if it wasn't already. We then see who has more unsuppressed teams within 8" of the assaulting teams. The Allies have two and the Axis seven. The allies lose and the gun must move at least 4" away from assaulting enemy or be destroyed. The gun rolls two dice and gets a 4 and 6! it moves back 4" and survives.
The Germans use a Hero Point to move to assault the second gun. They pass their quality check and move 6" to contact both the gun and the para platoon leader next to it.
The suppressed gun is within 8" and rallies when ordered to op-fire The para platoon leader and bazooka both resolve their RFPs. The leader is ready but the bazooka is suppressed. The rest of the para platoon teams (those that have line of sight) pay an Order Point to op-fire as well. In all, a mix of eight shots and 1 hit. As none of the Germans are in the open, they don't resolve the hit until they next act.
Quality Checks are rolled for the close combat. Two dice for the Germans and two dice for the Allies, though one of the allies is a paratrooper, and so needs a 3+ rather than the others' 4+. Germans pass one and the Allies pass none. The para platoon leader is dead and the gun is now suppressed. Two gren teams also become suppressed.
Quality Checks are rolled for the close combat. Two dice for the Germans and two dice for the Allies, though one of the allies is a paratrooper, and so needs a 3+ rather than the others' 4+. Germans pass one and the Allies pass none. The para platoon leader is dead and the gun is now suppressed. Two gren teams also become suppressed.
Both sides compare who has more unsuppressed teams within 8" of the assault and the Germans win. The bazooka rolls enough movement to run back to the other side of the bocage to the East, and the gun rolls double 6s, granting it enough movement to back out of the kill radius of the Germans.
Axis pull 3,2. Allies pull 1.
TURN 7
Order dice: Axis: 3 / Allies: 4 (3/1)
The grenadiers fire at the AT in the middle. The RFC reveals the grenadier team was killed, though both teams suppressed in close combat rally. Six rifle shots and four from the machine gun with re-rolls. Seven hits.
TURN 7
Order dice: Axis: 3 / Allies: 4 (3/1)
The grenadiers fire at the AT in the middle. The RFC reveals the grenadier team was killed, though both teams suppressed in close combat rally. Six rifle shots and four from the machine gun with re-rolls. Seven hits.
Axis tanks move 10". Suppressed tank rallies, but the leader's tank fails it's Quality Check and gets slowed in the woods, only moving 1". The other two move toward the bocage.
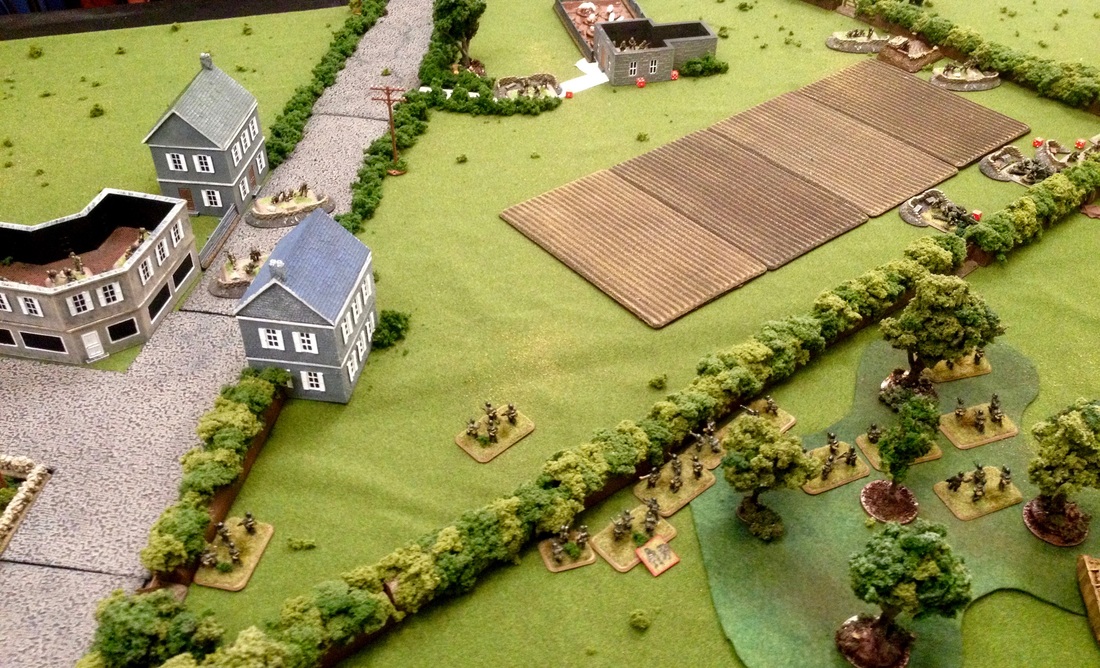
The Germans reveal their other hidden grenadier platoon along the hedgeline and fire at the paras across the field. Sixteen shots. Two hits.
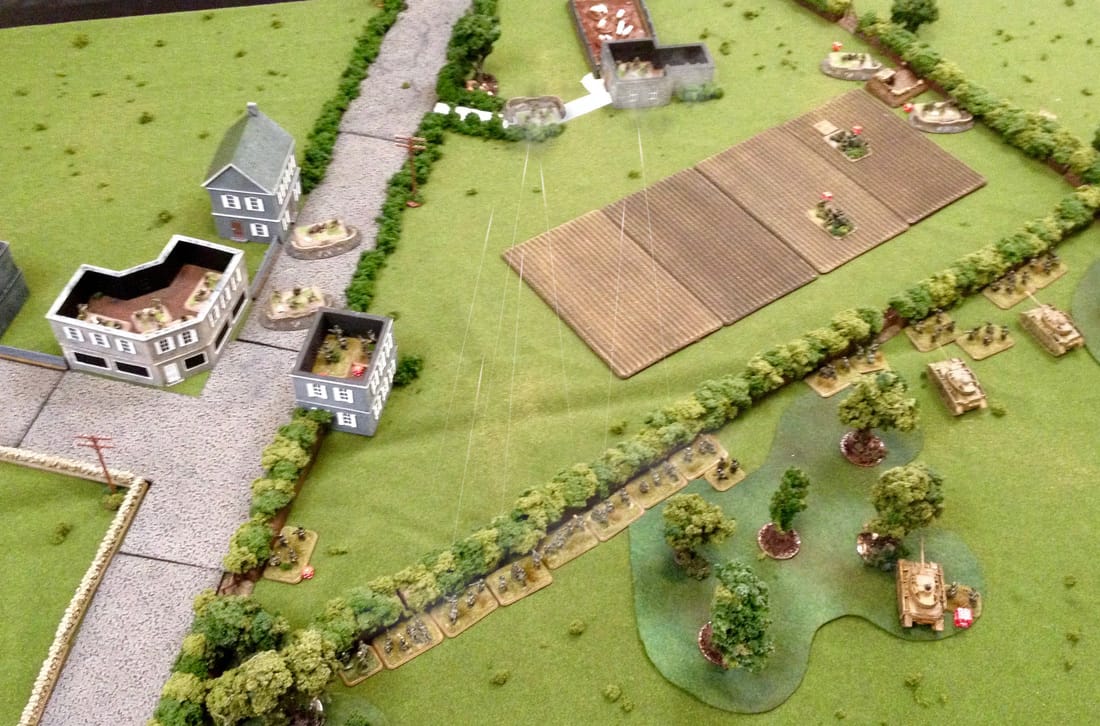
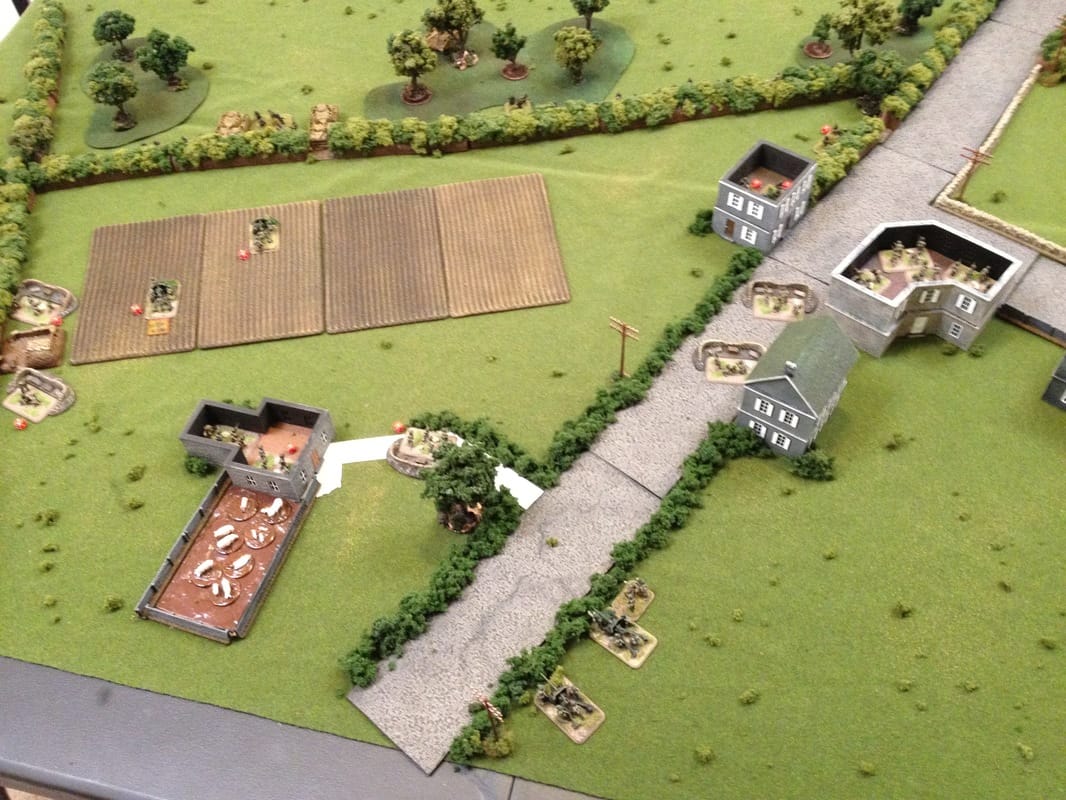
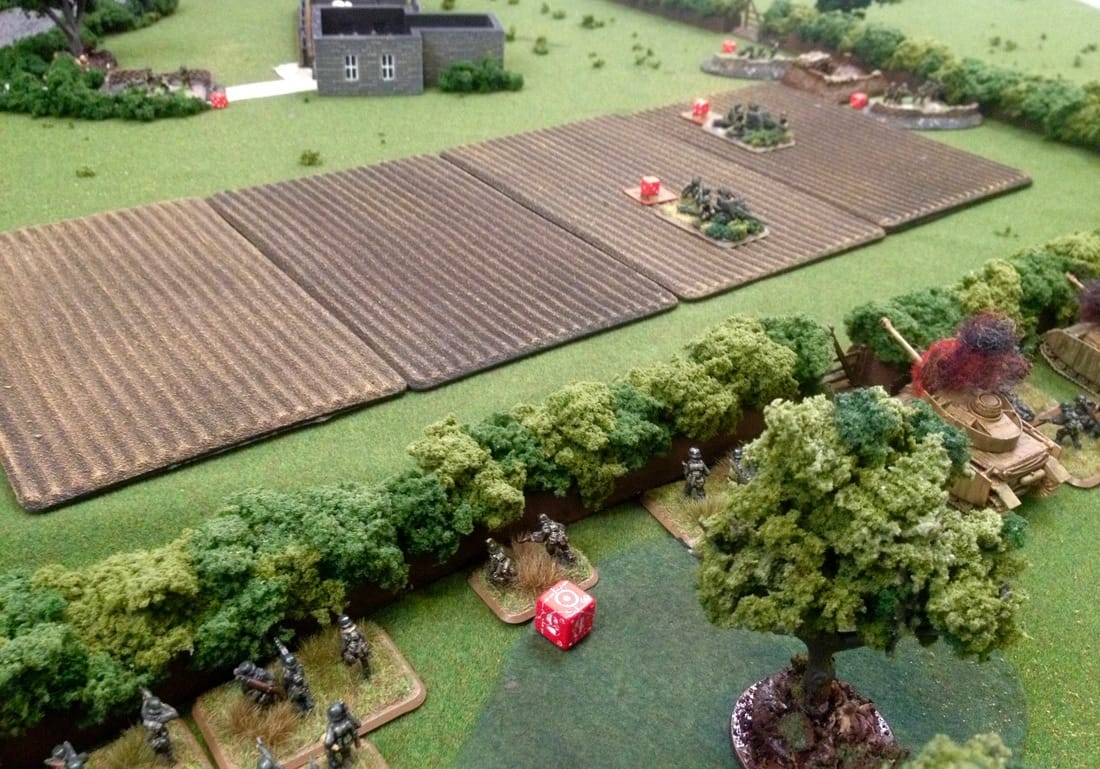
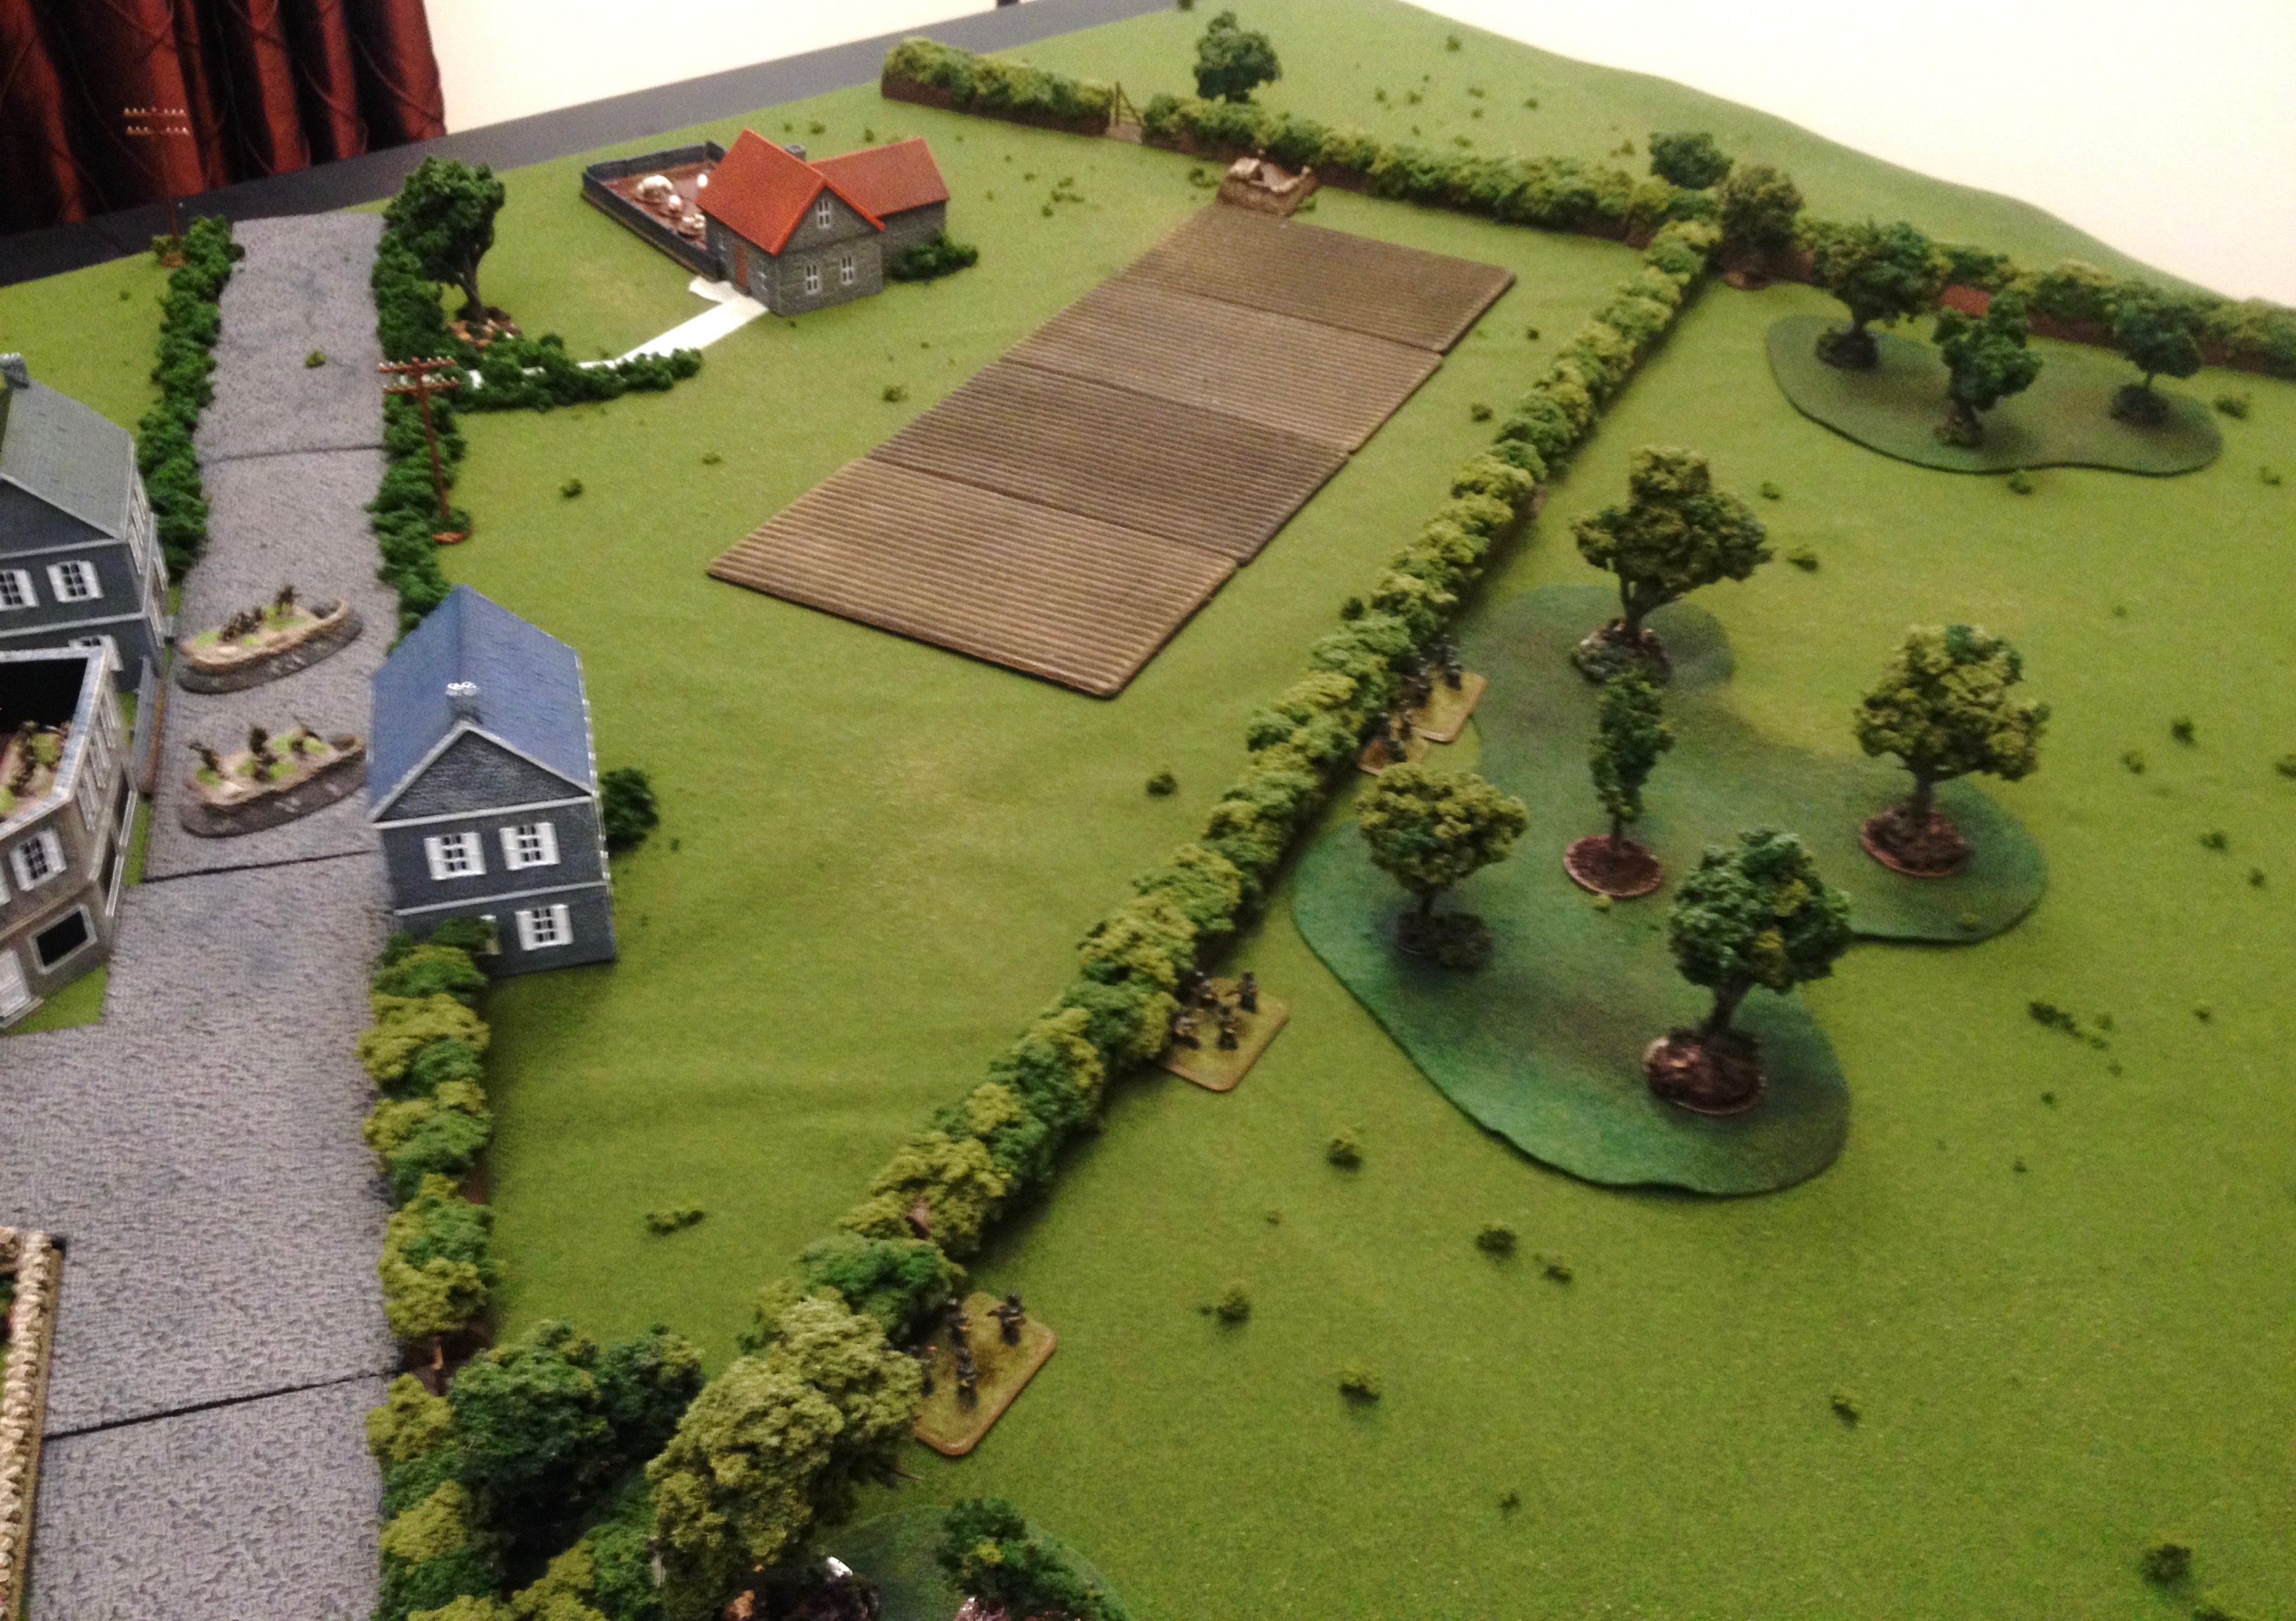
The Axis use a Hero Point to move their tanks up to contact the bocage, though the commander slows in the woods yet again. The Allies reveal the two remaining AT guns and their leader off the road on North edge of the battlefield, behind the low hedges. The German recon makes sure they deploy even farther away than they might otherwise.
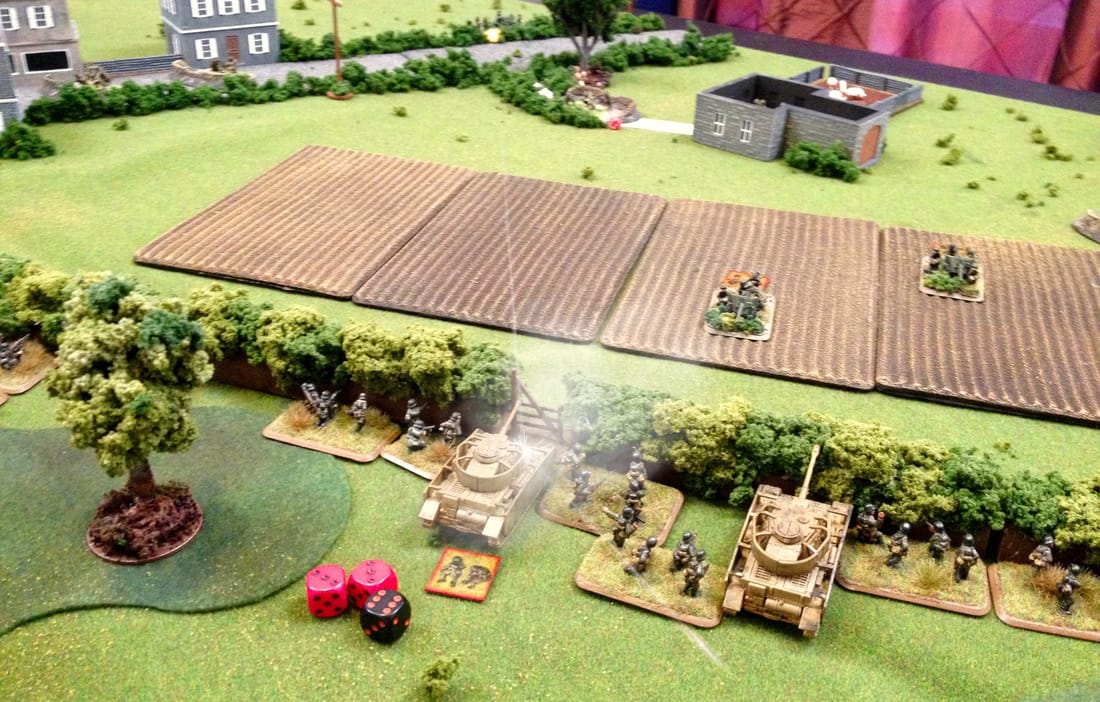
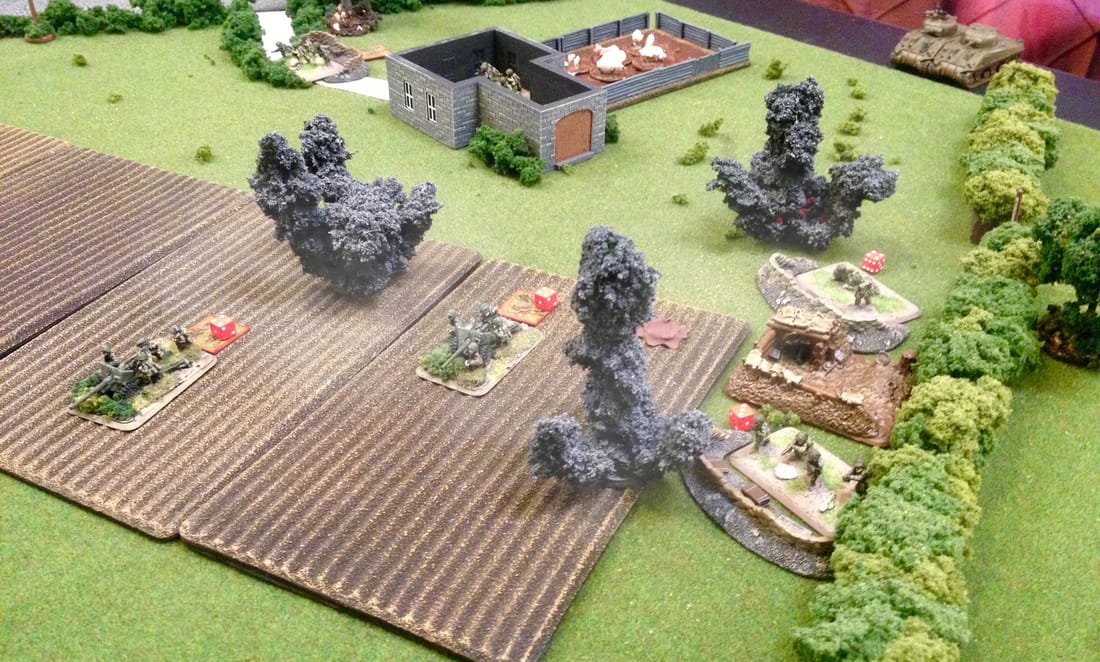
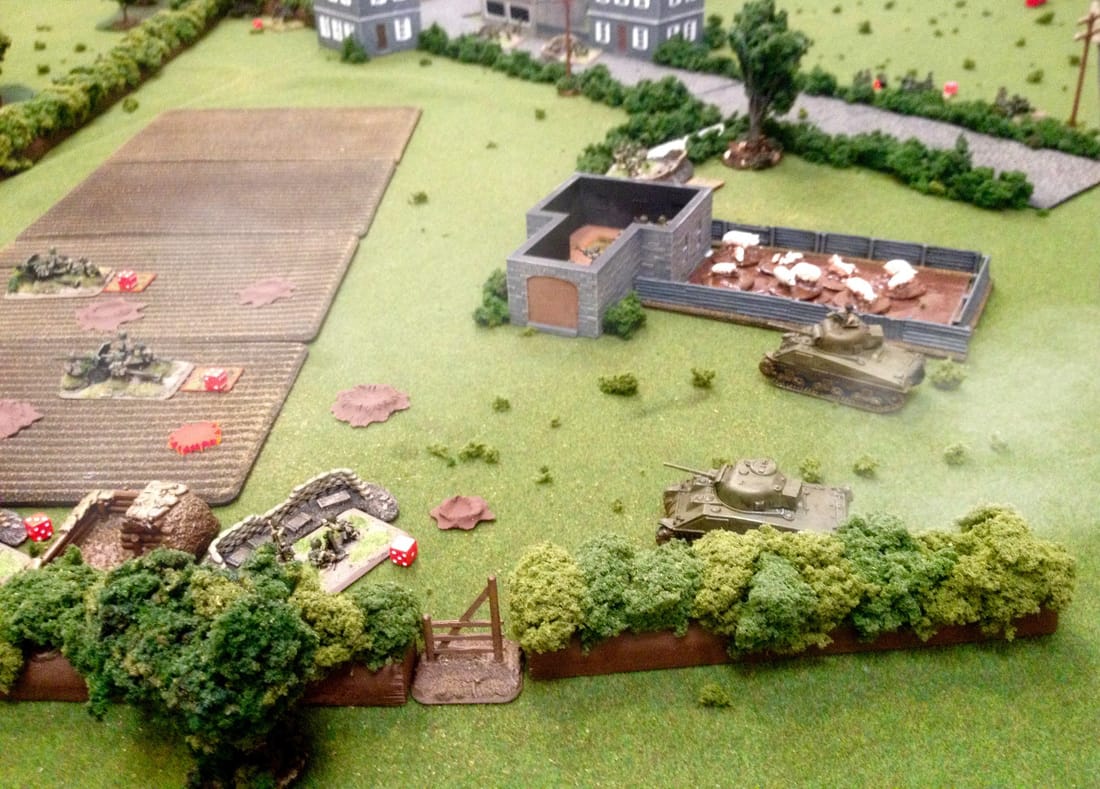
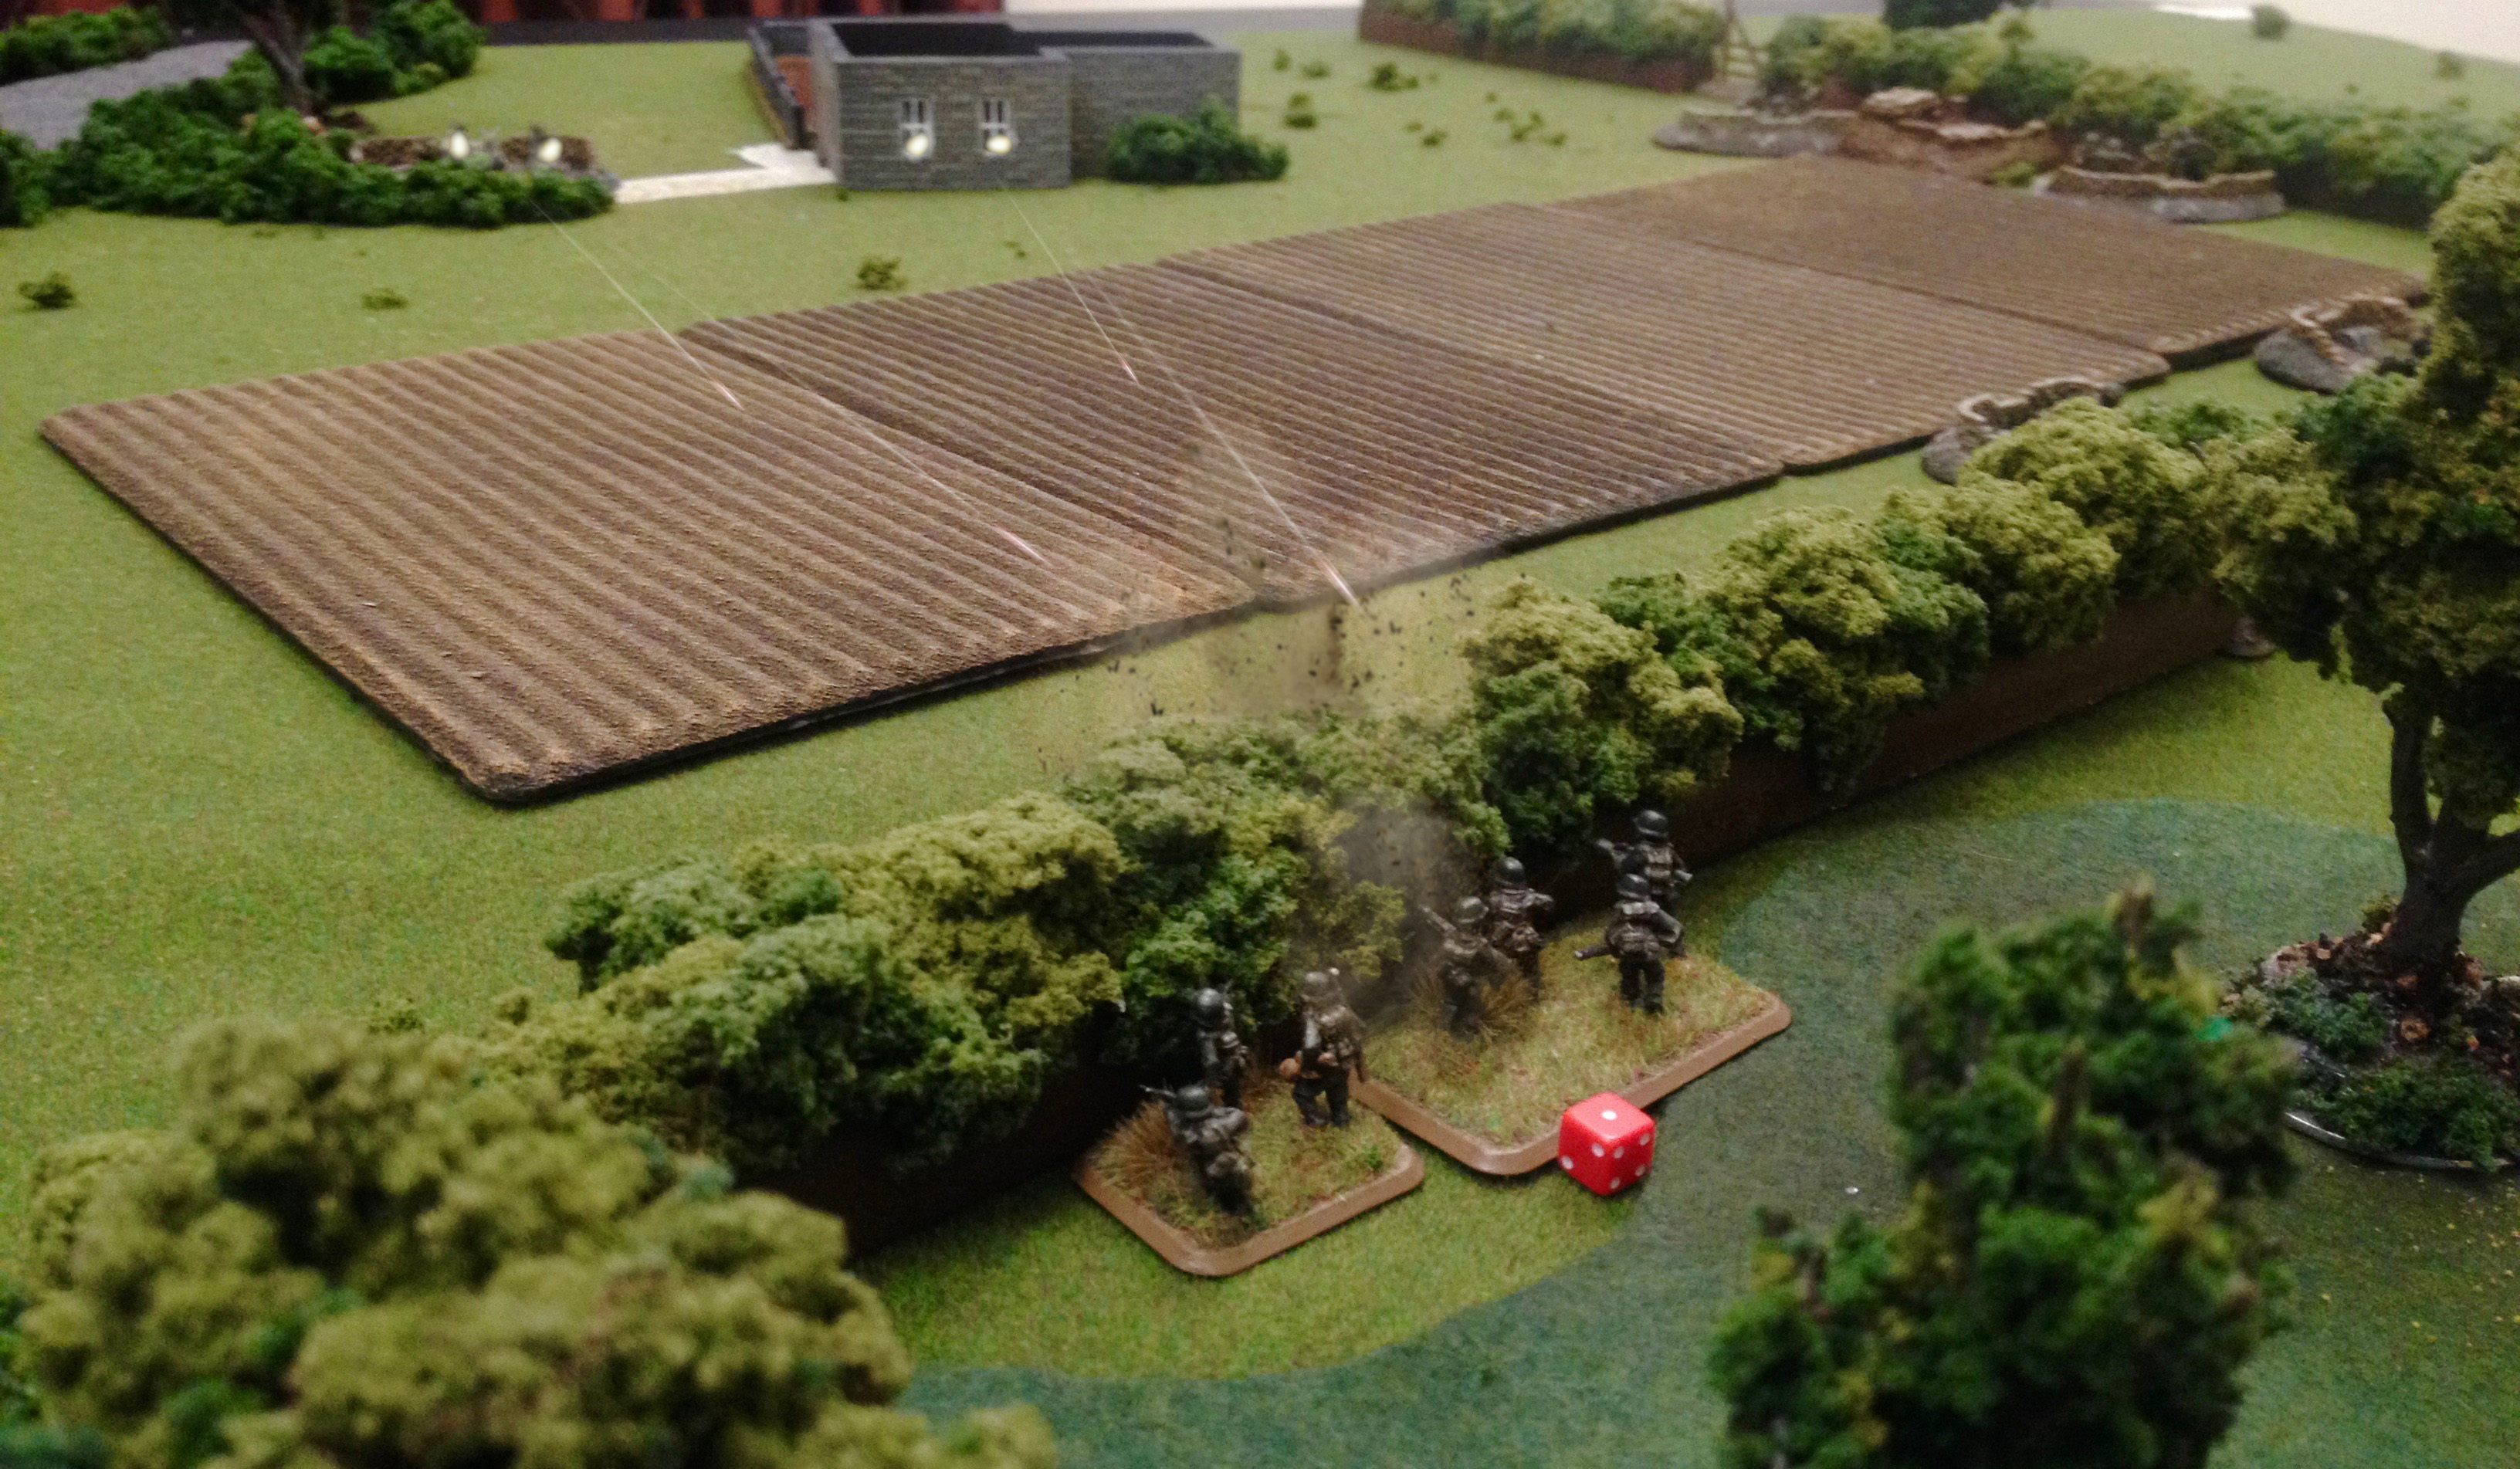
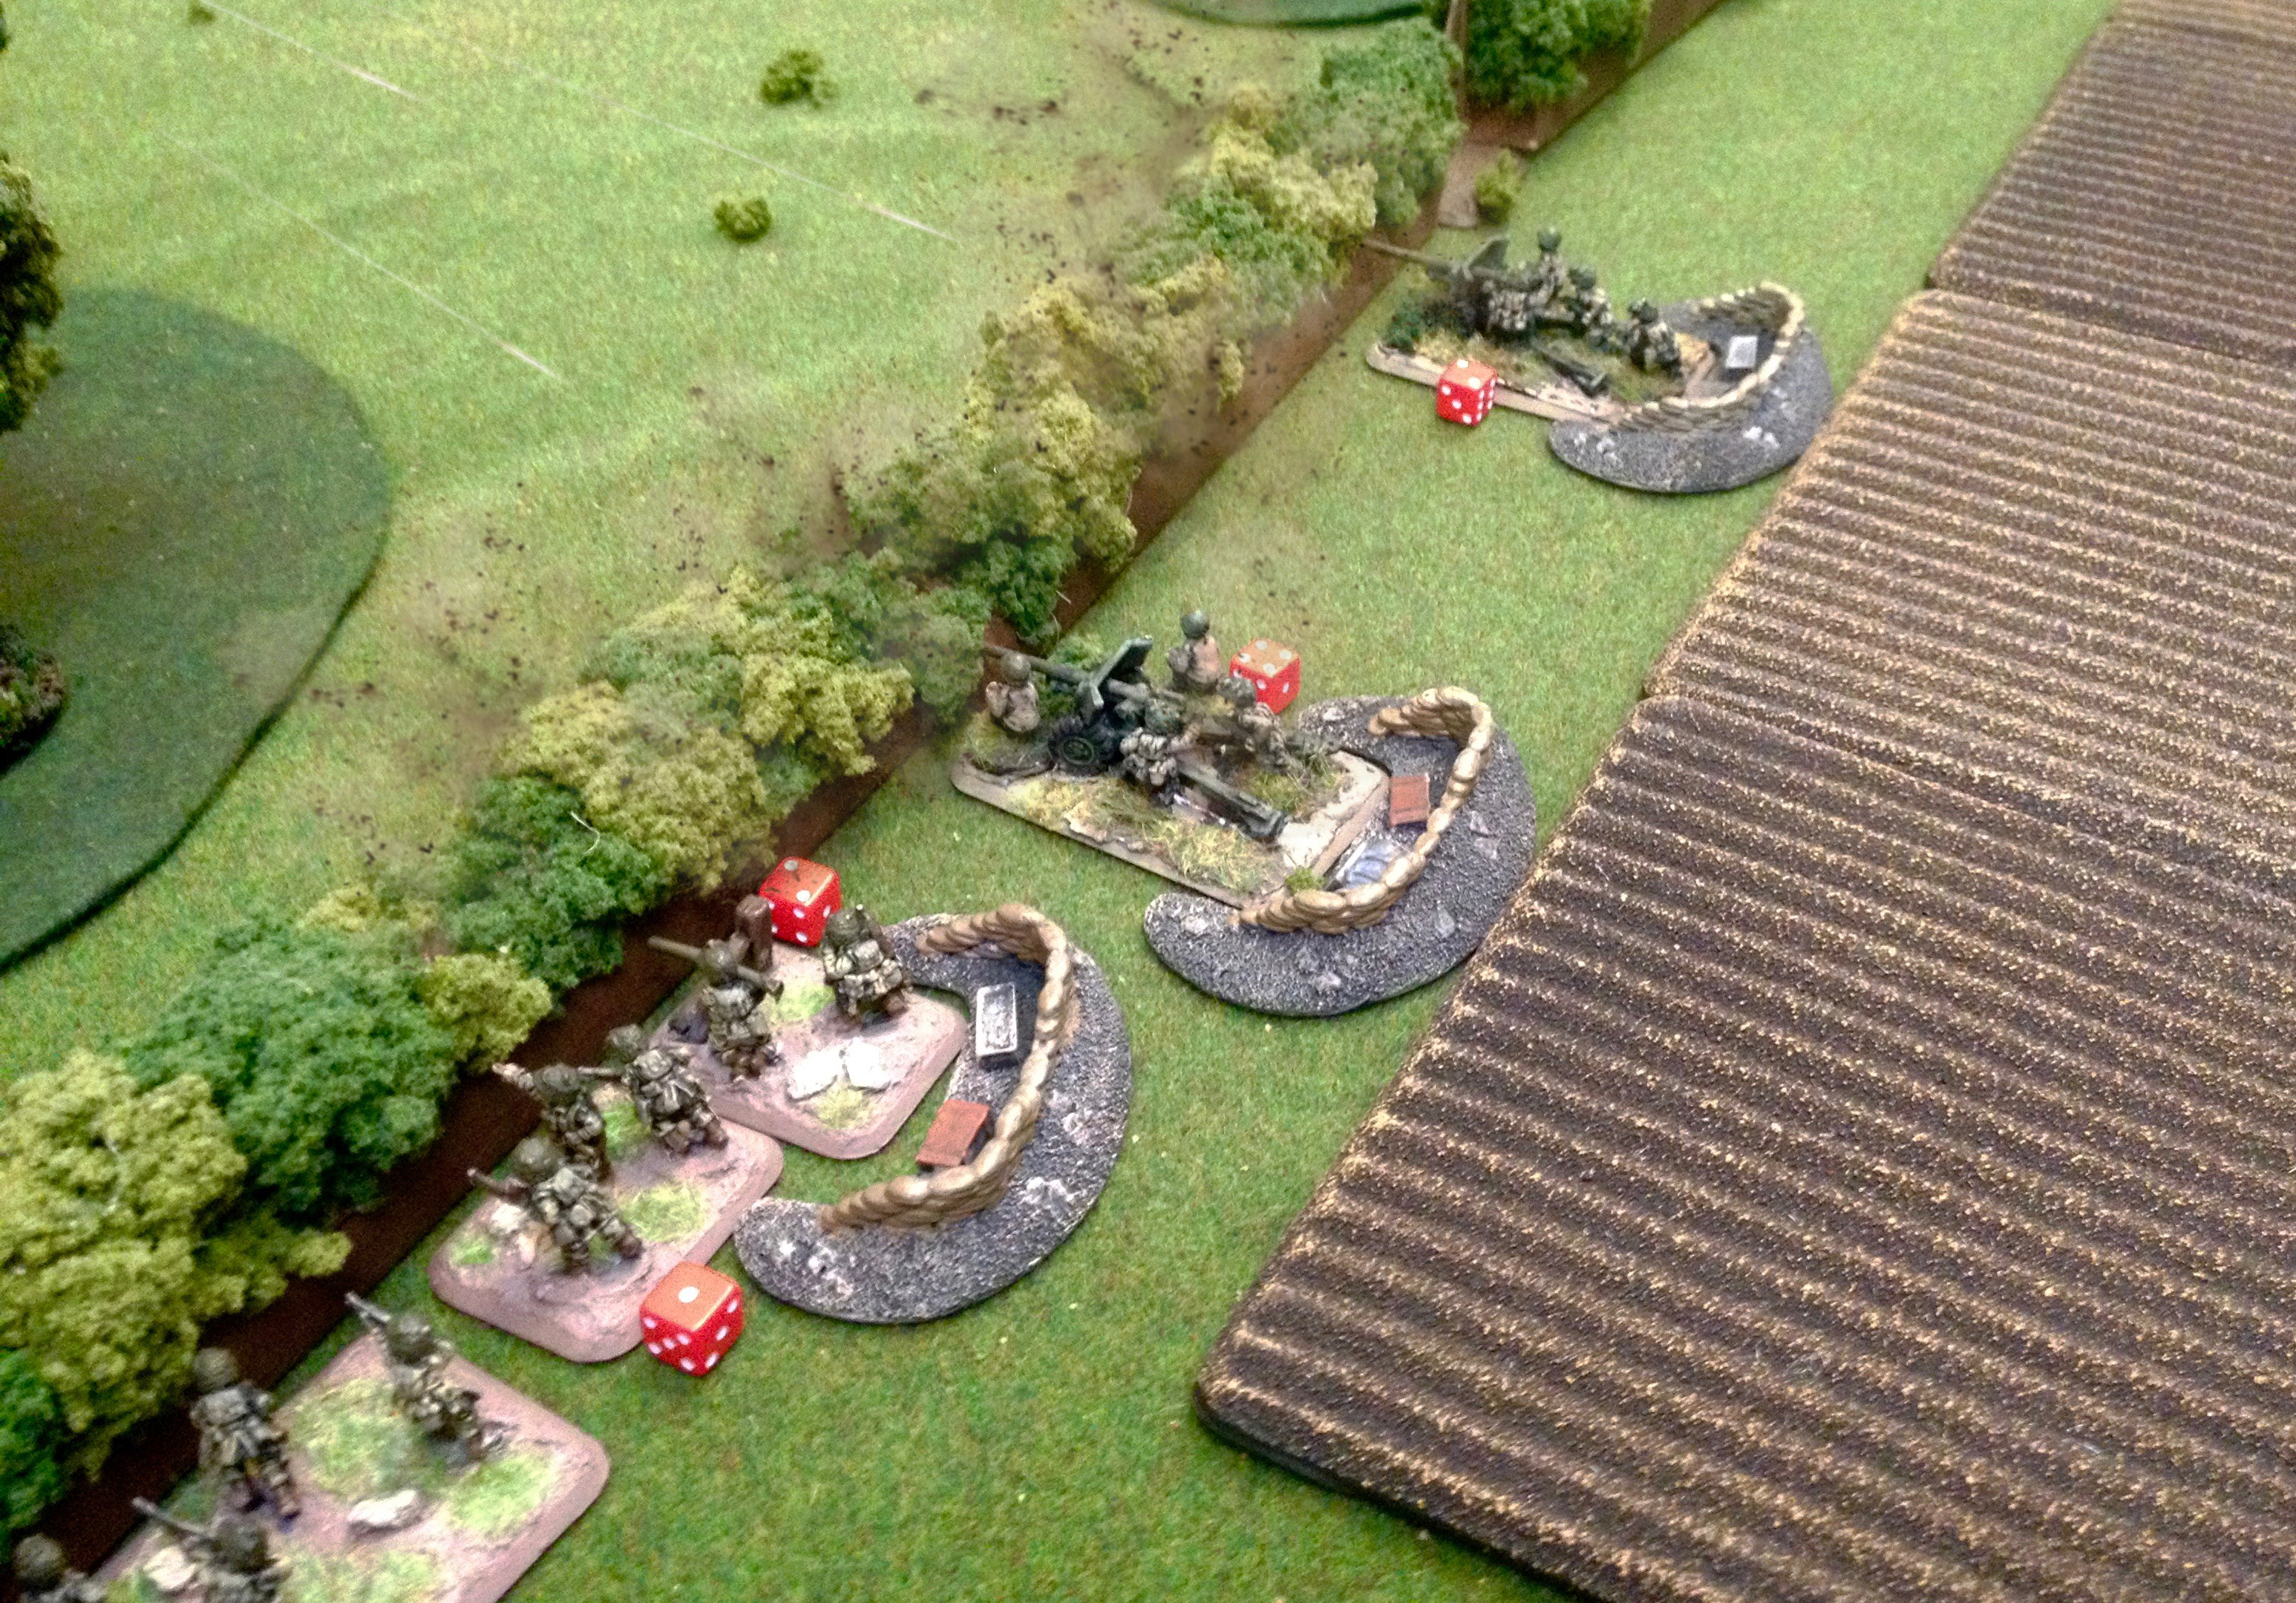
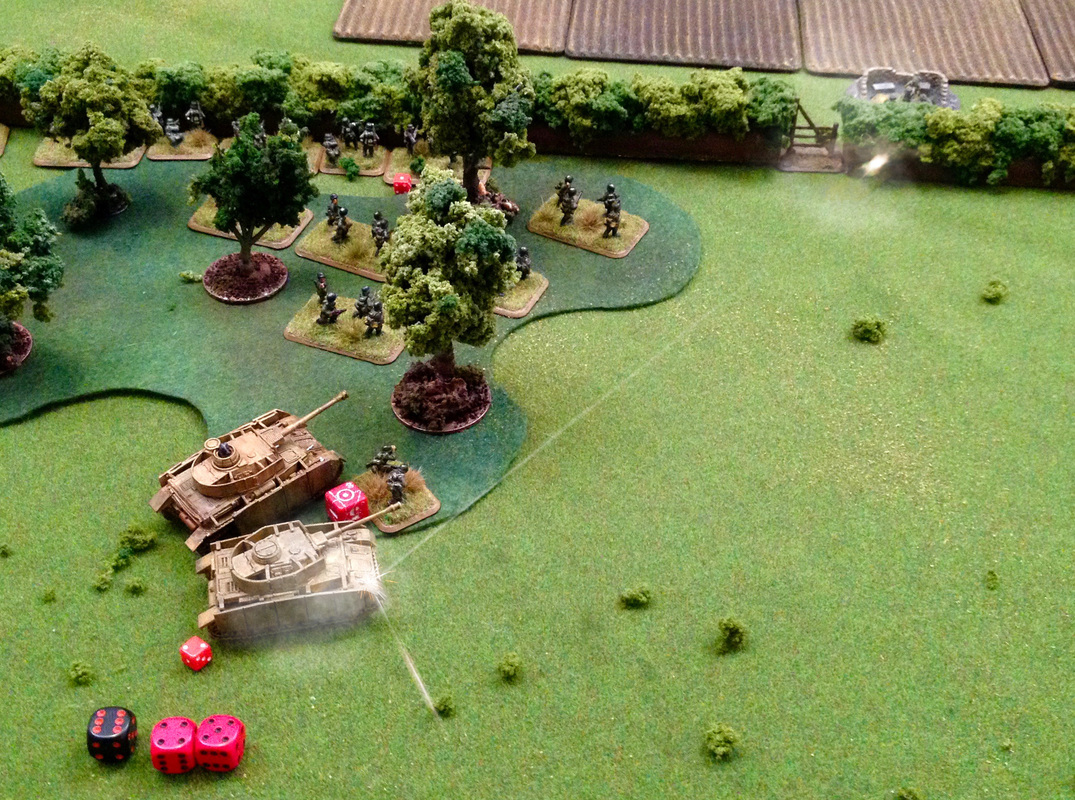
The guns (along with the two from before, now that they all have line of sight to their leader) op-fire on the tanks. Received Fire Checks reveal both hit guns to be suppressed. Four shots, long range and concealed target, and two may be re-rolled. One hit. AT: 3 vs Front Armor: 1 = two Pen dice and one Ping die. The tank takes one RFP (incorrectly marked with a suppression token in the image).
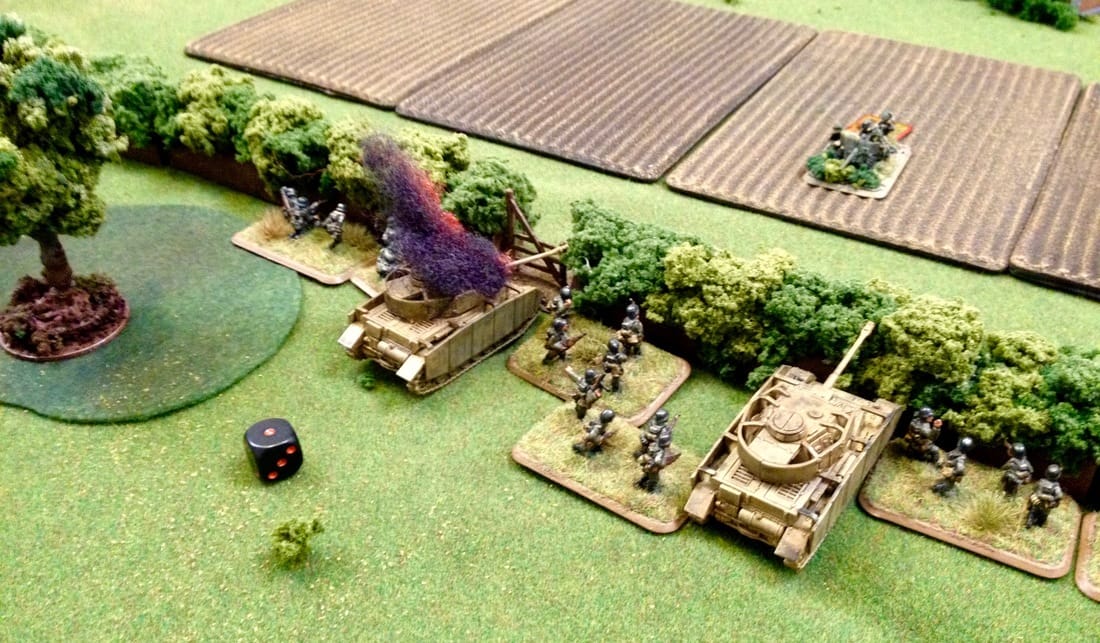
The Axis uses a Hero Point to order the tanks to fire at the suppressed guns to get more RFPs on them and prevent them from rallying, however they resolve the one RFP and roll a 1. Black smoke begins to bellow from the vehicle.
The other tank fires its machine guns into the AT guns in the open. Two hits.
Axis pull 2,1. Allies pull 1.
TURN 8
Order Dice - Axis: 1 / Allies 1
New Hero Points! Axis 6 and Allies 2.
New Order Dice - Axis: 1 / Allies: 3 (1/2)
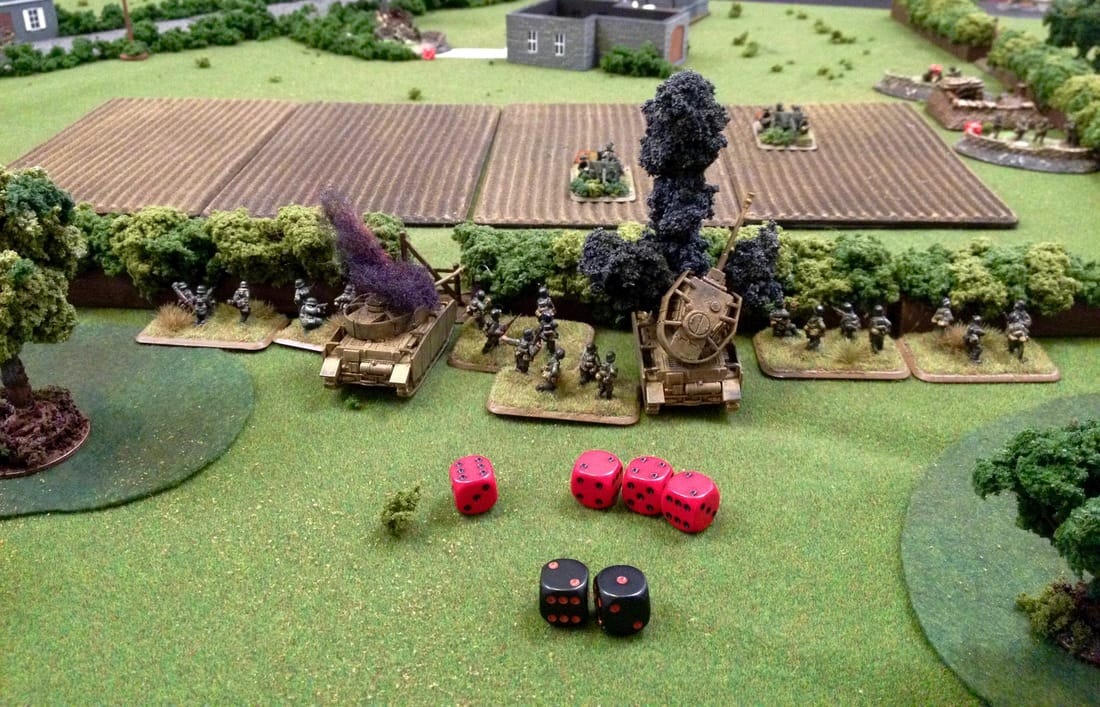
Allied guns fire at the panzers. Neither suppressed gun rallies, leaving only two guns to fire at long range. Two hits. Four Pen dice and two Ping dice. Tanks explodes on impact!
That's two tanks down, so the unit will have to test it's morale at the end of the turn.
The Allies roll one die for their reserves and gets a 6. The rest of the Shermans are roaring their way forward. It's looking pretty bad for the Germans.
The German grenadiers fire at the AT guns in the open. Six hits.
The Axis use a Hero Point to order the other grenadier platoon to fire at the far AT guns. The German Company Commander is within line of sight (in base contact in fact) of the grens and activates with them, moving 5" (times two, since it's an infantry leader team) to run to the remaining panzer before it takes its morale test. The grens fire and score two hits.
Axis spends another Hero Point to move the FO team closer to the bocage, another Hero Point to move again to contact the bocage, and another Hero Point to observe. (NOTE: The observer should not have been able to observe here as a team can only observe if they didn't move earlier in the turn. Muh bad.)
The paras op-fire on the FO. Received Fire Checks reveal two rifle teams to be suppressed. Only one team fires and scores no hits.
The turn ends and the panzers must test their morale. They must pass a Quality Check of 4+, but the Commander is within 6" meaning it will pass on a 3+ instead. They roll a 1. The Commander can spend a Hero Point to re-roll it, which they do, and roll a 6. The tank will stay around.
Turn 9
The artillery rolls dice to range in and rolls 10, meaning a direct hit. Everything within the 6" barrage radius of the 10.5cm battery's target receives two RFPs.
Order Dice - Axis: 5 / Allies: 4 (1/4)
Allied tanks move onto the board 5".
Allied tanks move onto the board 5".
The Allies roll three dice for reserves and will get the glider unit next turn.
The Axis use their order to observe with the FO and use their last Hero Point to drive on their other tank platoon.
Axis pull 1,1 and Allies pull 2.
The Germans see a tactical withdrawal as the wiser choice and the battle concludes.
The Axis use their order to observe with the FO and use their last Hero Point to drive on their other tank platoon.
Axis pull 1,1 and Allies pull 2.
The Germans see a tactical withdrawal as the wiser choice and the battle concludes.













 RSS Feed