Me and my colleague, Dillon Wall, ran 3 events for about 20 different players and many more onlookers. It was very surprising to me to learn how many gamers at a show like PAX are intimidated by miniatures and would rather watch (sometimes an hour or more!) than play. We were only scheduled for two 4 hour events, but there was enough demand that we figured we'd offer an unofficial 3rd event and indeed had no trouble filling the table with new players eager to roll dice! Thanks again to all who played (especially the guys from last year who were eager to get in on it again!) and I hope to play with all of you next year!
|
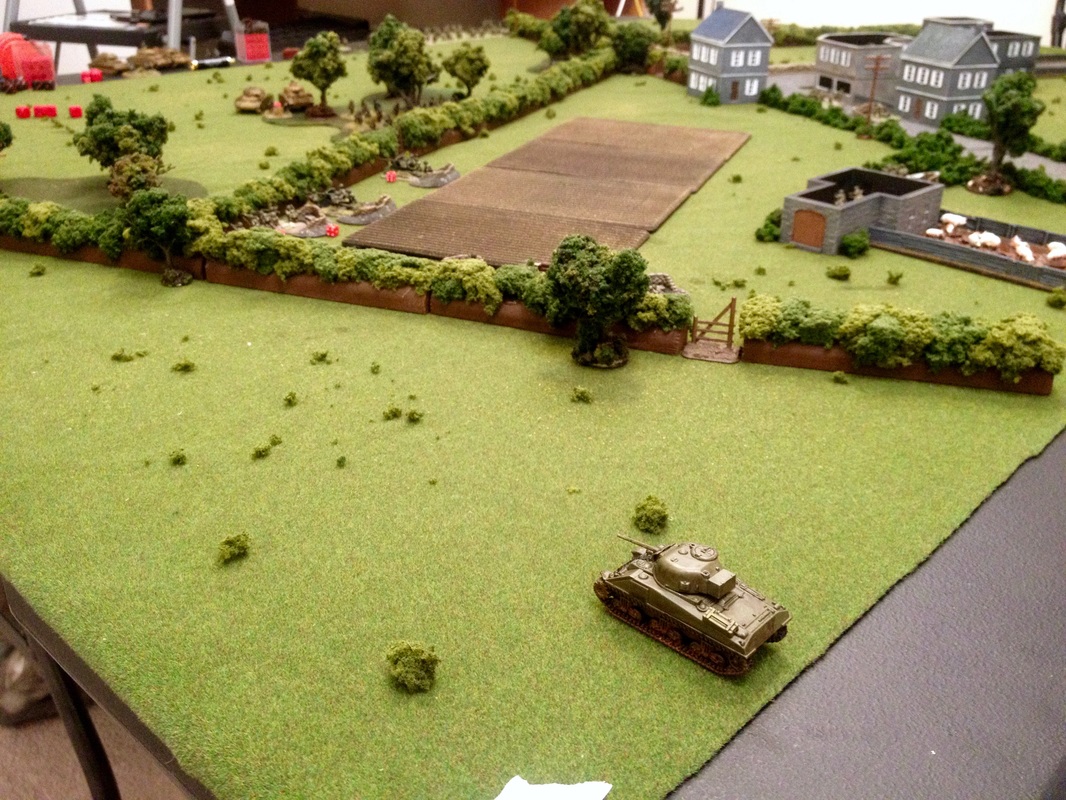
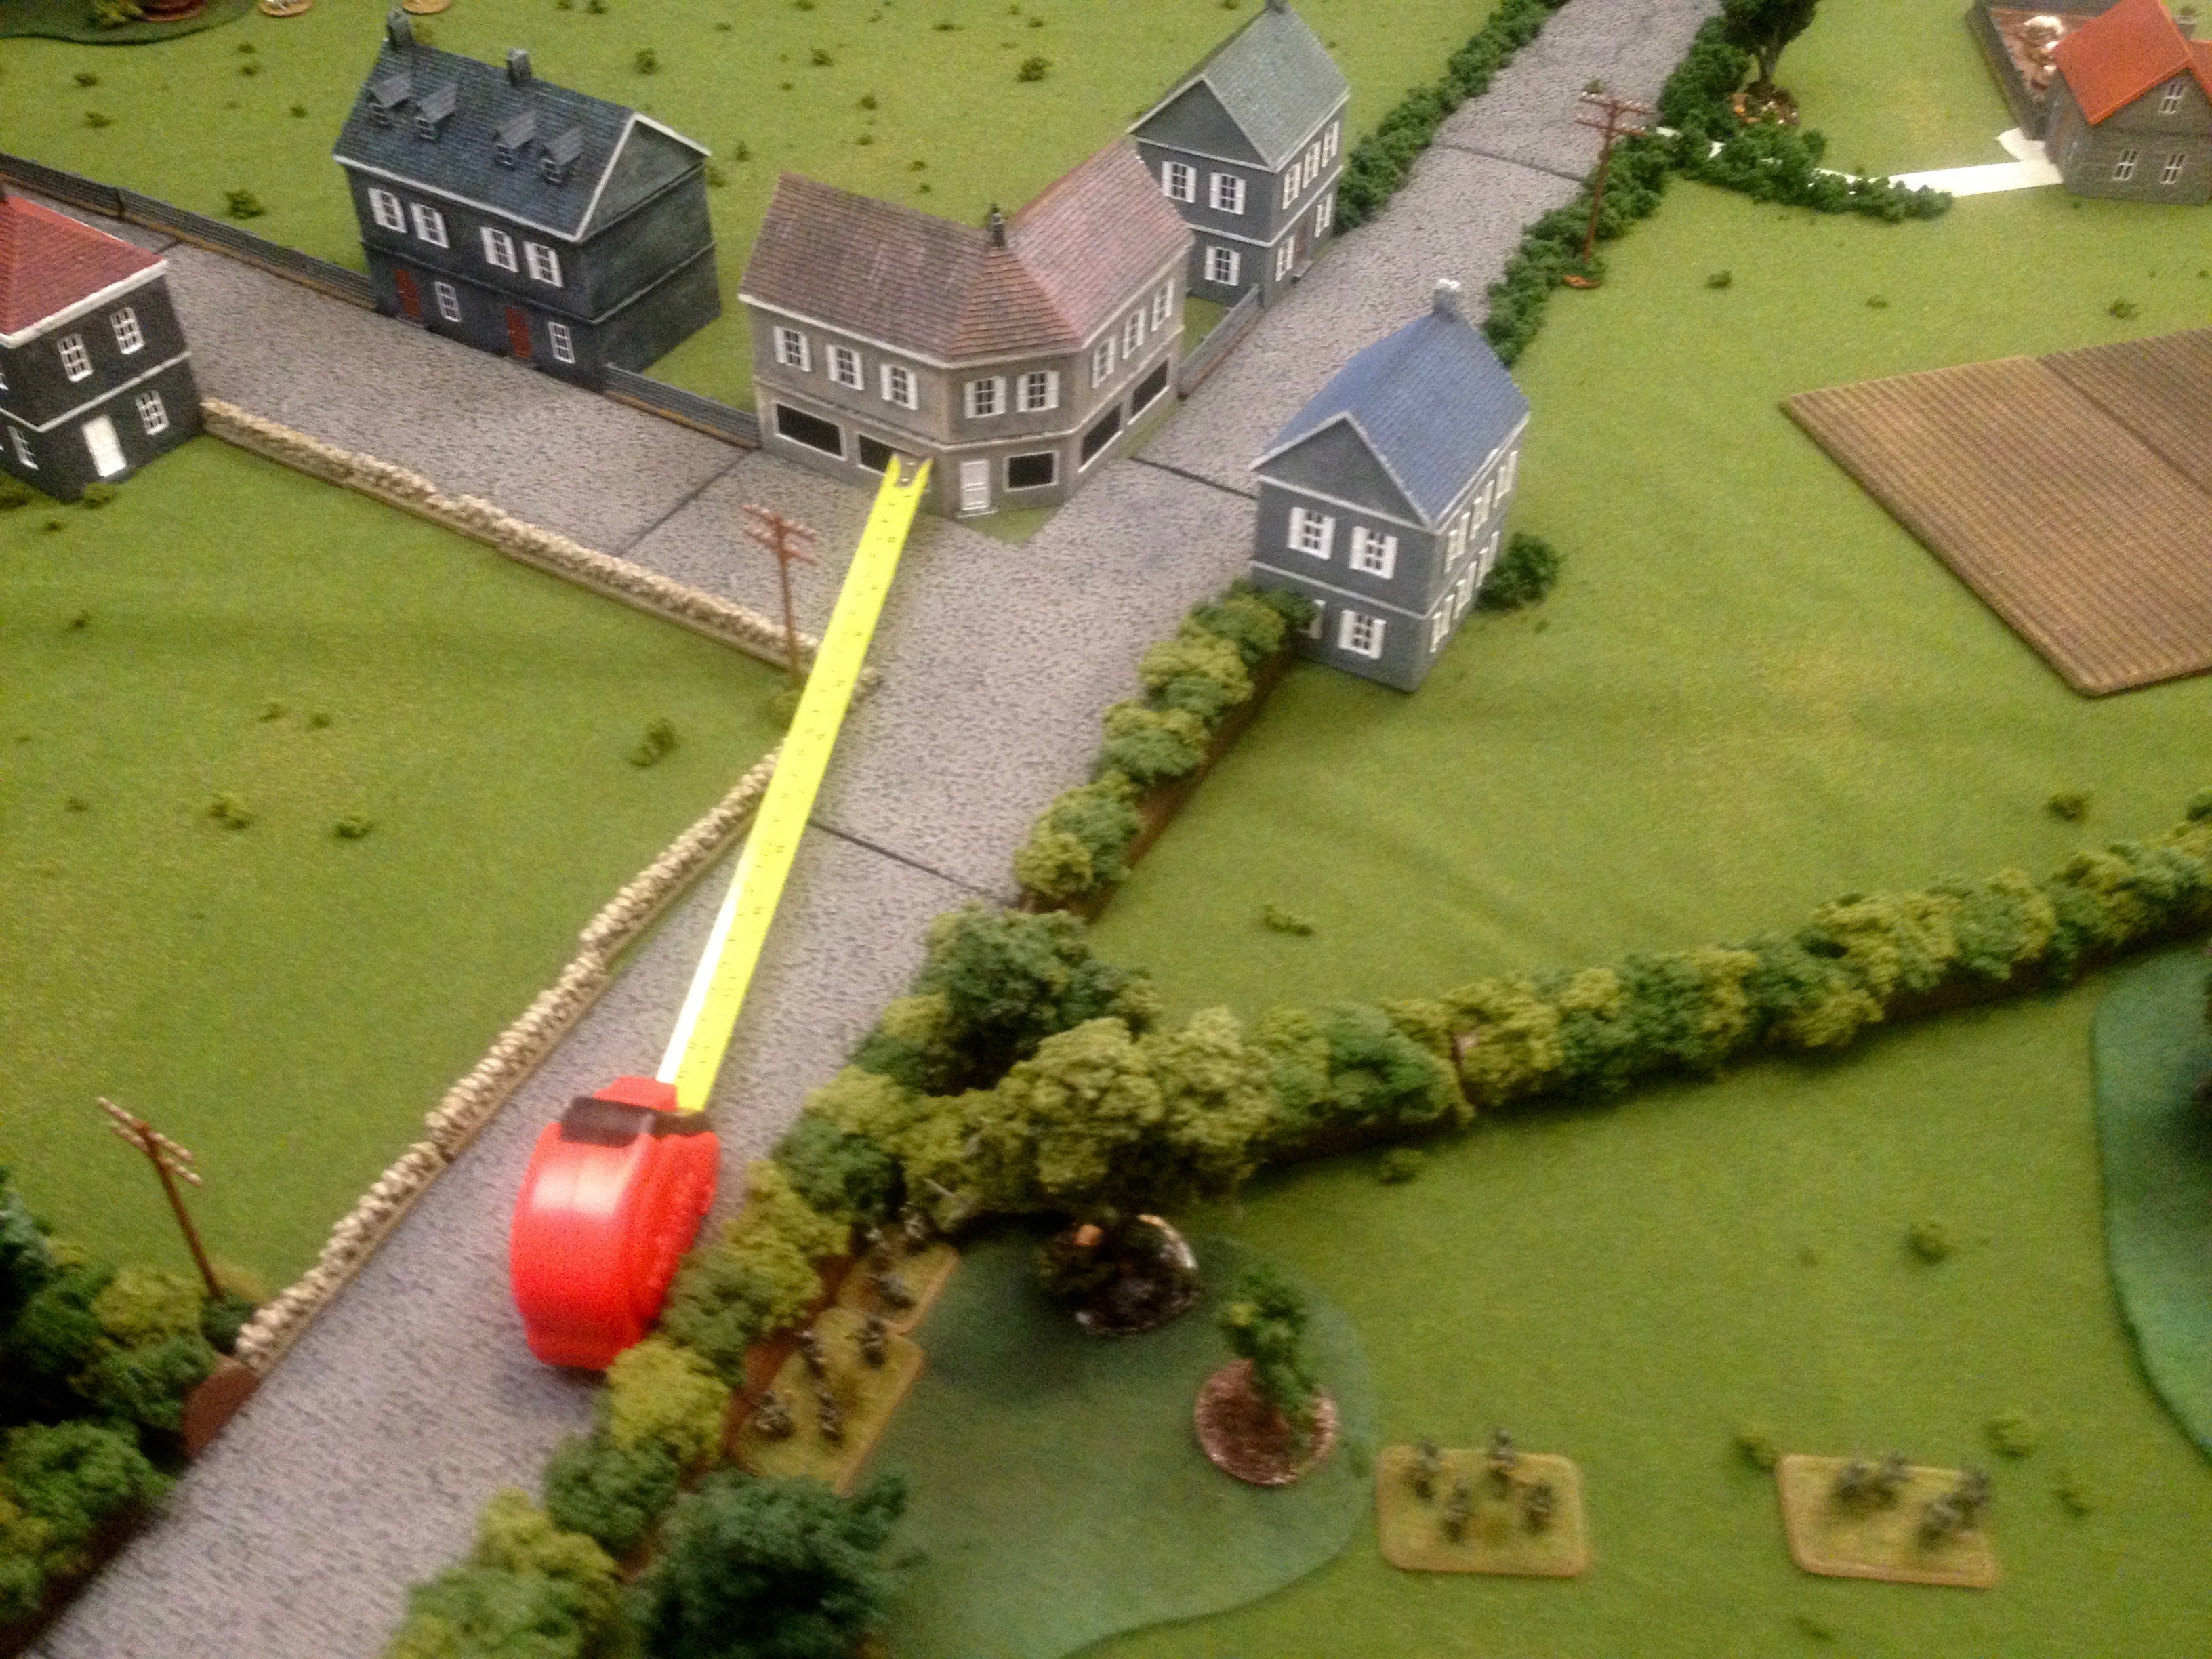
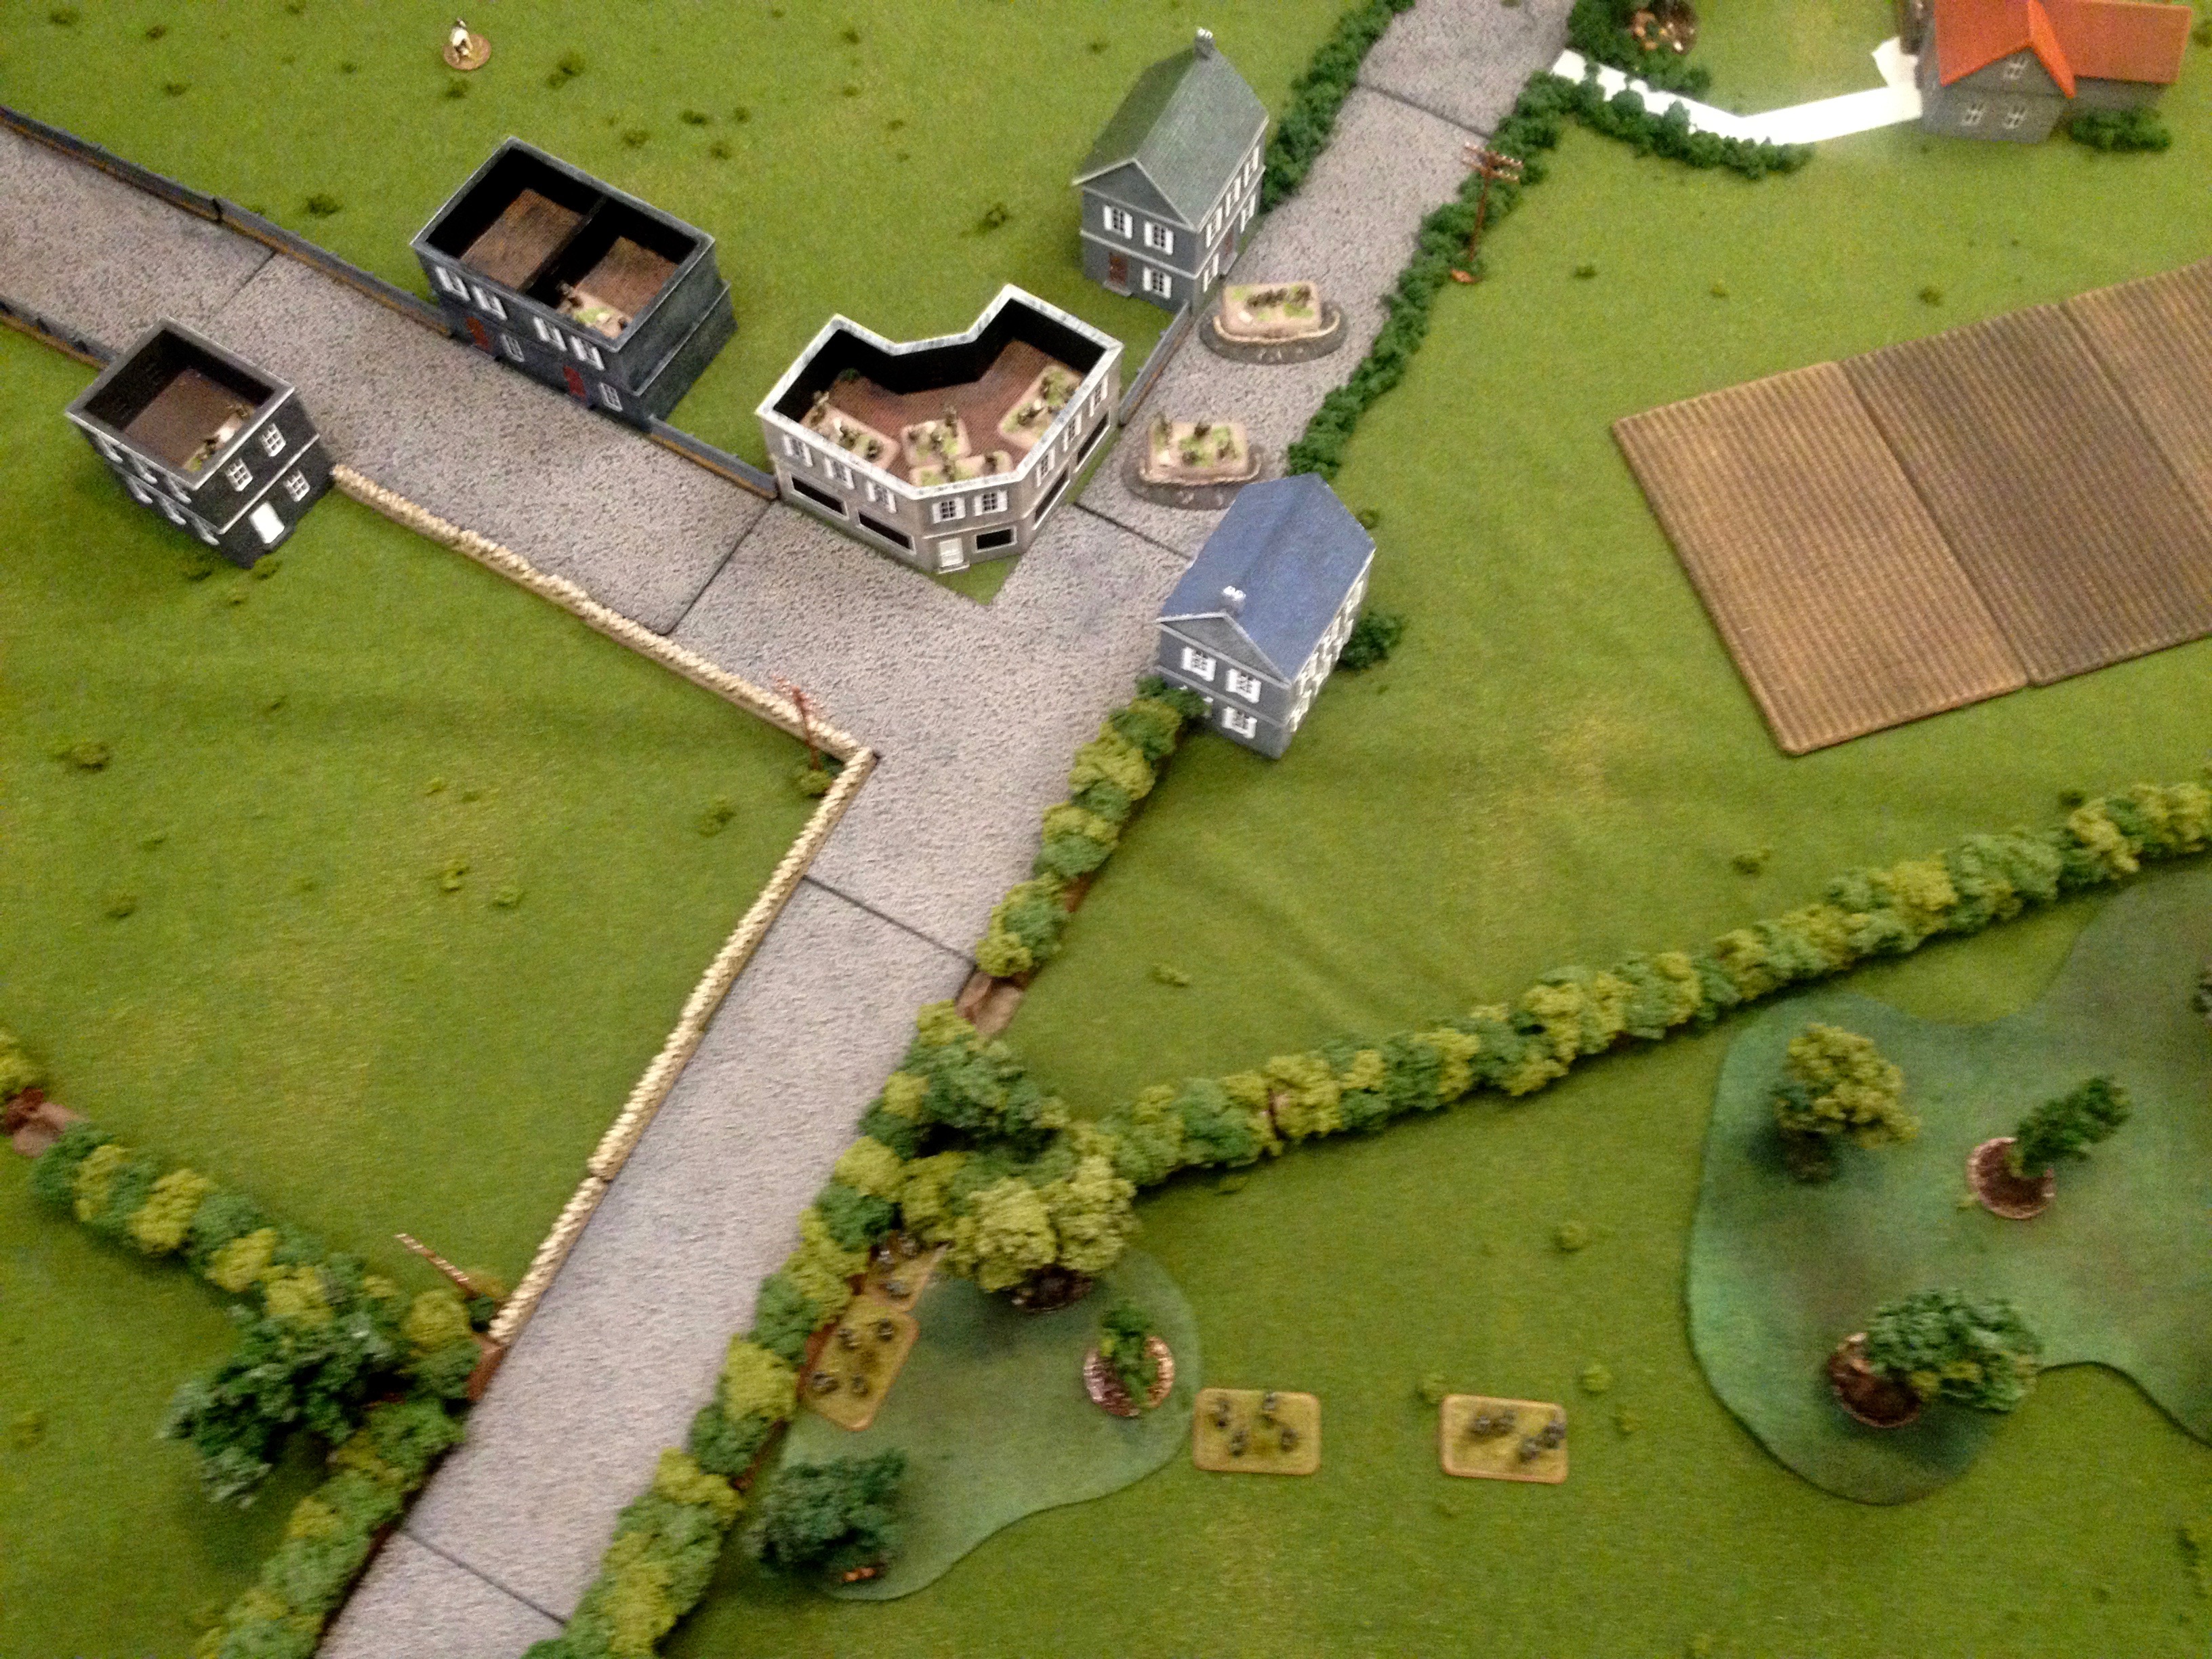
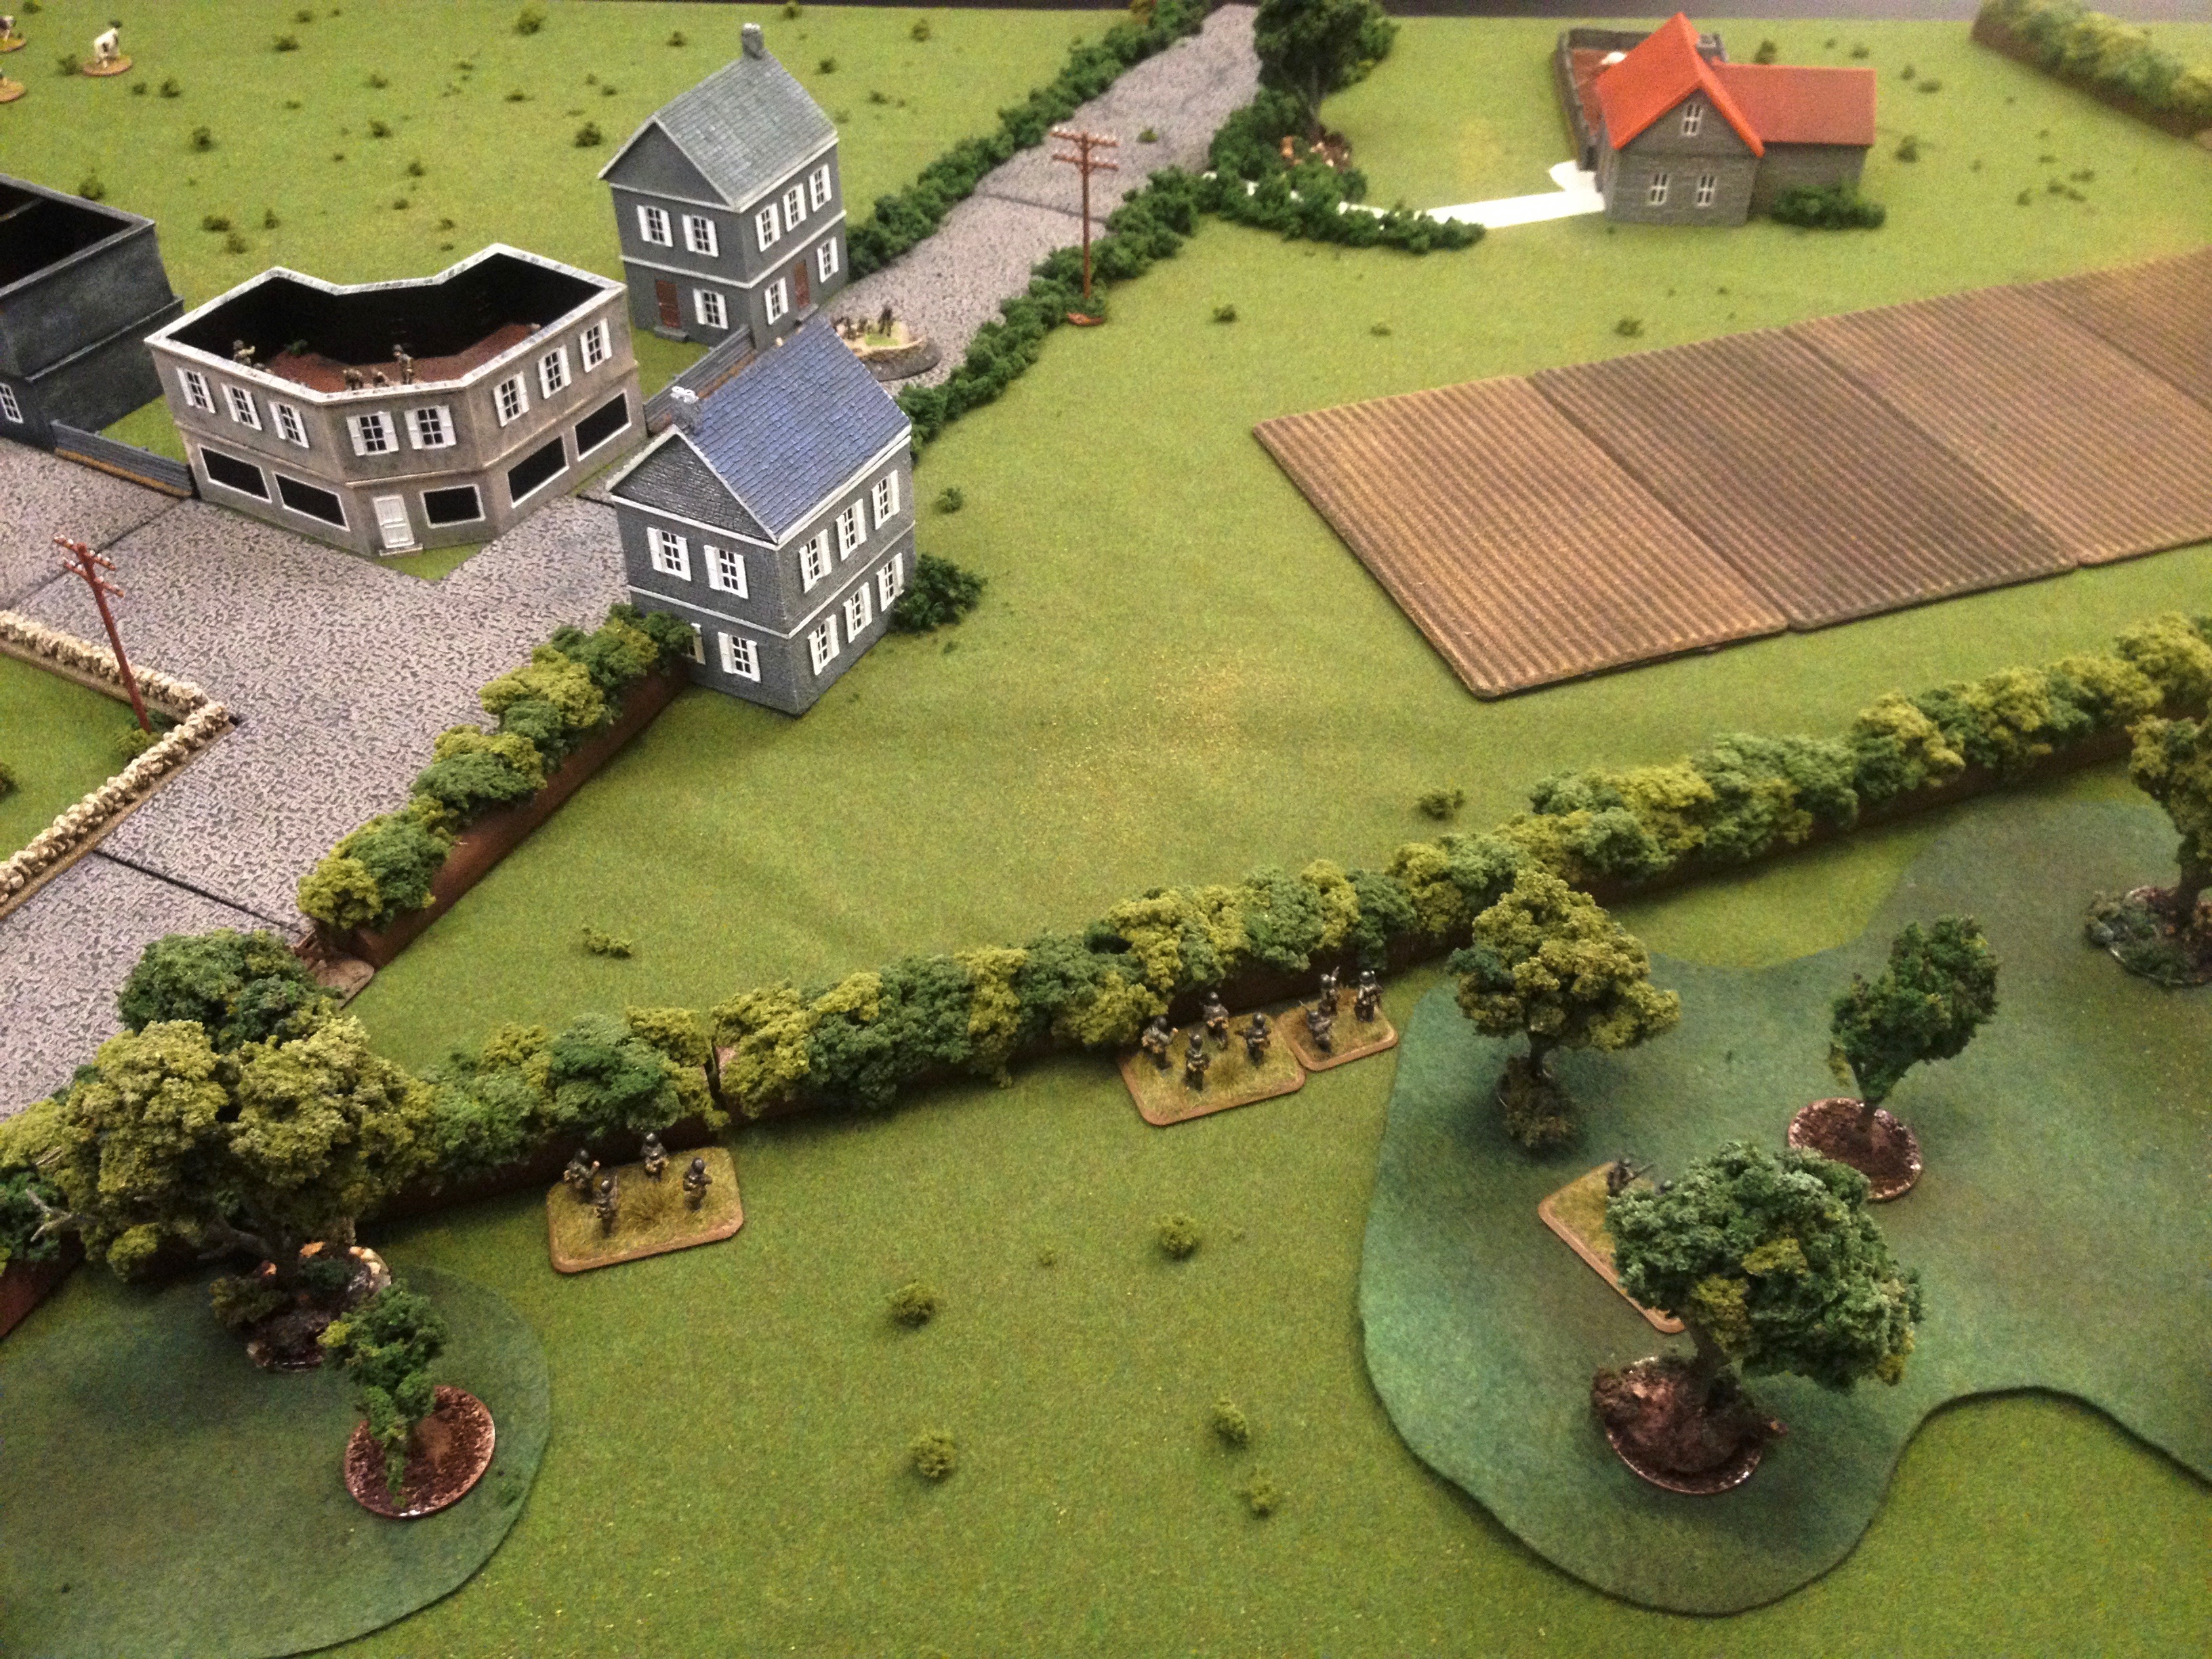
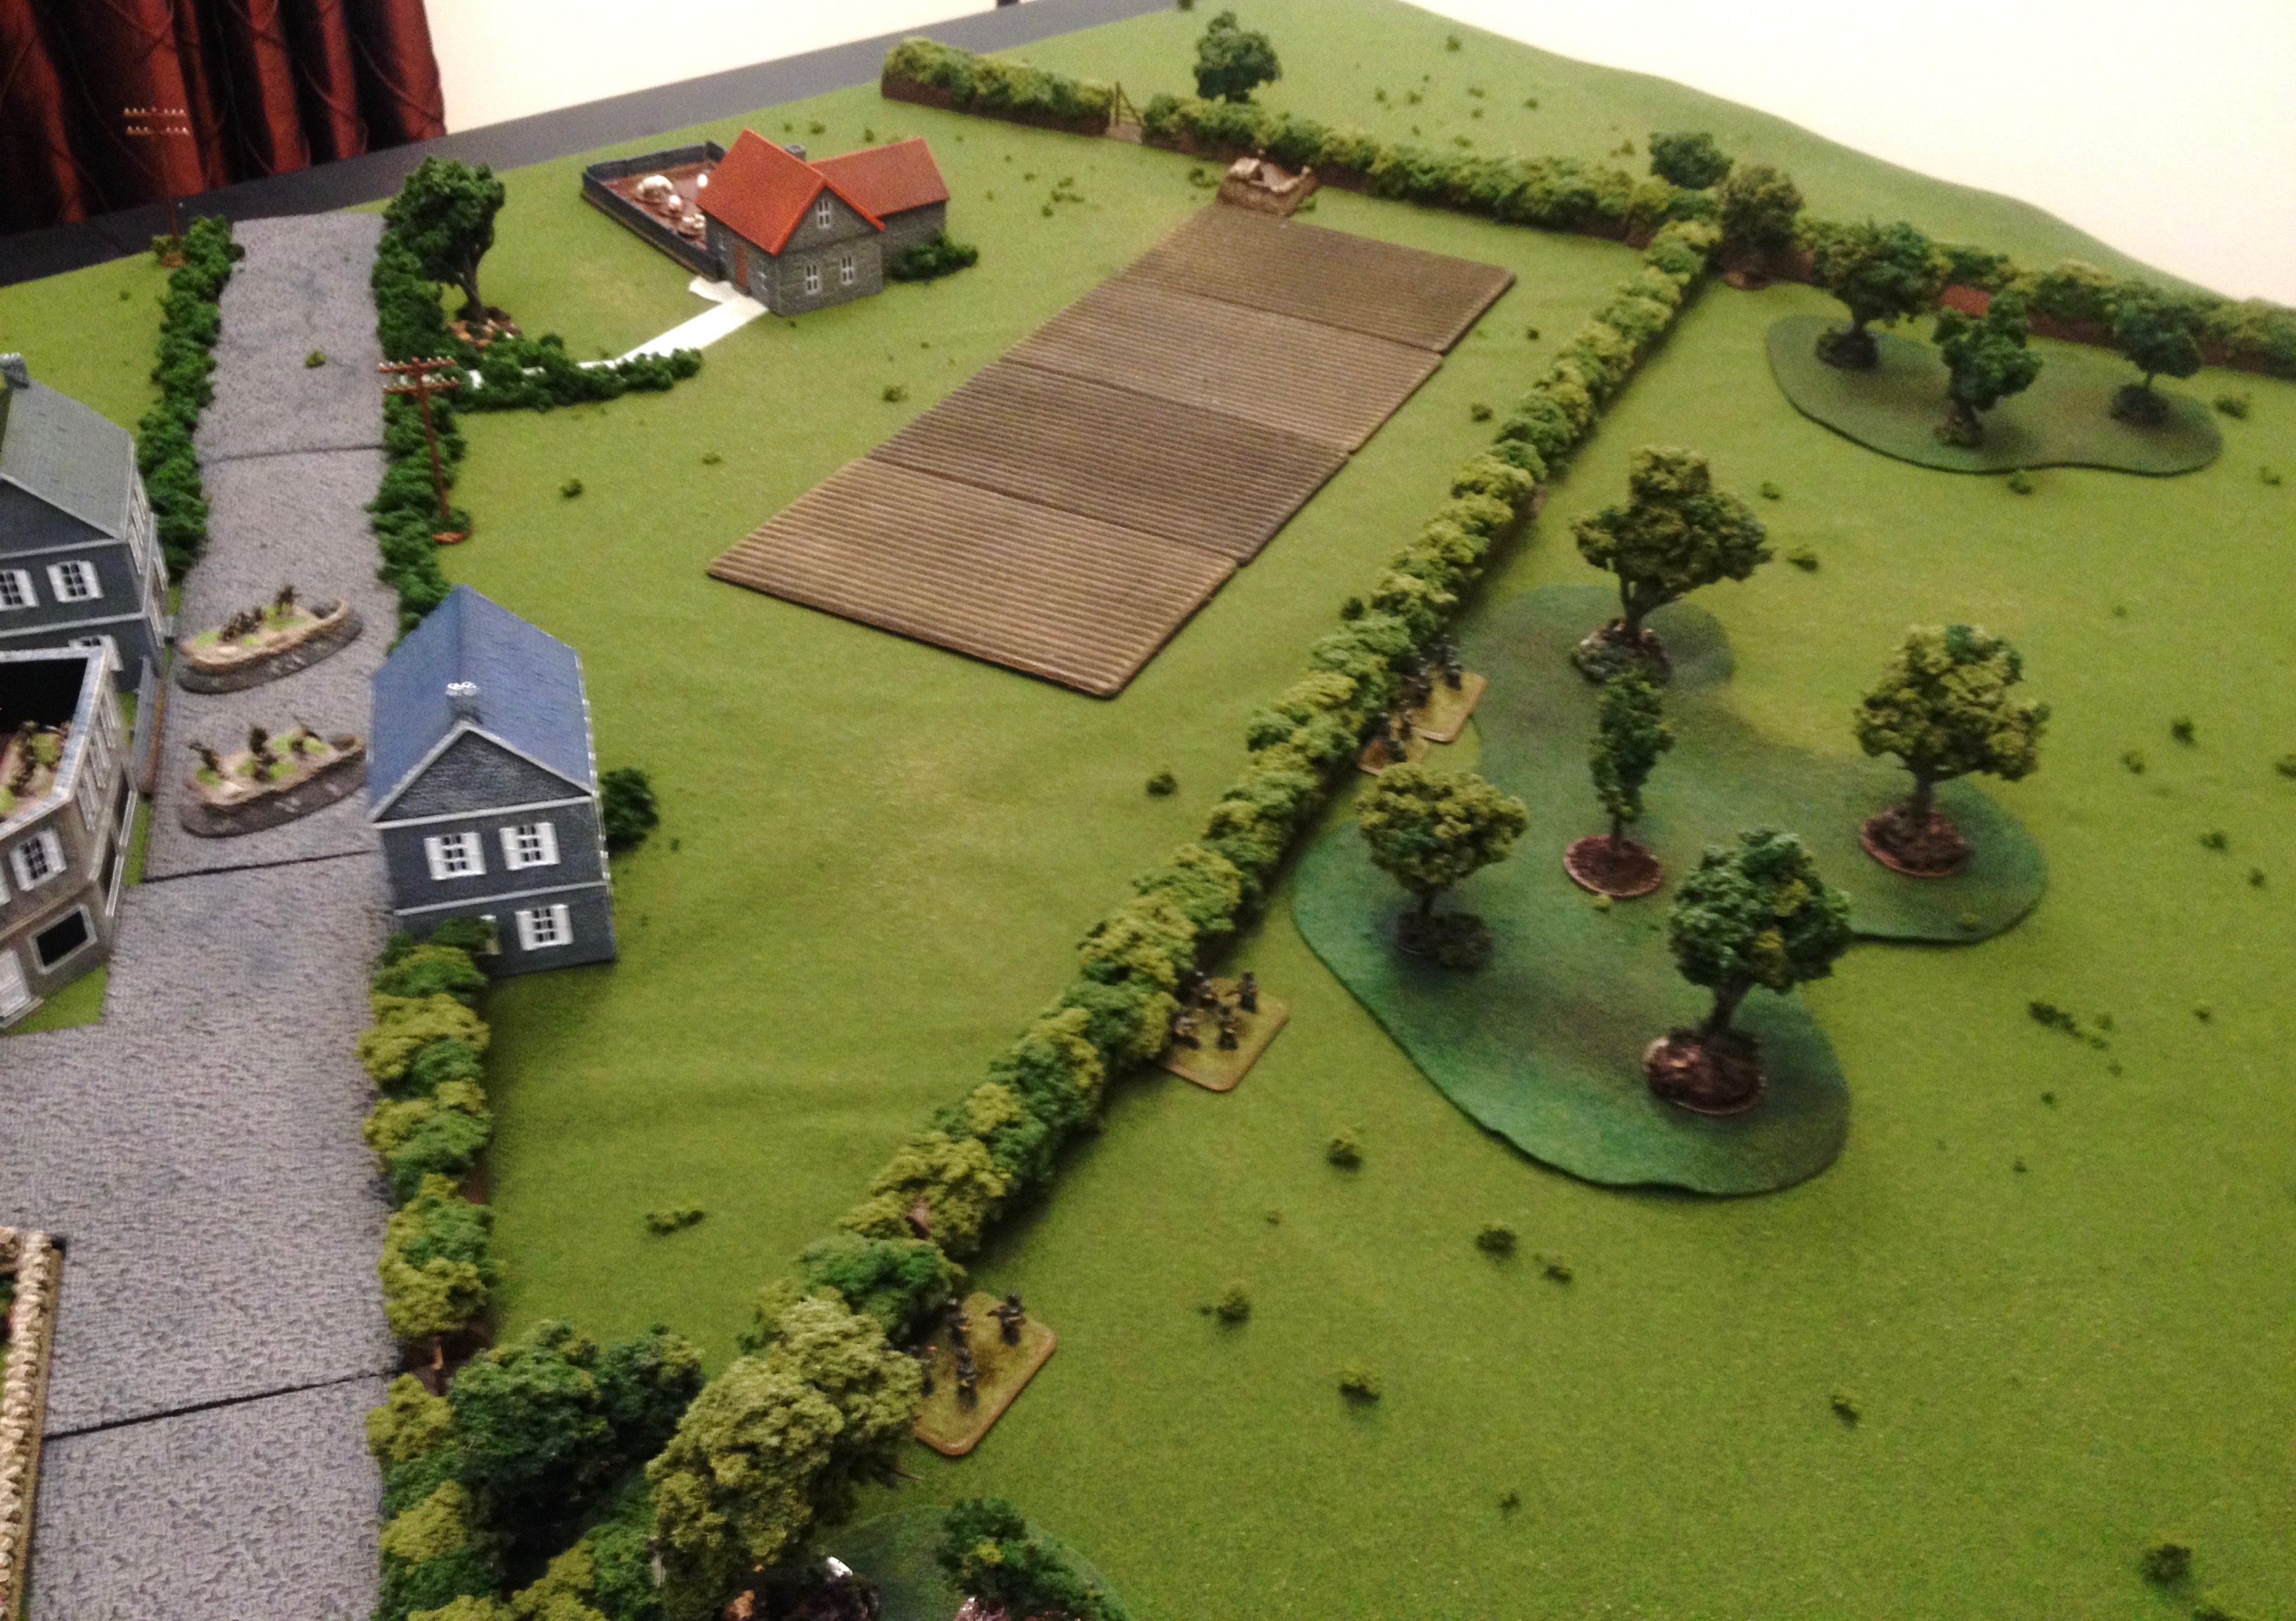
My first post to the blog in over a year, but worthy one, as we attended PAX Unplugged for the second year, bringing along my most impressive set up yet! I've been working on this D-Day table for months, having never attempted anything like it before, and I consider it time well spent as everyone was super excited to play on it! Me and my colleague, Dillon Wall, ran 3 events for about 20 different players and many more onlookers. It was very surprising to me to learn how many gamers at a show like PAX are intimidated by miniatures and would rather watch (sometimes an hour or more!) than play. We were only scheduled for two 4 hour events, but there was enough demand that we figured we'd offer an unofficial 3rd event and indeed had no trouble filling the table with new players eager to roll dice! Thanks again to all who played (especially the guys from last year who were eager to get in on it again!) and I hope to play with all of you next year!
2 Comments
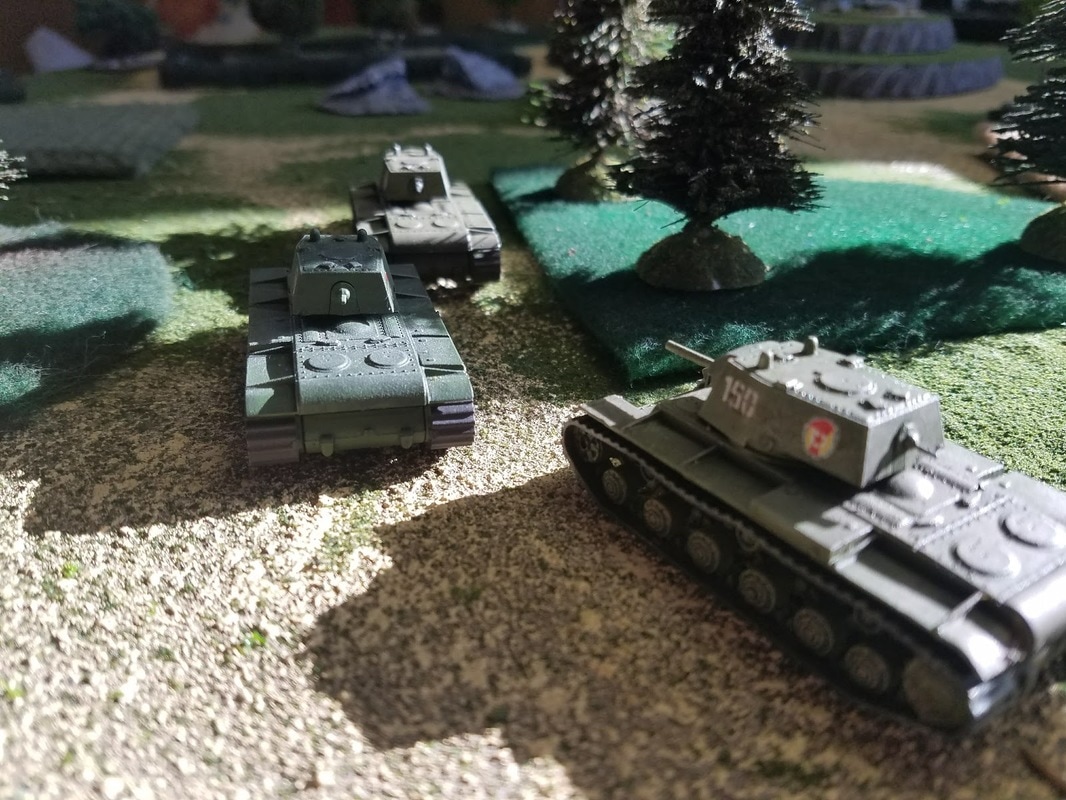
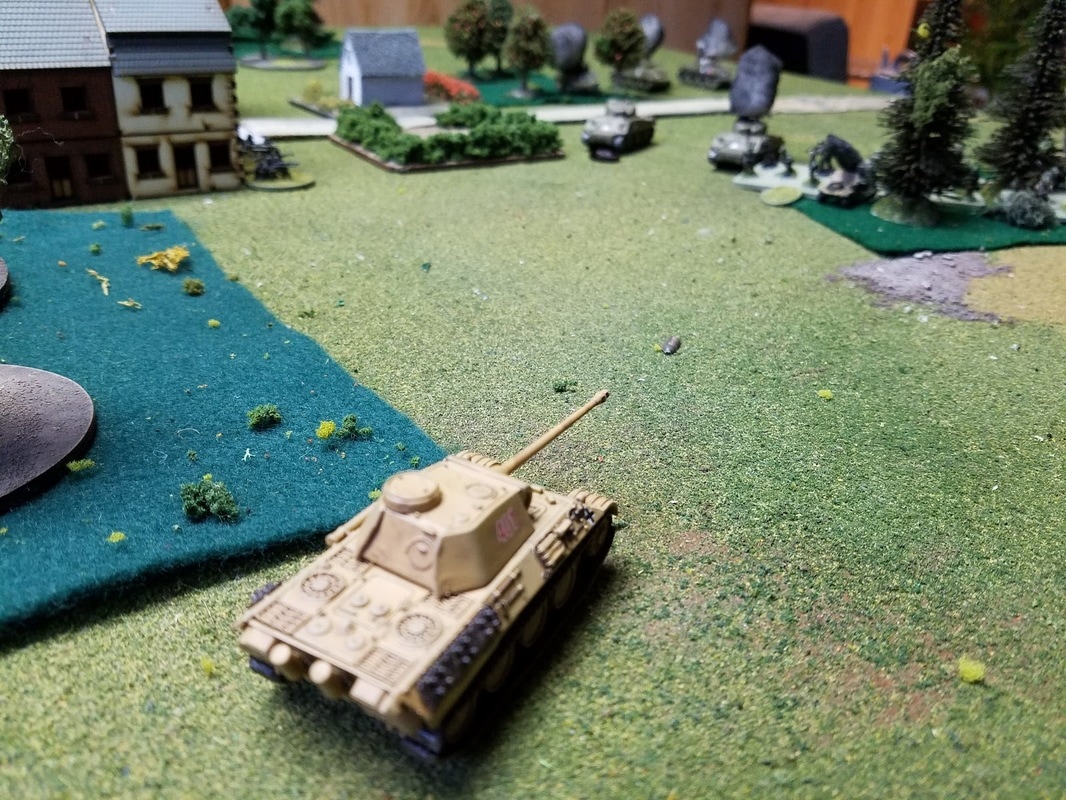
Finished running a pair of Hail Of Fire games at Historicon! I'm bummed I didn't get more and higher quality photos of the game in progress, but otherwise I had a blast running around coaching our players and watching plenty of toy tanks blowing up as they advanced toward the German positions on our increasingly more fancy table! Everyone seemed to enjoy themselves and a few players in particular really took to the more unique aspects of the rules. Also, HMGS gave me an award! How cool is that! Lastly, extra special thanks to Jake Nedza (featured in many of the photos) for being a rock star and helping set up and coach our new players! This last weekend I had the blast attending this year's Williamsburg Muster! Familiar faces and a new venue were both great to see and I hosted my (becoming traditional) pair of Hail Of Fire games. I built my table starting from how I set up at Cold Wars, but you can see it slowly evolving, with lichen hedges and swaths of teddy bear open fields. I was able to get 4 players for my Saturday evening game, and a pair of them came back to play yet again on Sunday, so 6 new players total. Both games resulting in Allied victories over the defending German forces. Overall a fun time, as always, and it sounds like a couple players are already looking forward to playing again at Guns Of August! Now to prep for Historicon! Steven Whitesell returns from Cold Wars to run a Hail of Fire game of his own. KV-1's vs PaK-40's! Against the Odds!I’m back from my first Cold Wars! I ran a pair of Hail Of Fire events and had a blast. For the first time ever, I ran HoF as a multiplayer game, British armor and American infantry attacking a German held Village. I stretched my terrain collection as far as I could and made a pretty respectable 4x12’ French countryside, if I do say so myself! The first game ended up being little more than a teaser for the next one, with a couple folks stopping by to say hi and telling me they were looking forward to playing the second game the following morning, and a pair of fine gentlemen eager to slam together toy soldiers there and then. And slam them they did! The Allied player attempted to drive two platoons of Shermans across a flat open field toward a forest, and was eagerly welcomed with a full unit of Pak-40 AT guns. The paks decimated and broke both platoons in a couple volleys and the Allies never recovered. The second day brought 6 players and a rousing 3v3 match! This being my very first attempt at multiplayer HoF, we had to figure out two or three things on the fly, but everyone was excited to give it a go and seemed to really enjoy themselves! Ultimately the game couldn’t escape the players on the Southern flank where one of our Allied players, Joe, couldn’t roll higher than a “1” to save his life, and David, the German player opposite him, couldn’t roll lower than a “6” even if he wanted. David’s rolling (and sure, maybe some sound tactical insight too, perhaps) laid waste to Cromwell tanks and Allied troops, and even started to spill over to his other opponent’s forces as well. It was a decisive German victory to be sure. There were several lessons learned and I look forward to my next opportunity to host a further refined multiplayer match of HoF (Williamsburg Muster, anyone??)! Enjoy the pictures! (Thanks to Steve Whitesell and Brooklyn Wargaming for the couple awesome shots I stole.) I'll be attenting my very first COLD WARS this year, and will be hosting not one, BUT TWO sessions of Hail of Fire! The first one will be Firday night from 9pm-12am and the second will be Saturday morning from 11am-3pm. It will be fun and casual, so feel free to jump in late or tag out ealy as need be. See you there!
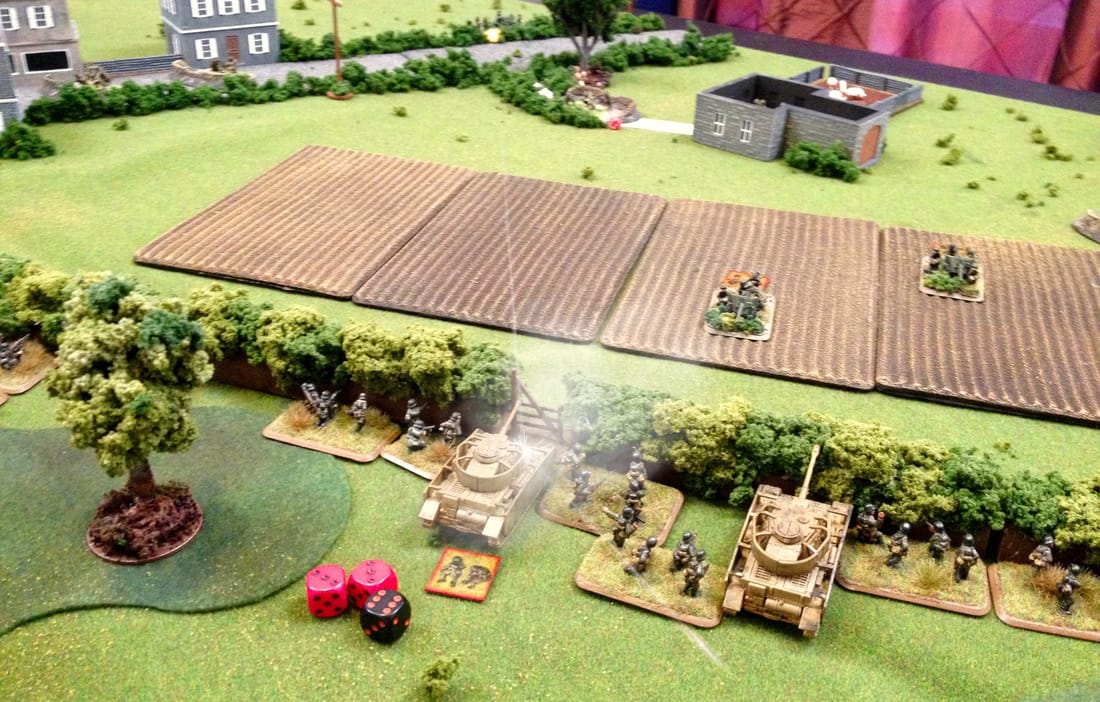
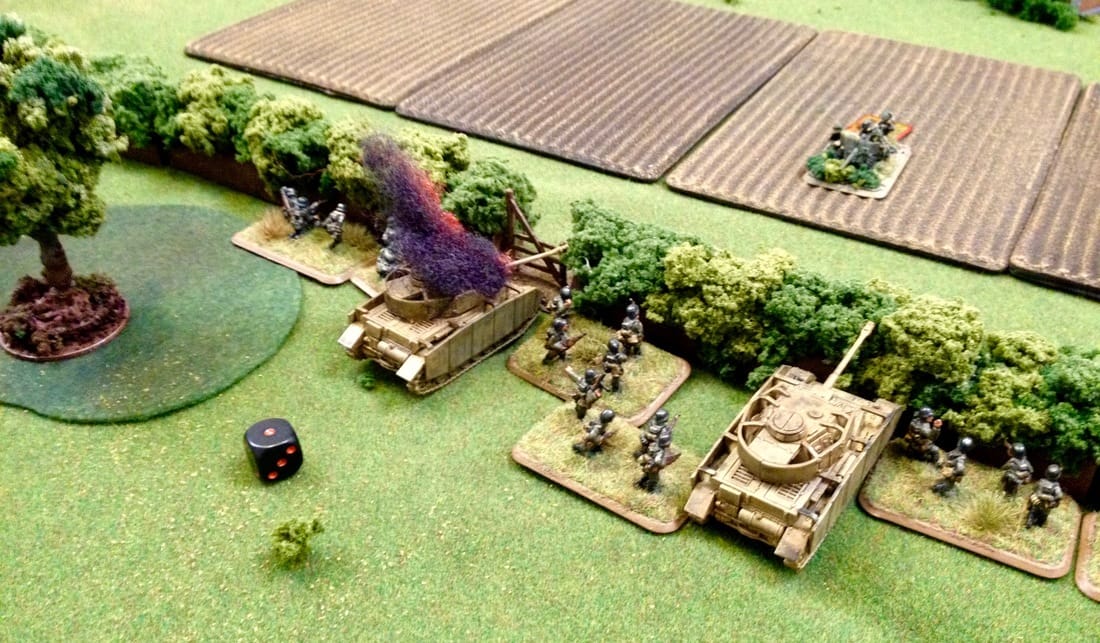
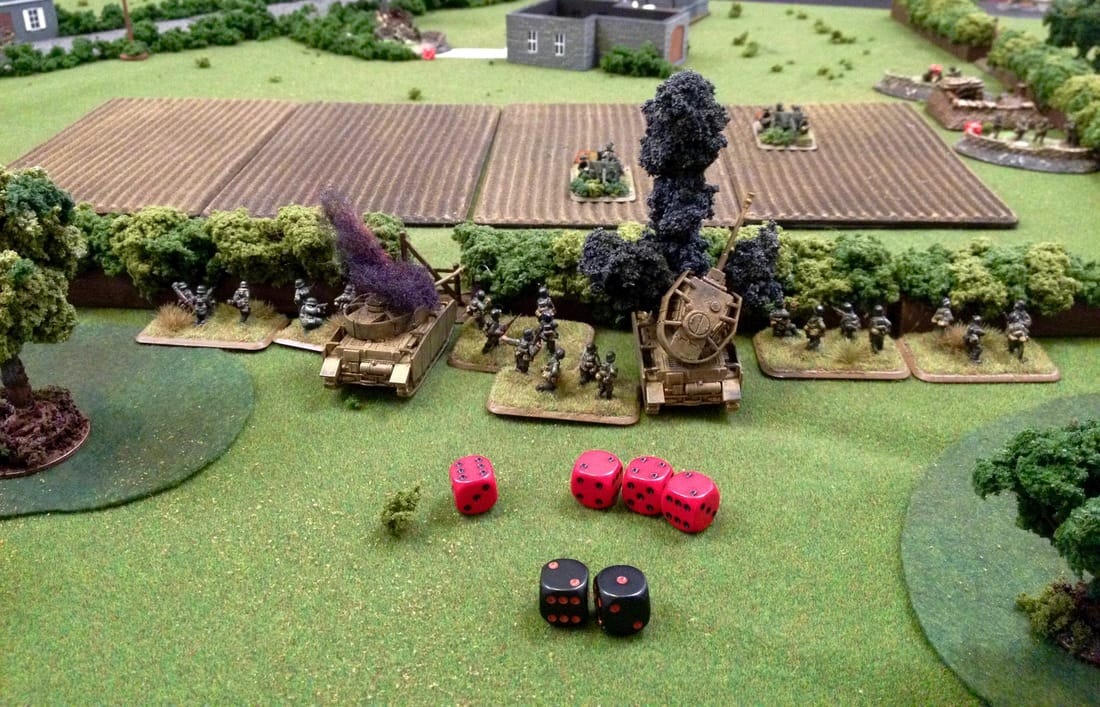
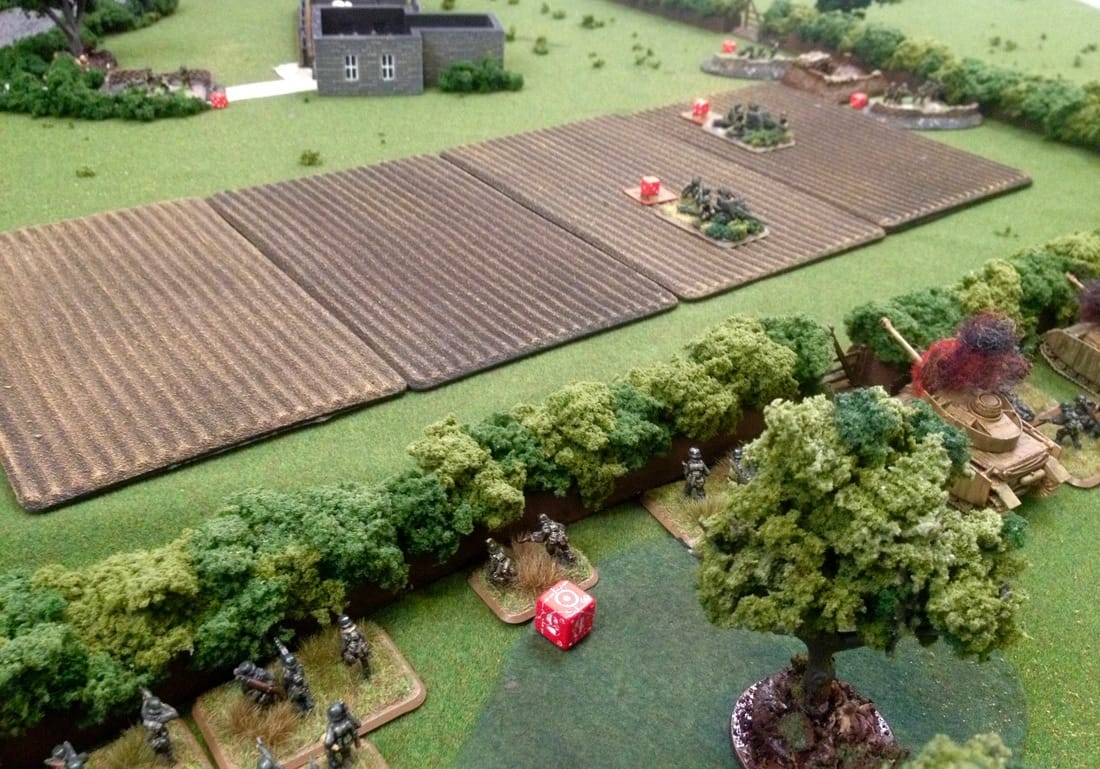
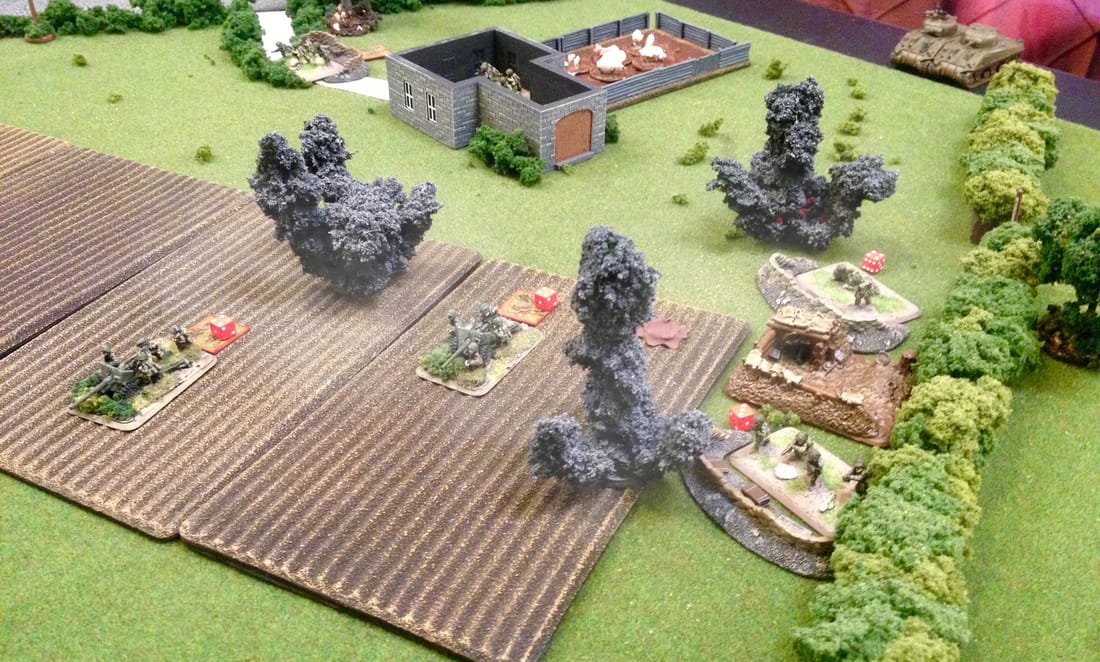
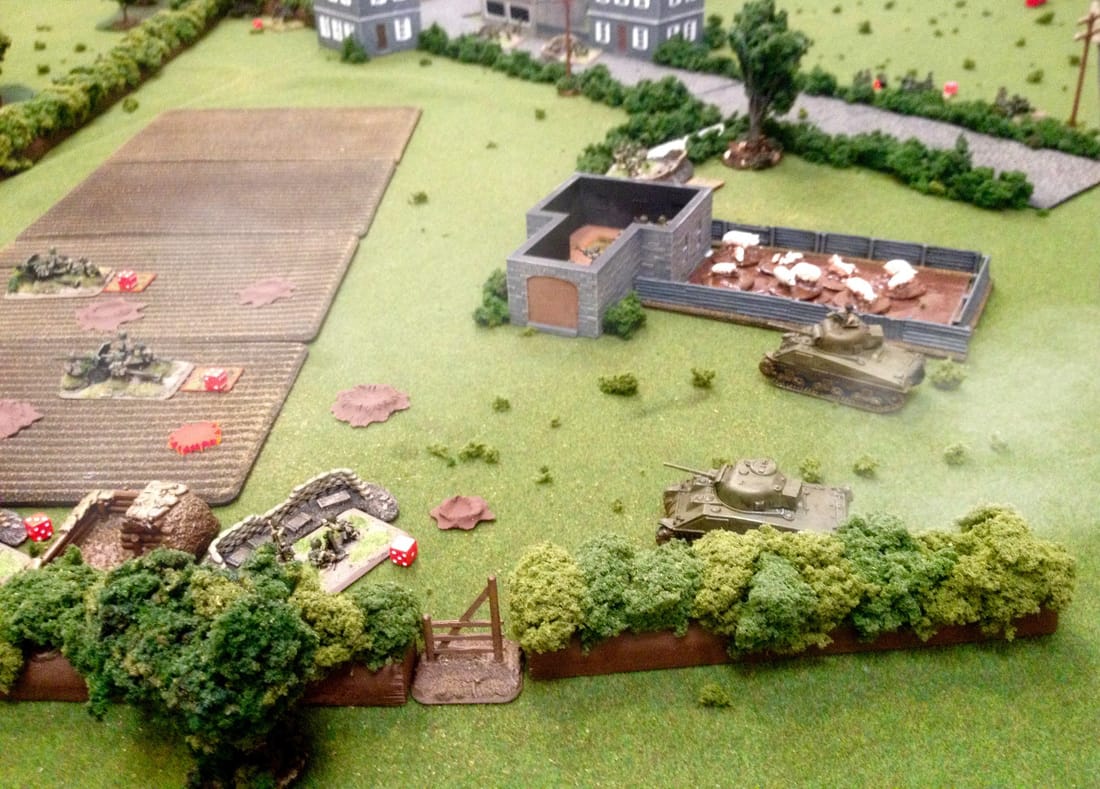
Steve Whitesell records his first session of Hail Of Fire in 2017. This time with a variant to the Order Dice rolls. Town Assault*Author's Note 2018: Please note, the game has evolved quite a bit since this article was written. This article represents the game at that point in time, and is still an enjoyable read, if I do say so myself. Thanks!* For those who need a refresher of the first half of the game, click here. Otherwise, lets get back to it! Turn 5 The German FO watches artillery ranging rounds land to the South again, this time endangering their own panzers. Another round of corrections will be needed. Order dice - Axis: 5 / Allies: 3 (2/3) The Allies fire with one of the AT guns and miss both shots. The Germans return fire, but first they must resolve the two Received Fire Points taken previously. They roll a die for each point and get a 2 and a 3, either of which would reveal the tank crew to be suppressed, and they place a marker next to the vehicle. They can't fire or move toward visible enemy until they rally. That leaves two tanks left to fire their MGs at the AT gun. Eight dice needing 5s to hit the concealed gun. Five hits! However, when shooting at non-vehicle teams, only two hits can be assigned to a single team per fire order, and only one gun is a valid target, so two RFPs go on that team and the rest are dismissed. This, alongside the delayed fire results, is to help suggest that most small arms fire is generally area fire, with shooters rarely seeing their target and usually ordered to fire at a section of building or a strech of hedgeline they know to be occupied. The Allies use all four remaining Order Points for reserves, rolling 2, 4, 4, 5. The 5 allows the Allies to bring in a single vehicle or two non-vehicle teams, while a 6 would have brought in the whole unit. The Allies want armor support asap and therefore place the one tank on the edge of the field, where it can arrive from next turn. With the East side of the battlefield well occupied (and the paras taking fire) the Germans decide to send their recon forward to occupy the building on their side of the road. First they resolve the one RFP on the rifle team, and find that the team was suppressed by the ambush fire from the paras. The unit moves 4", with two teams crossing the hedge and running over open ground. The platoon leader grabs the men from the suppressed team and they move down the hedge, making sure the suppressed team stays off the bocage and out of line of sight of the enemy. The Allies use a Hero Point to op-fire on the unit running across open ground. All three teams that can fire have RFPs and resolve them. Two are suppressed and one is killed. No firing over here... The Recon use a Hero Point to move again. First they perform Rally Checks for any suppressed teams with no RFPs assigned to them, however, as our suppressed rifle team is off the bocage and outside of line of sight to any enemy, they rally automatically. They move 4", getting one team inside the building while the platoon leader and the no-longer-suppressed rifle team cross into the field. The turn ends with the Axis pulling 1 and 3, however the recon has made its way onto the Allies' side of the table and they will now begin drawing as well, starting with a 1. Turn 6 German artillery tries to range in again, but yet again round falls South. The Observer considers new plans and removes his observing marker. Order dice - Axis: 2 / Allies: 2 Doubles means new Hero Points. The Germans go from one to five, and the Allies from one to three. Order dice - Axis: 3 / Allies: 5 (3/2) The Axis move their lagging two recon teams into the building. The paratroopers in the buildings op fire. Three rifle team roll six dice needing 5+ (two rolled separately as they can be re-rolled by the platoon leader) and two more dice from the 60mm mortar team that hit on 4+ as they ignore concealment. Four hits, one for each. The Axis next move their grenadiers 3" East, toward the AT guns. They move off the hedge to avoid any op-fire. They are then ordered to move again to assault the AT gun. After the order is declared, a Quality Check must be passed, otherwise the teams stay put and forfeit the order. They pass and move again 4" into contact with the first gun. Teams within 8" of assaulting enemy teams may op-fire for free. The only team within 8" that can fire, though, is the assaulted gun. They resolve they RFPs and they're suppressed and can't fire. The paratroopers however spend a point to join the op-fire, rallying two of the three suppressed teams, and rolling four rifle dice and two from the mortar. One hit. Teams moving in the open resolve their op-fire RFPs immediately, and the grenadier team rolls a 5 and is Ready. Both sides roll Quality Checks for each team within 2" of enemy (three dice for the Germans, and one for the Allies). The grenadiers and the gliders are both Regular and need 4+. They tie with one success each, meaning they immediately re-roll. The Germans fail all three rolls and the Allied gun team succeeds! The side with more successes kills an enemy team for each success, while the side with fewer may only kill a maximum of one team regardless of any additional successful rolls. In this case, zero successes were rolled, so zero kills will be allotted. For each failure, an enemy team is suppressed, and so the gun would be suppressed if it wasn't already. We then see who has more unsuppressed teams within 8" of the assaulting teams. The Allies have two and the Axis seven. The allies lose and the gun must move at least 4" away from assaulting enemy or be destroyed. The gun rolls two dice and gets a 4 and 6! it moves back 4" and survives. The Germans use a Hero Point to move to assault the second gun. They pass their quality check and move 6" to contact both the gun and the para platoon leader next to it. The suppressed gun is within 8" and rallies when ordered to op-fire The para platoon leader and bazooka both resolve their RFPs. The leader is ready but the bazooka is suppressed. The rest of the para platoon teams (those that have line of sight) pay an Order Point to op-fire as well. In all, a mix of eight shots and 1 hit. As none of the Germans are in the open, they don't resolve the hit until they next act. Quality Checks are rolled for the close combat. Two dice for the Germans and two dice for the Allies, though one of the allies is a paratrooper, and so needs a 3+ rather than the others' 4+. Germans pass one and the Allies pass none. The para platoon leader is dead and the gun is now suppressed. Two gren teams also become suppressed. Both sides compare who has more unsuppressed teams within 8" of the assault and the Germans win. The bazooka rolls enough movement to run back to the other side of the bocage to the East, and the gun rolls double 6s, granting it enough movement to back out of the kill radius of the Germans. Axis pull 3,2. Allies pull 1. TURN 7 Order dice: Axis: 3 / Allies: 4 (3/1) The grenadiers fire at the AT in the middle. The RFC reveals the grenadier team was killed, though both teams suppressed in close combat rally. Six rifle shots and four from the machine gun with re-rolls. Seven hits. Axis tanks move 10". Suppressed tank rallies, but the leader's tank fails it's Quality Check and gets slowed in the woods, only moving 1". The other two move toward the bocage. The Germans reveal their other hidden grenadier platoon along the hedgeline and fire at the paras across the field. Sixteen shots. Two hits. The Axis use a Hero Point to move their tanks up to contact the bocage, though the commander slows in the woods yet again. The Allies reveal the two remaining AT guns and their leader off the road on North edge of the battlefield, behind the low hedges. The German recon makes sure they deploy even farther away than they might otherwise. The guns (along with the two from before, now that they all have line of sight to their leader) op-fire on the tanks. Received Fire Checks reveal both hit guns to be suppressed. Four shots, long range and concealed target, and two may be re-rolled. One hit. AT: 3 vs Front Armor: 1 = two Pen dice and one Ping die. The tank takes one RFP (incorrectly marked with a suppression token in the image). The Axis uses a Hero Point to order the tanks to fire at the suppressed guns to get more RFPs on them and prevent them from rallying, however they resolve the one RFP and roll a 1. Black smoke begins to bellow from the vehicle. The other tank fires its machine guns into the AT guns in the open. Two hits. Axis pull 2,1. Allies pull 1. TURN 8 Order Dice - Axis: 1 / Allies 1 New Hero Points! Axis 6 and Allies 2. New Order Dice - Axis: 1 / Allies: 3 (1/2) Allied guns fire at the panzers. Neither suppressed gun rallies, leaving only two guns to fire at long range. Two hits. Four Pen dice and two Ping dice. Tanks explodes on impact! That's two tanks down, so the unit will have to test it's morale at the end of the turn. The Allies roll one die for their reserves and gets a 6. The rest of the Shermans are roaring their way forward. It's looking pretty bad for the Germans. The German grenadiers fire at the AT guns in the open. Six hits. The Axis use a Hero Point to order the other grenadier platoon to fire at the far AT guns. The German Company Commander is within line of sight (in base contact in fact) of the grens and activates with them, moving 5" (times two, since it's an infantry leader team) to run to the remaining panzer before it takes its morale test. The grens fire and score two hits. Axis spends another Hero Point to move the FO team closer to the bocage, another Hero Point to move again to contact the bocage, and another Hero Point to observe. (NOTE: The observer should not have been able to observe here as a team can only observe if they didn't move earlier in the turn. Muh bad.) The paras op-fire on the FO. Received Fire Checks reveal two rifle teams to be suppressed. Only one team fires and scores no hits. The turn ends and the panzers must test their morale. They must pass a Quality Check of 4+, but the Commander is within 6" meaning it will pass on a 3+ instead. They roll a 1. The Commander can spend a Hero Point to re-roll it, which they do, and roll a 6. The tank will stay around. Turn 9 The artillery rolls dice to range in and rolls 10, meaning a direct hit. Everything within the 6" barrage radius of the 10.5cm battery's target receives two RFPs. Order Dice - Axis: 5 / Allies: 4 (1/4) Allied tanks move onto the board 5". The Allies roll three dice for reserves and will get the glider unit next turn.
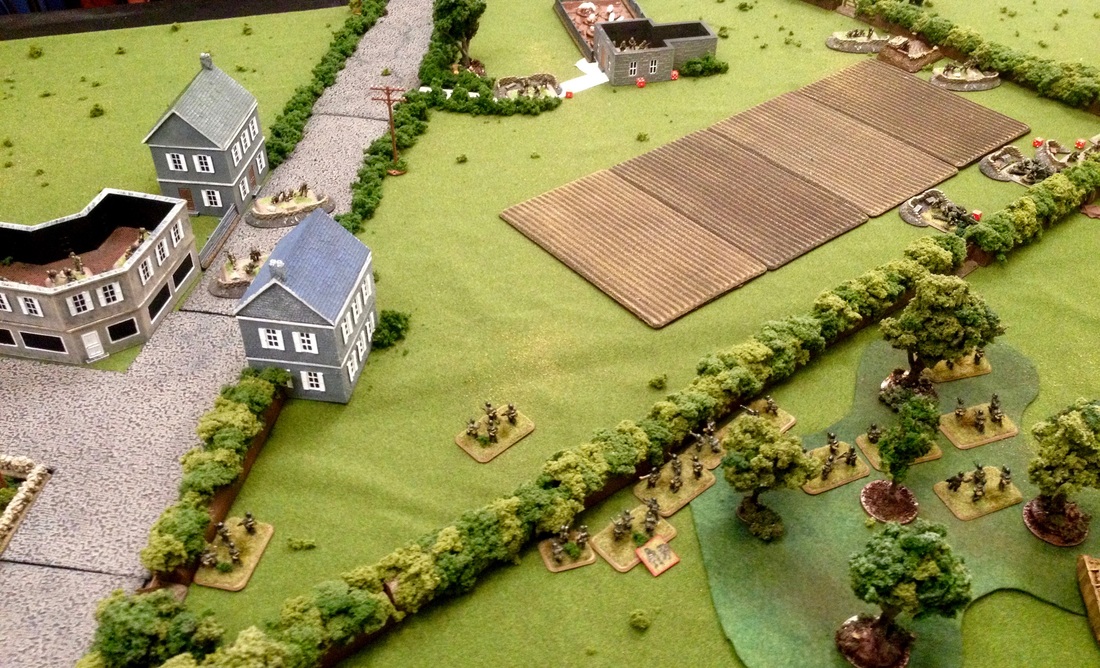
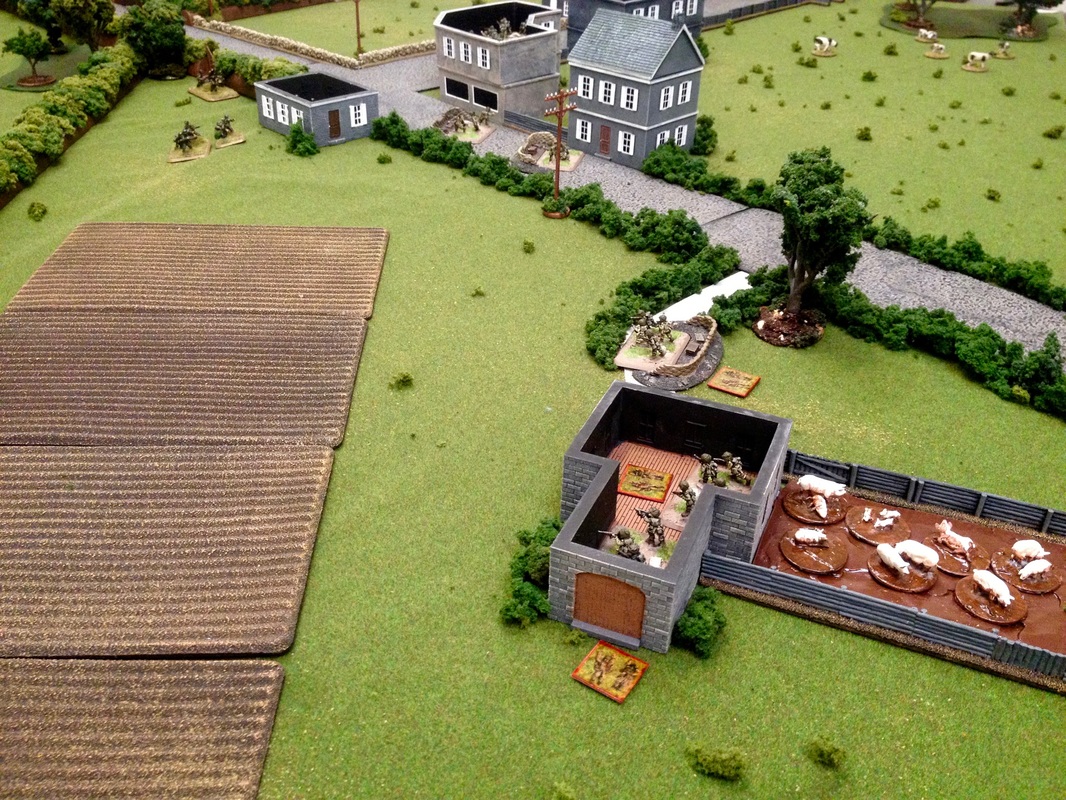
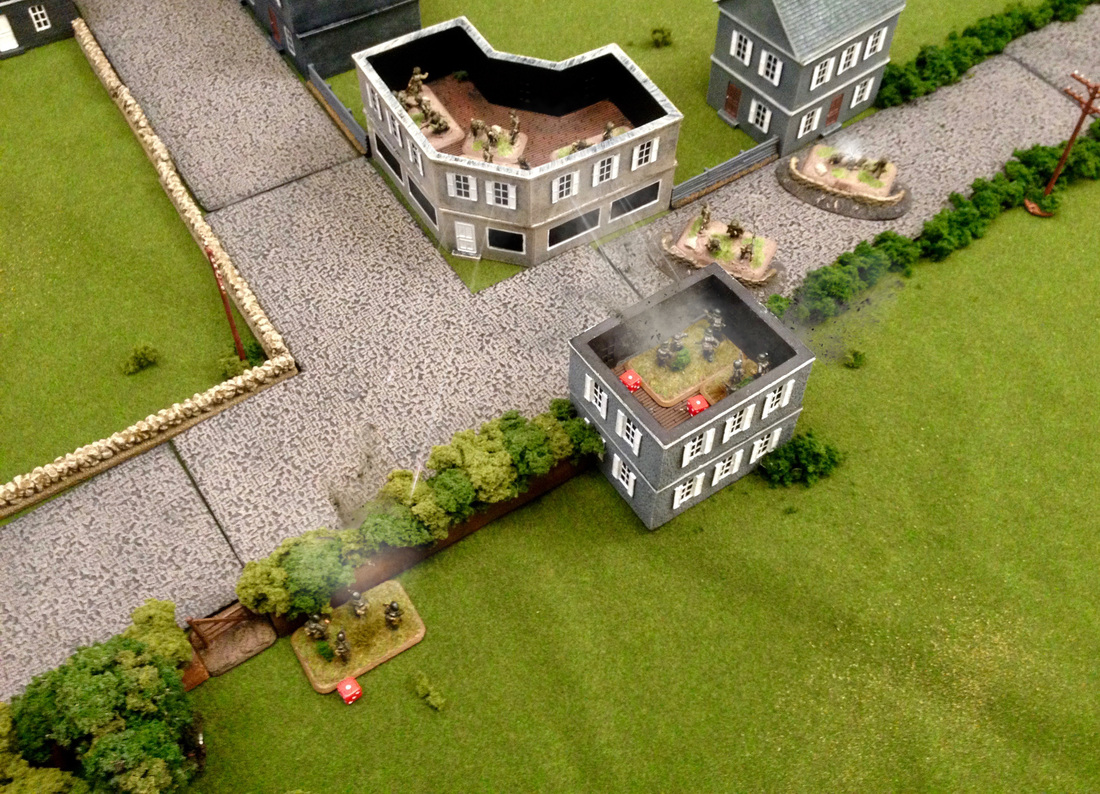
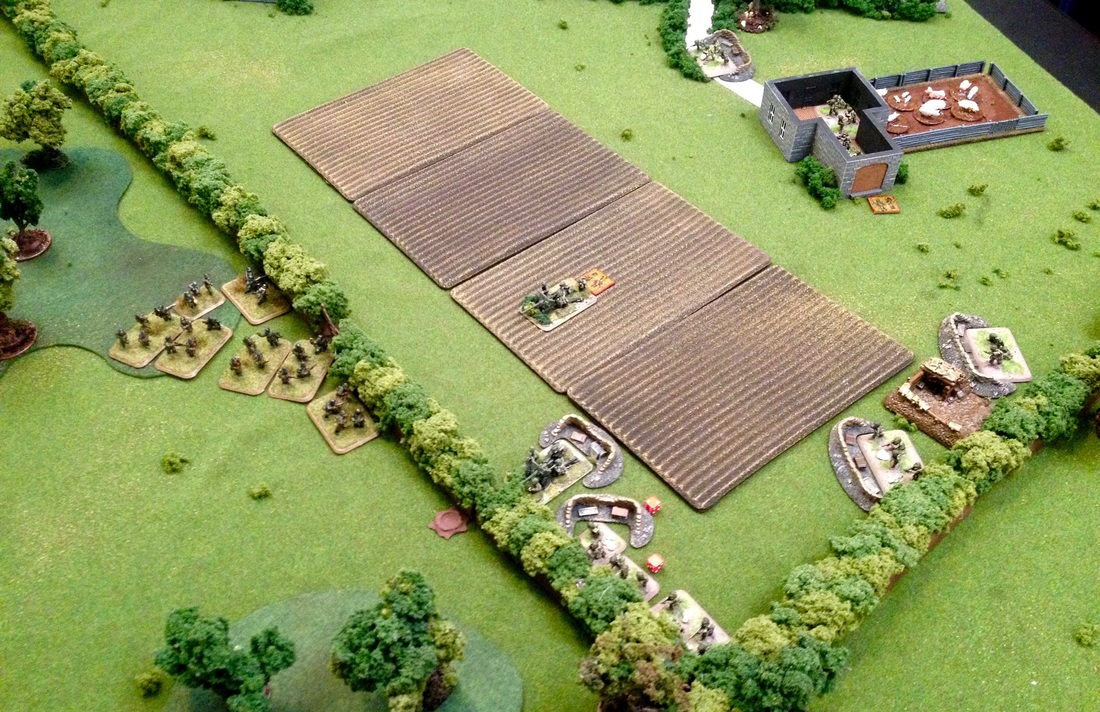
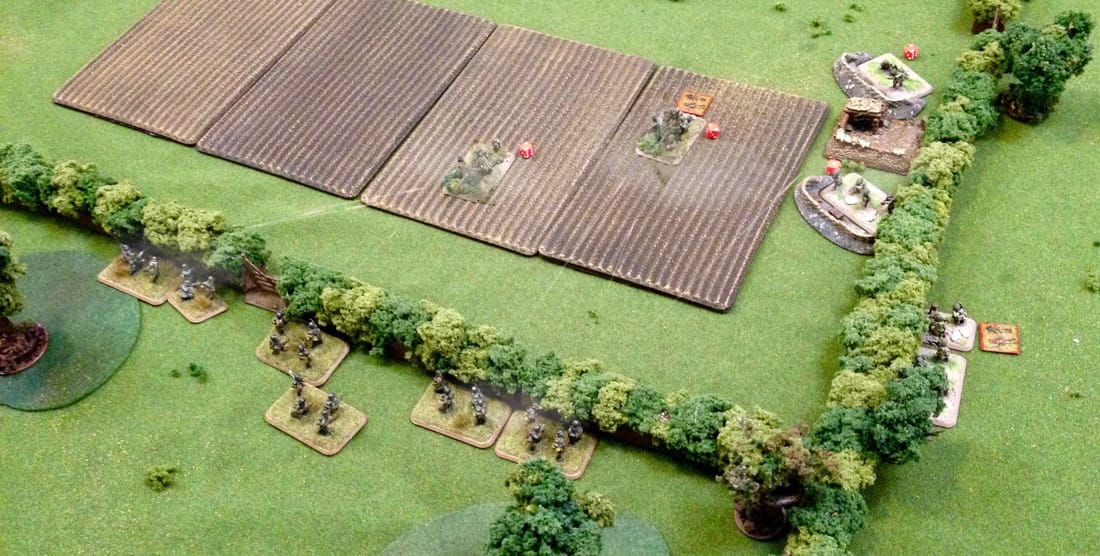
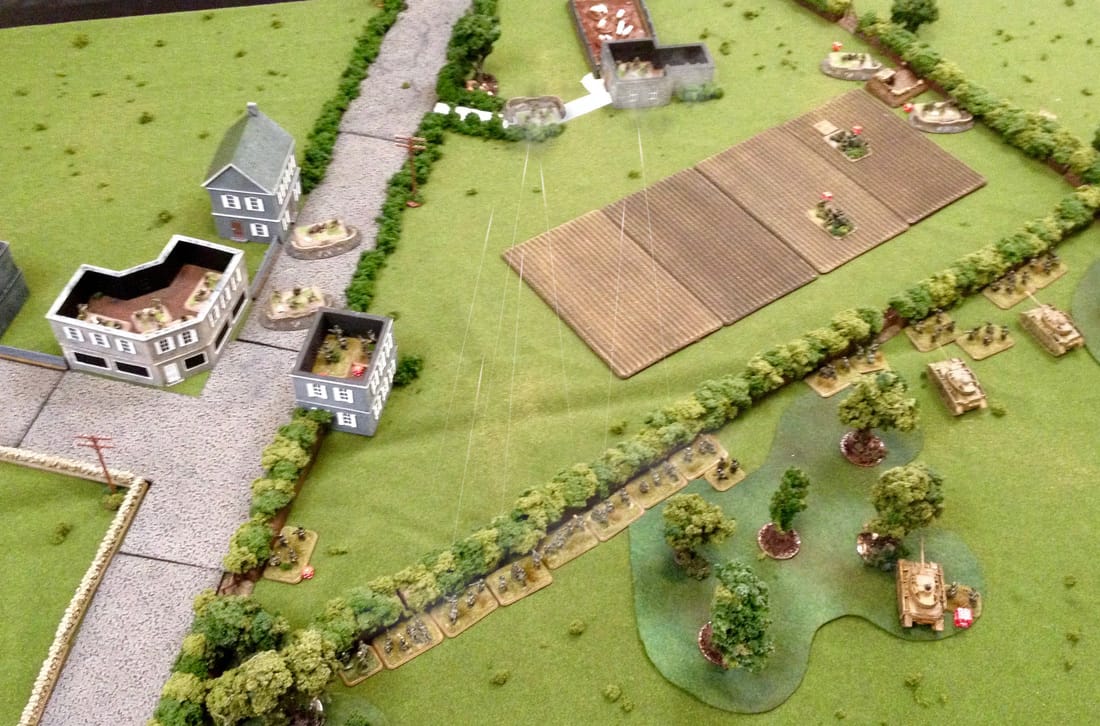
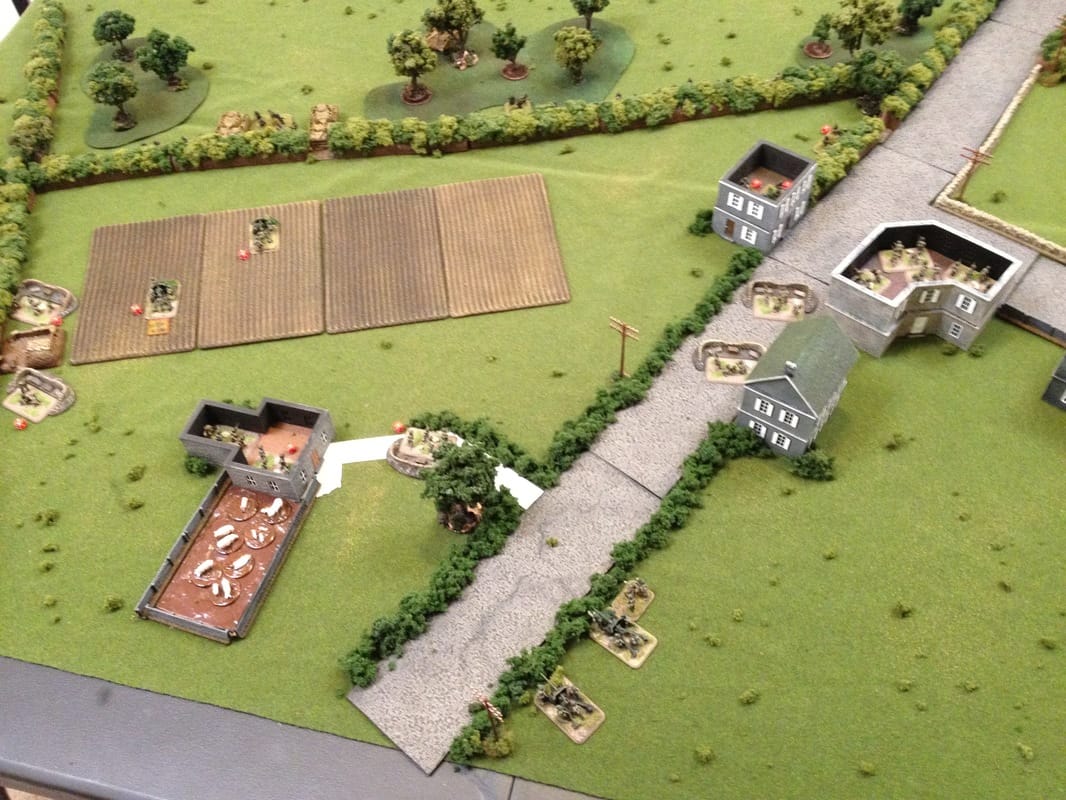
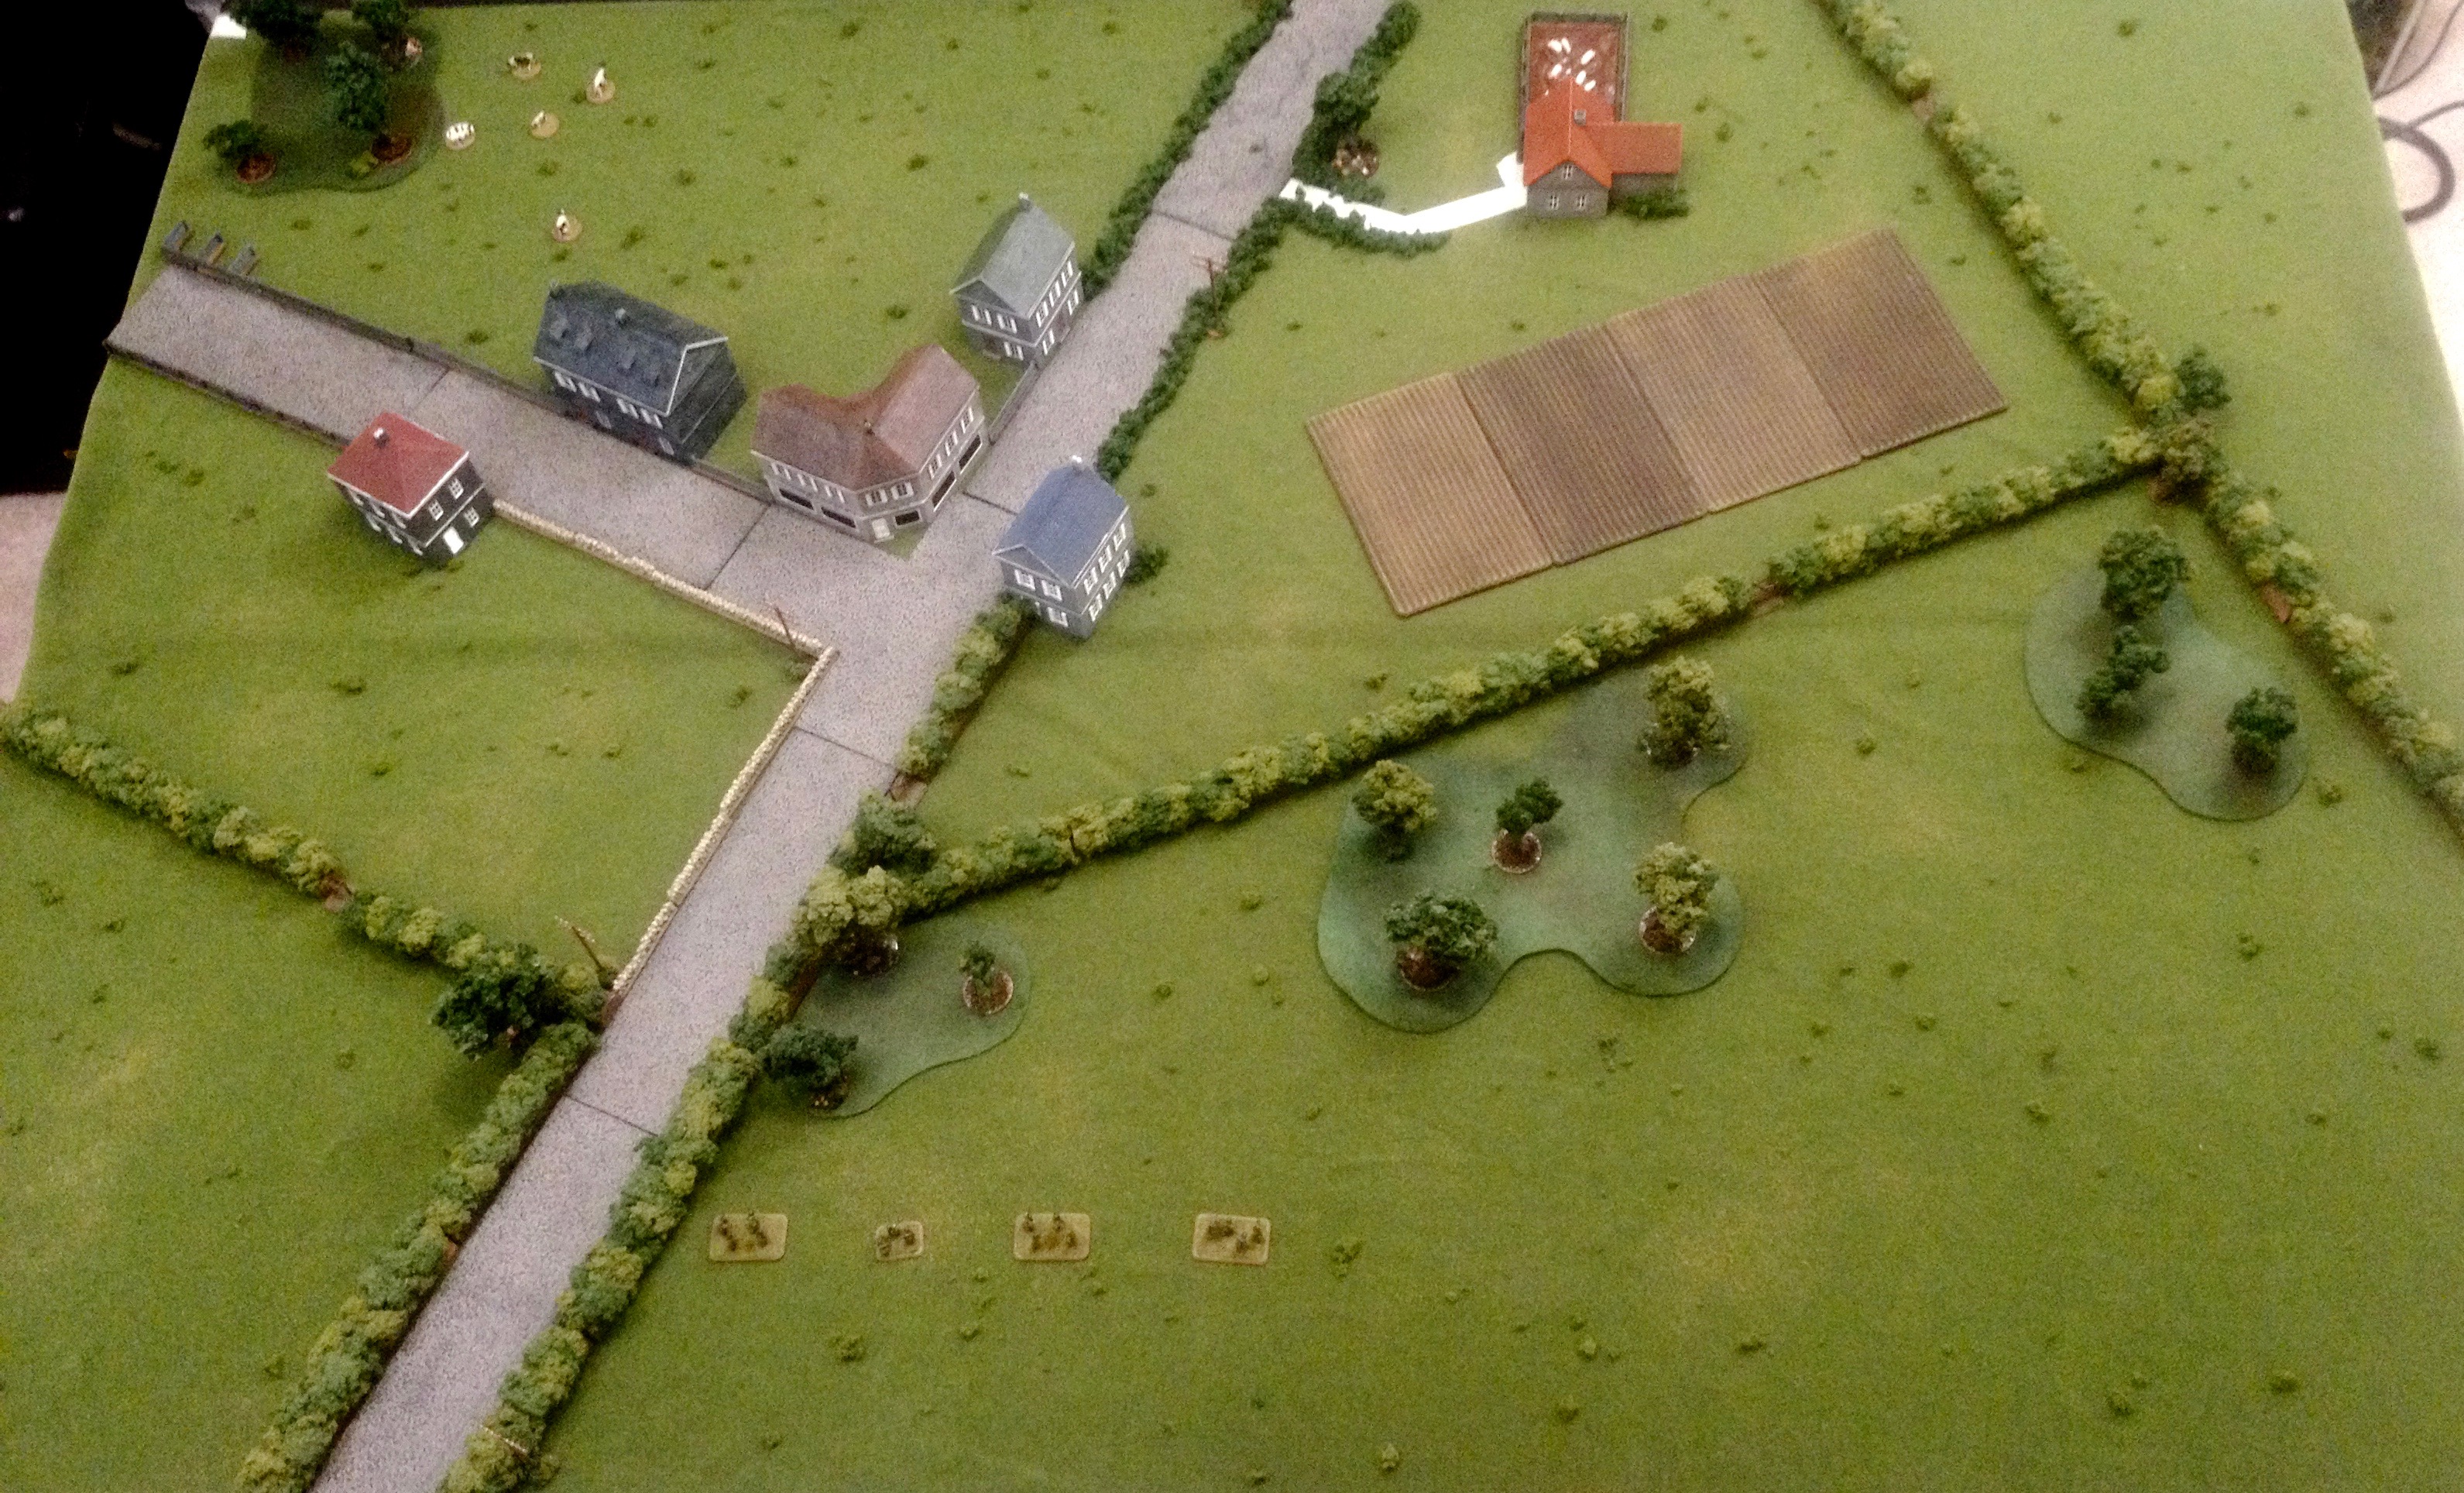
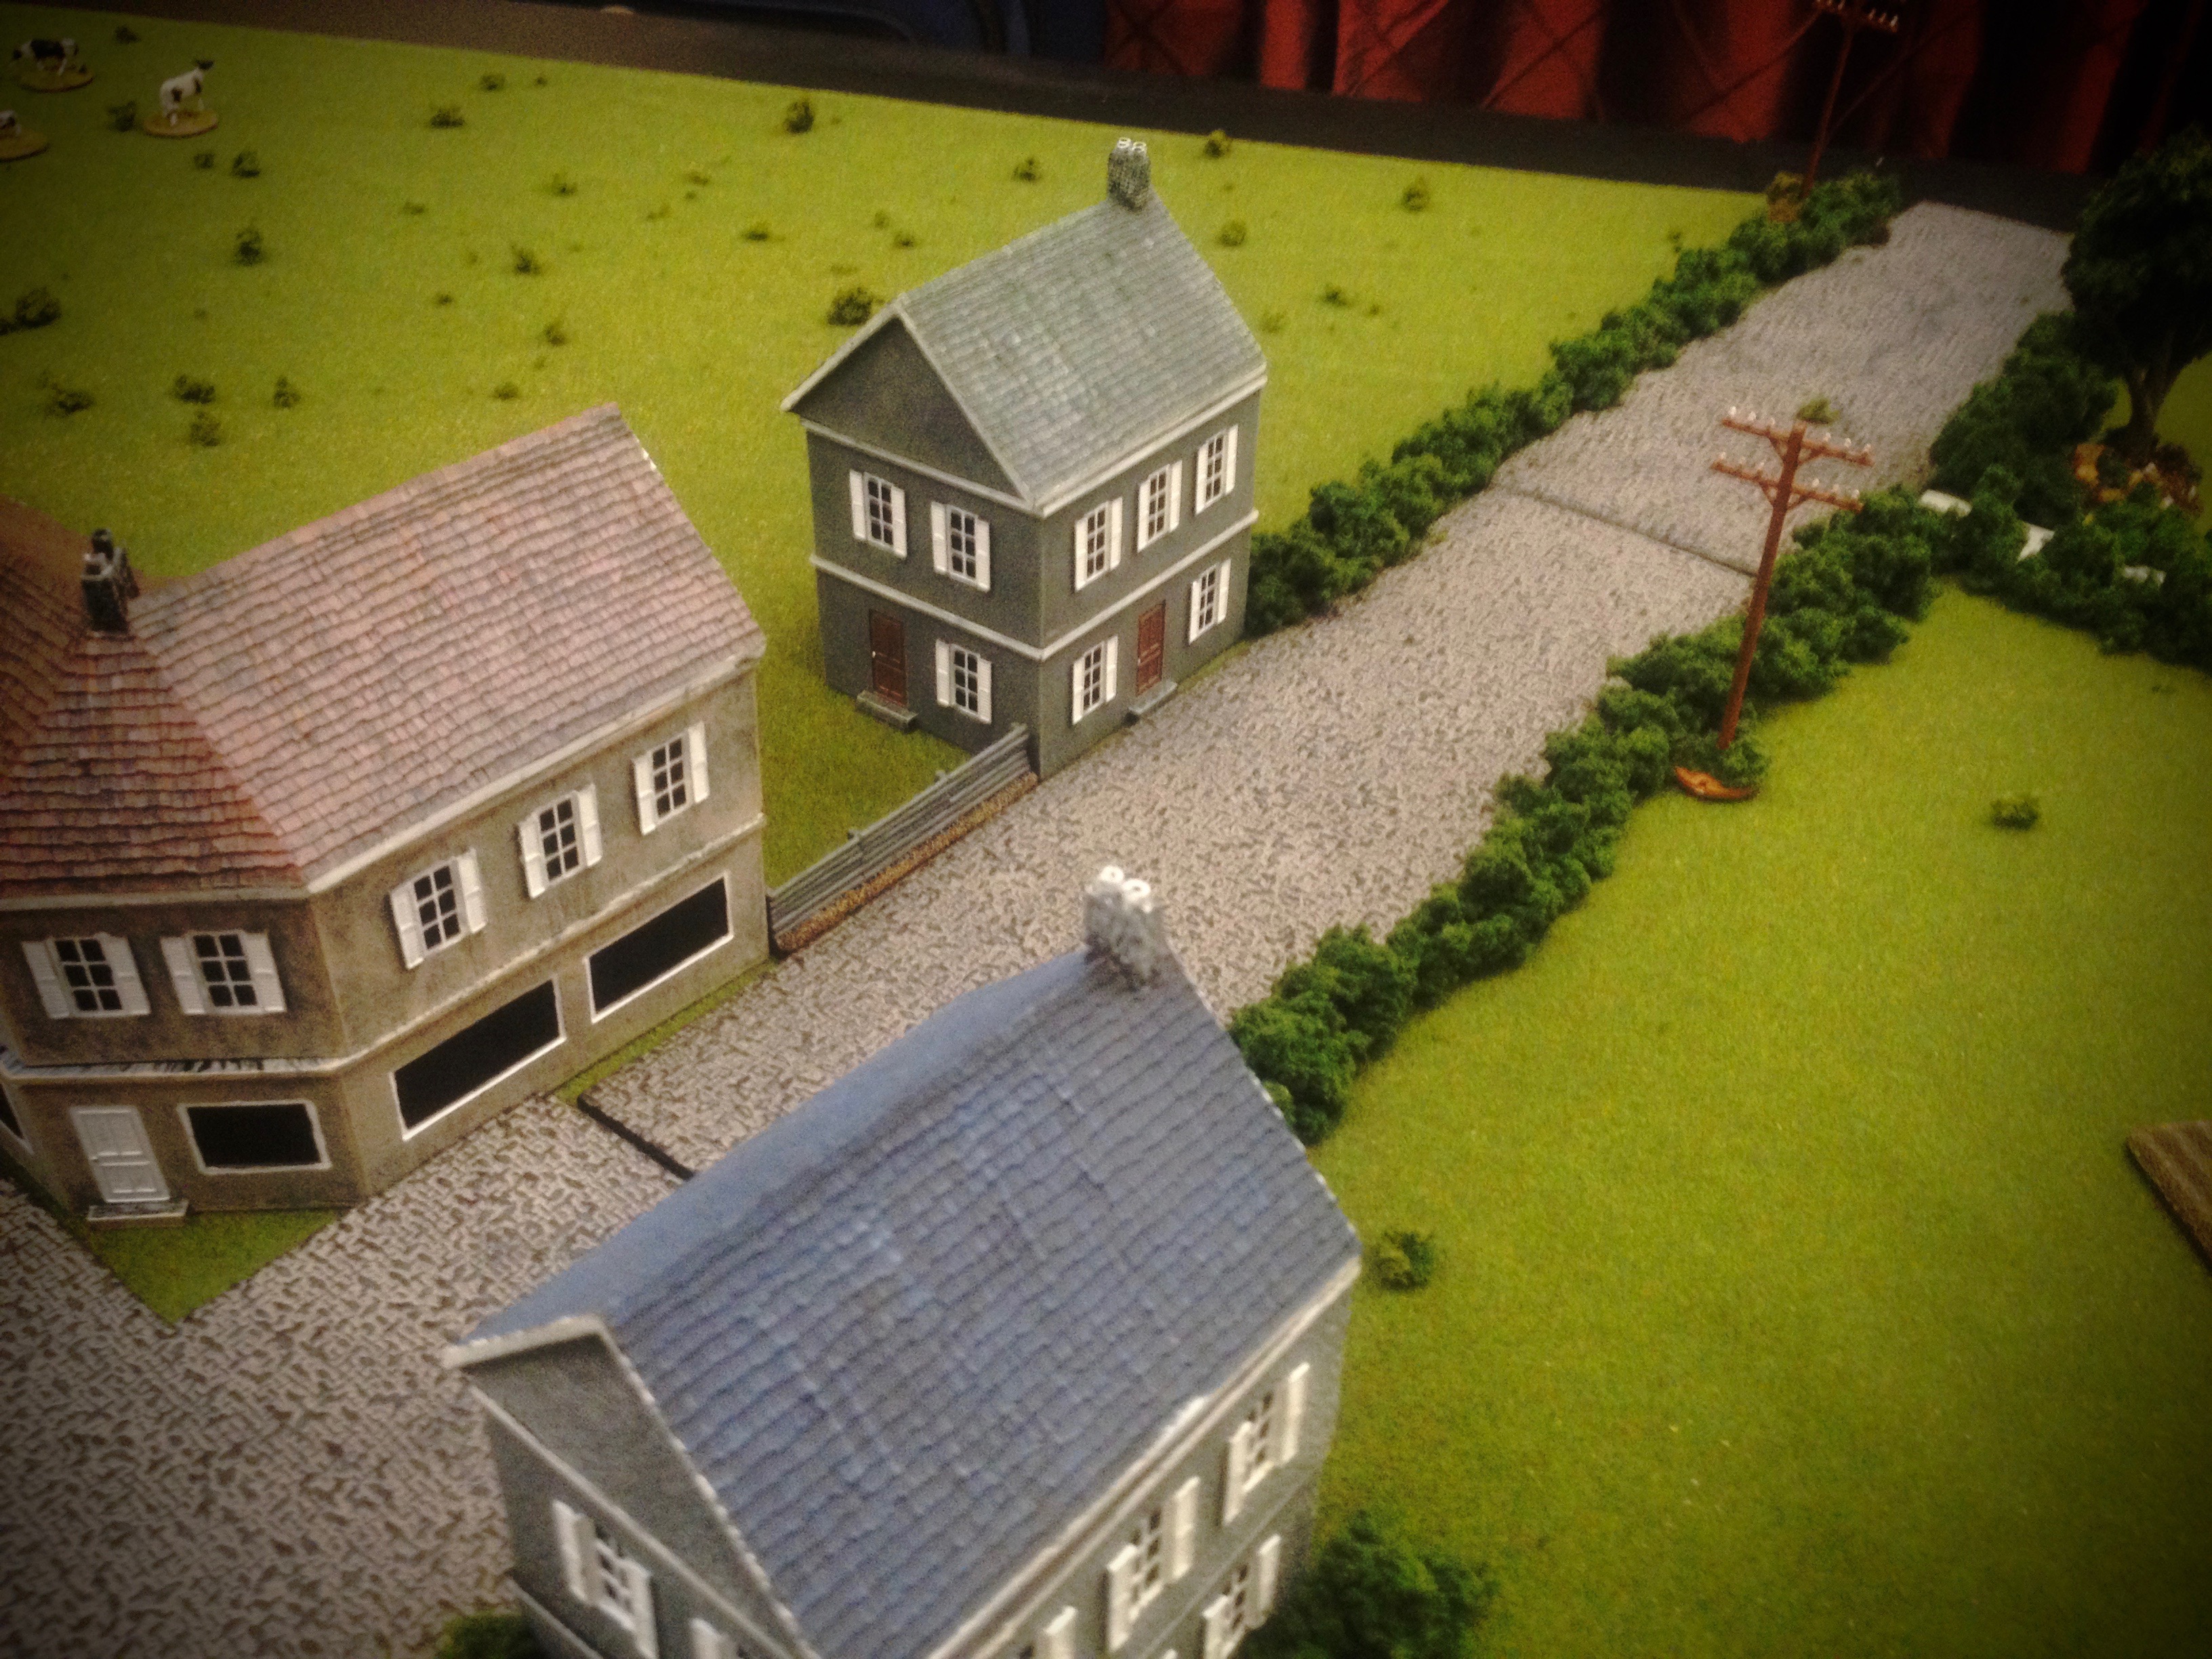
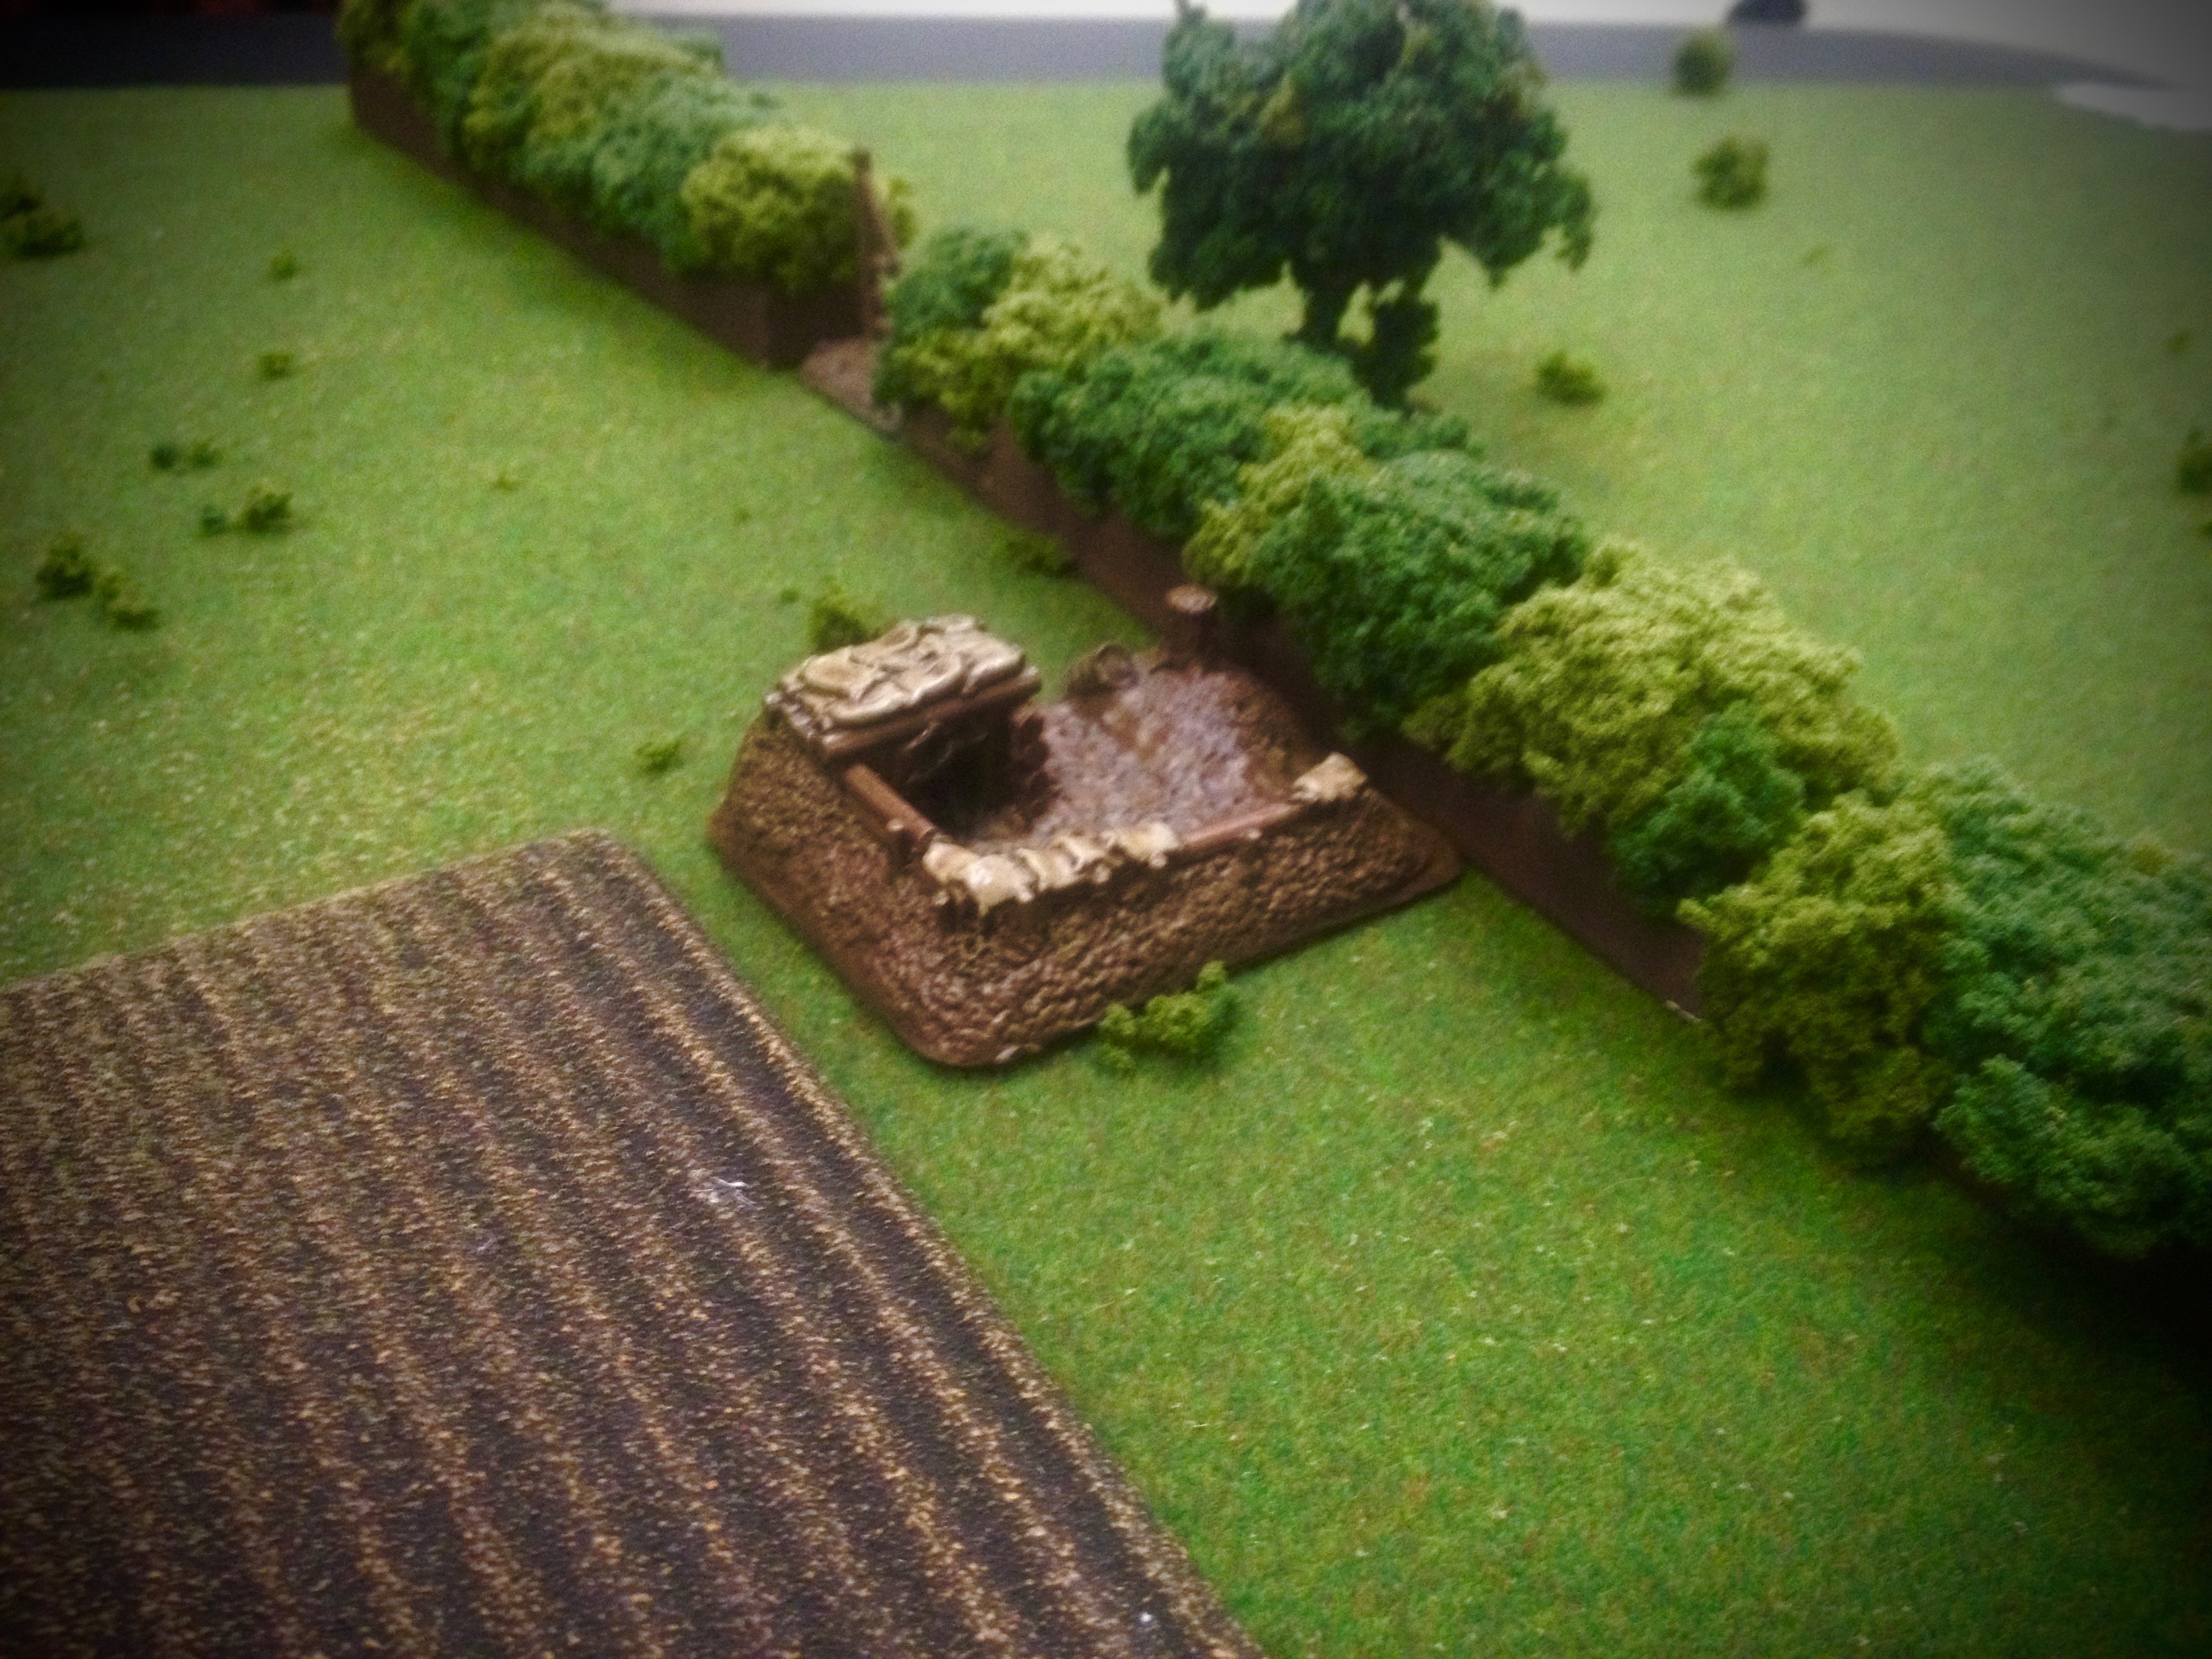
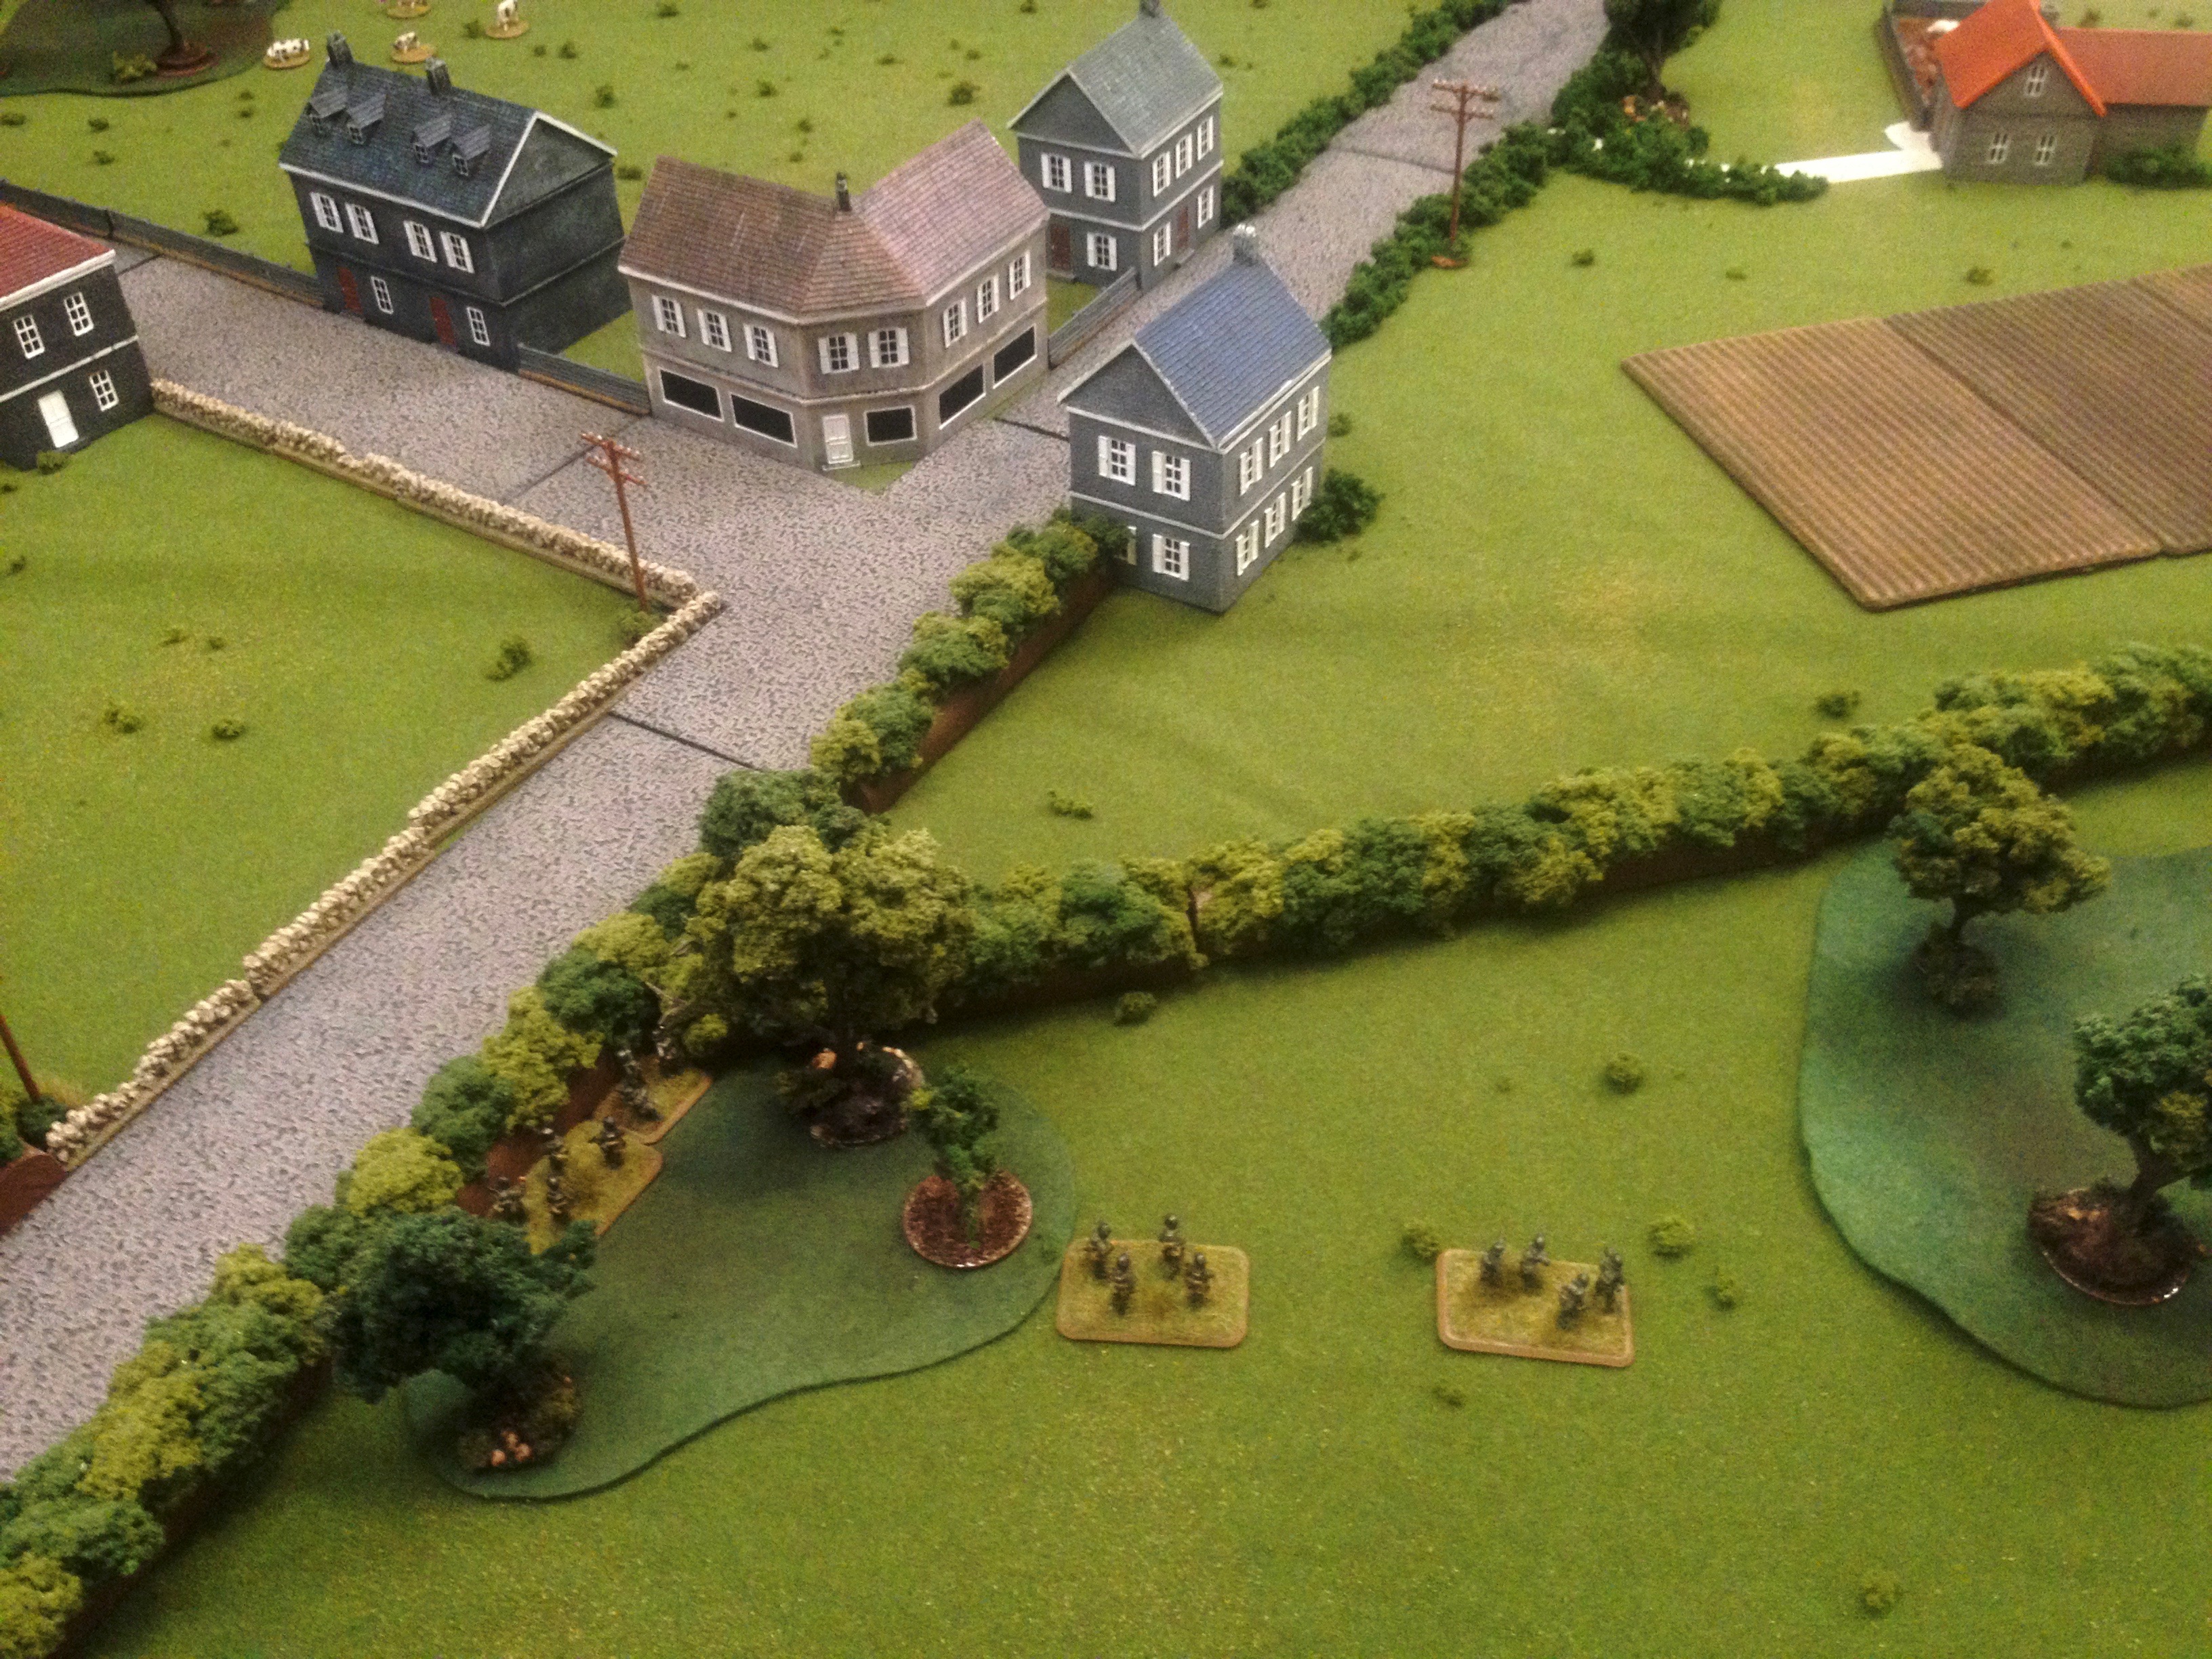
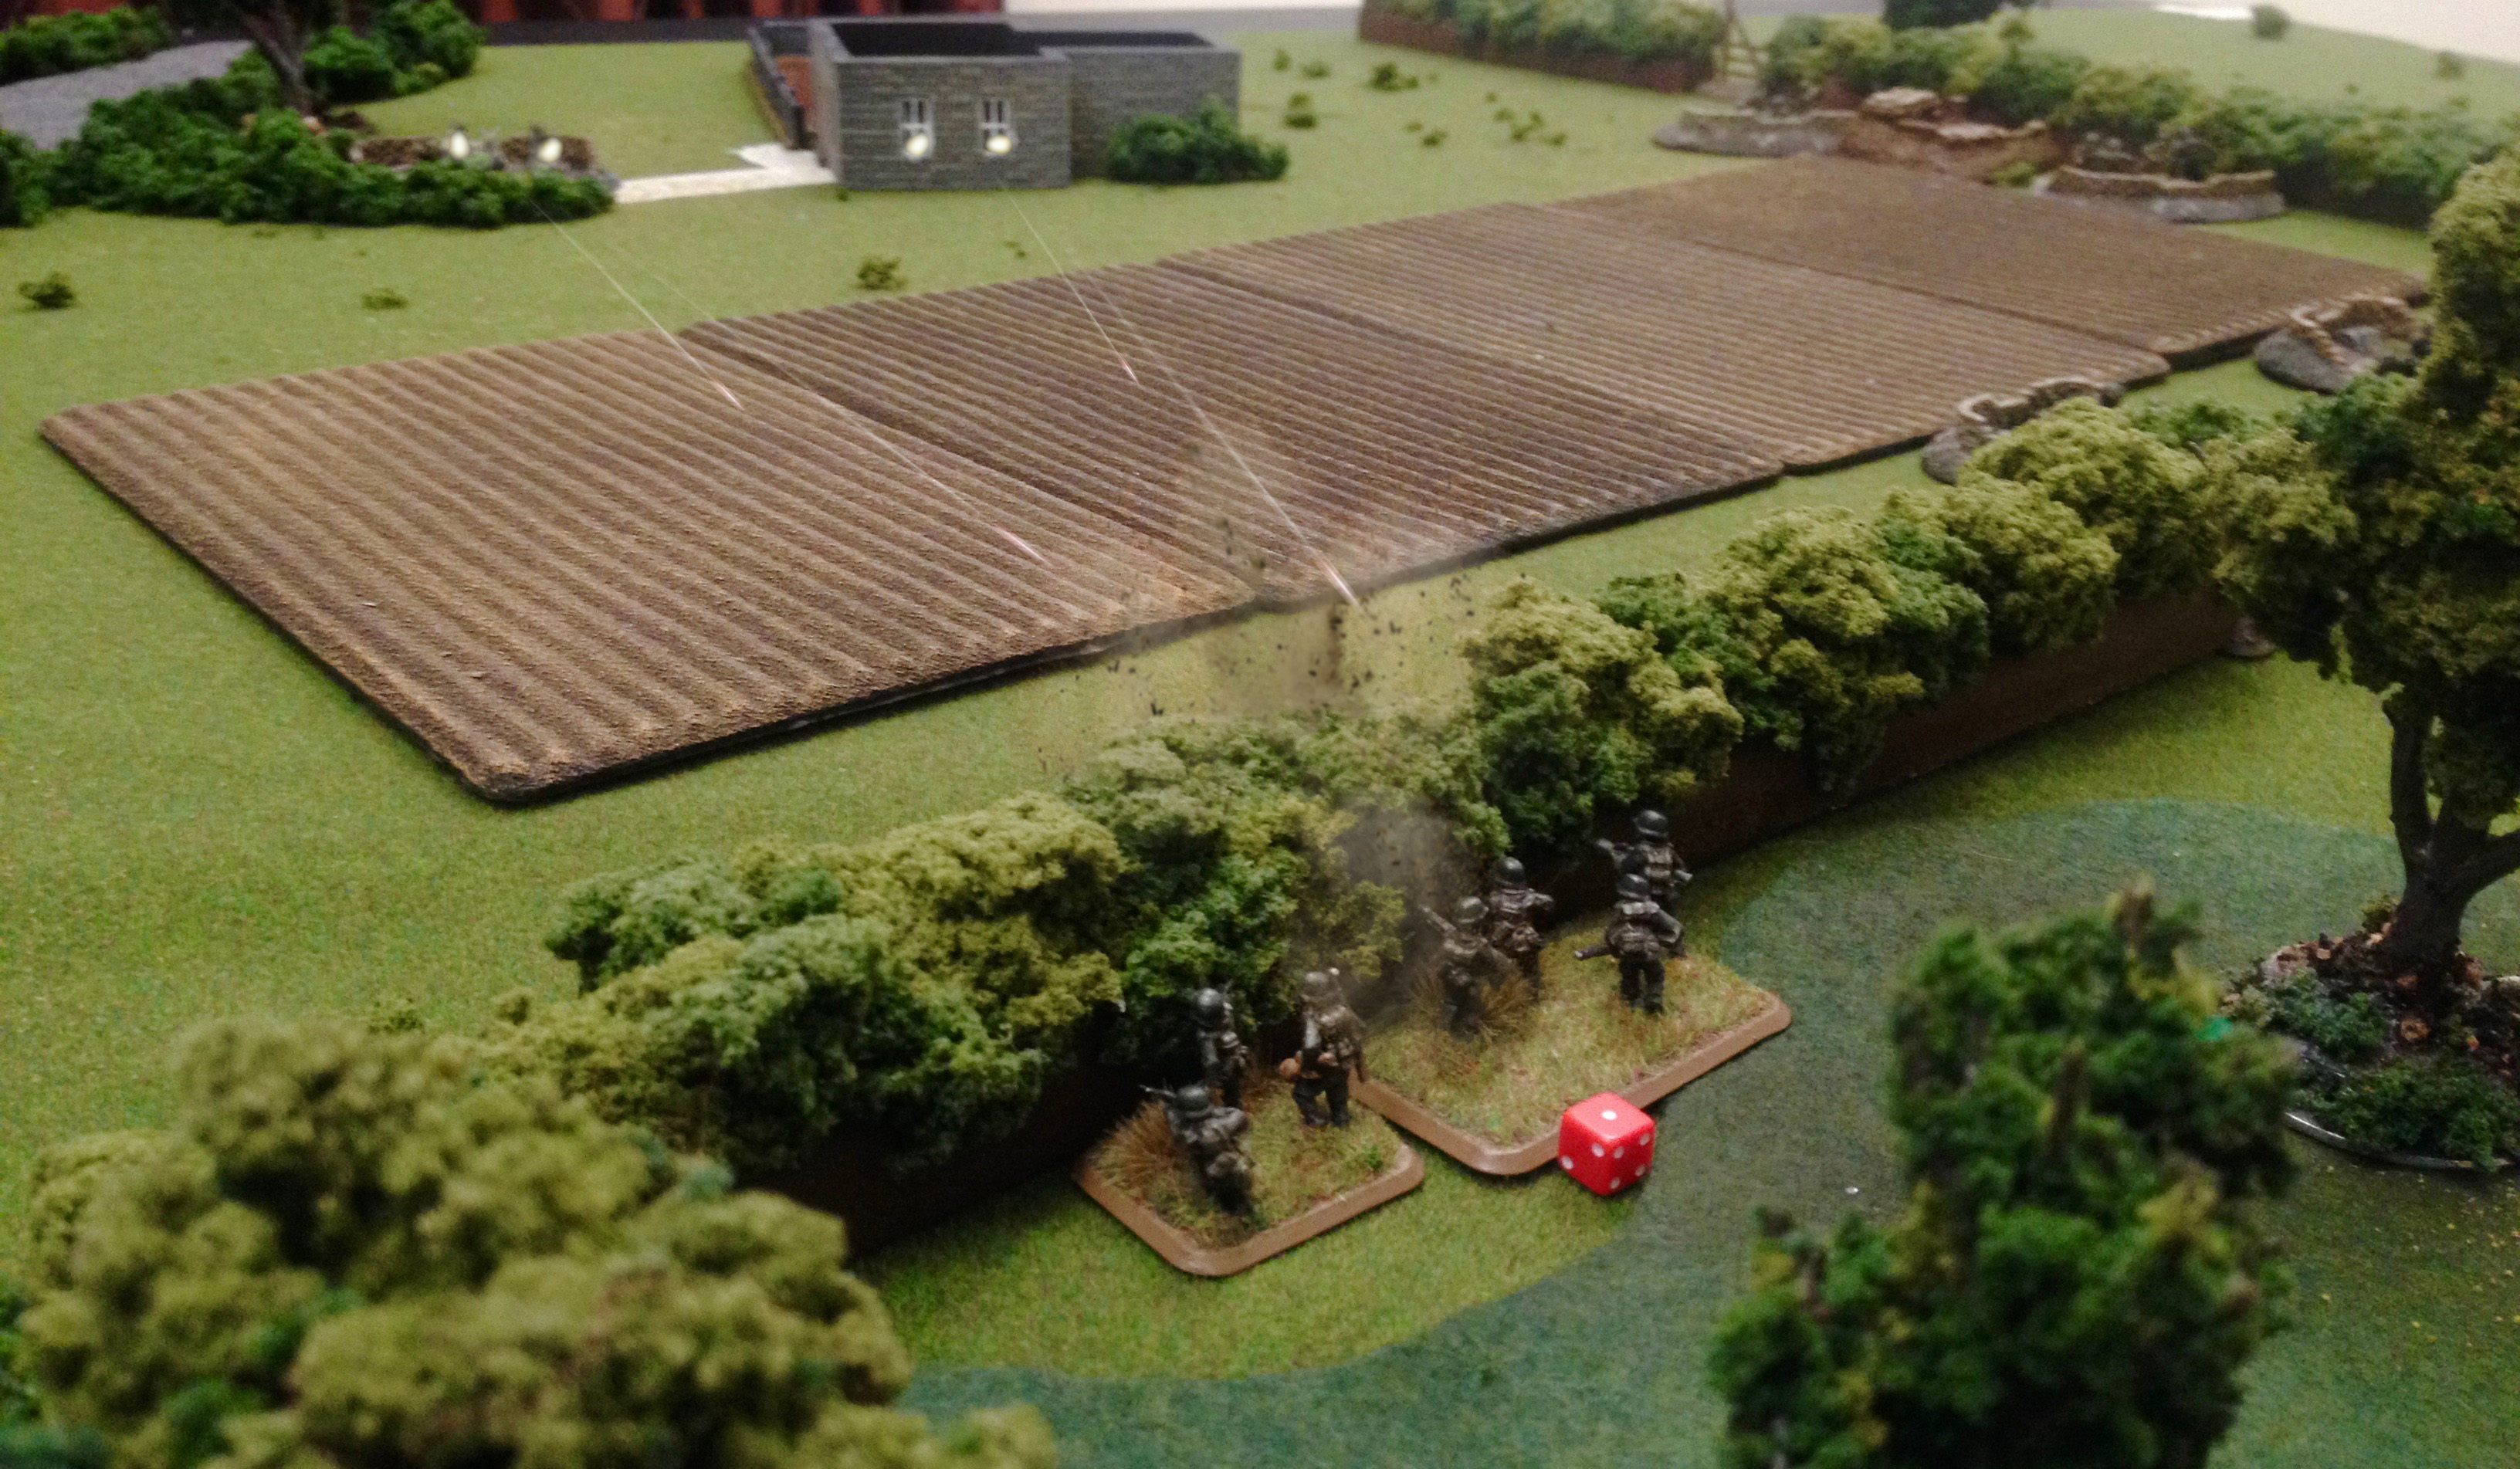
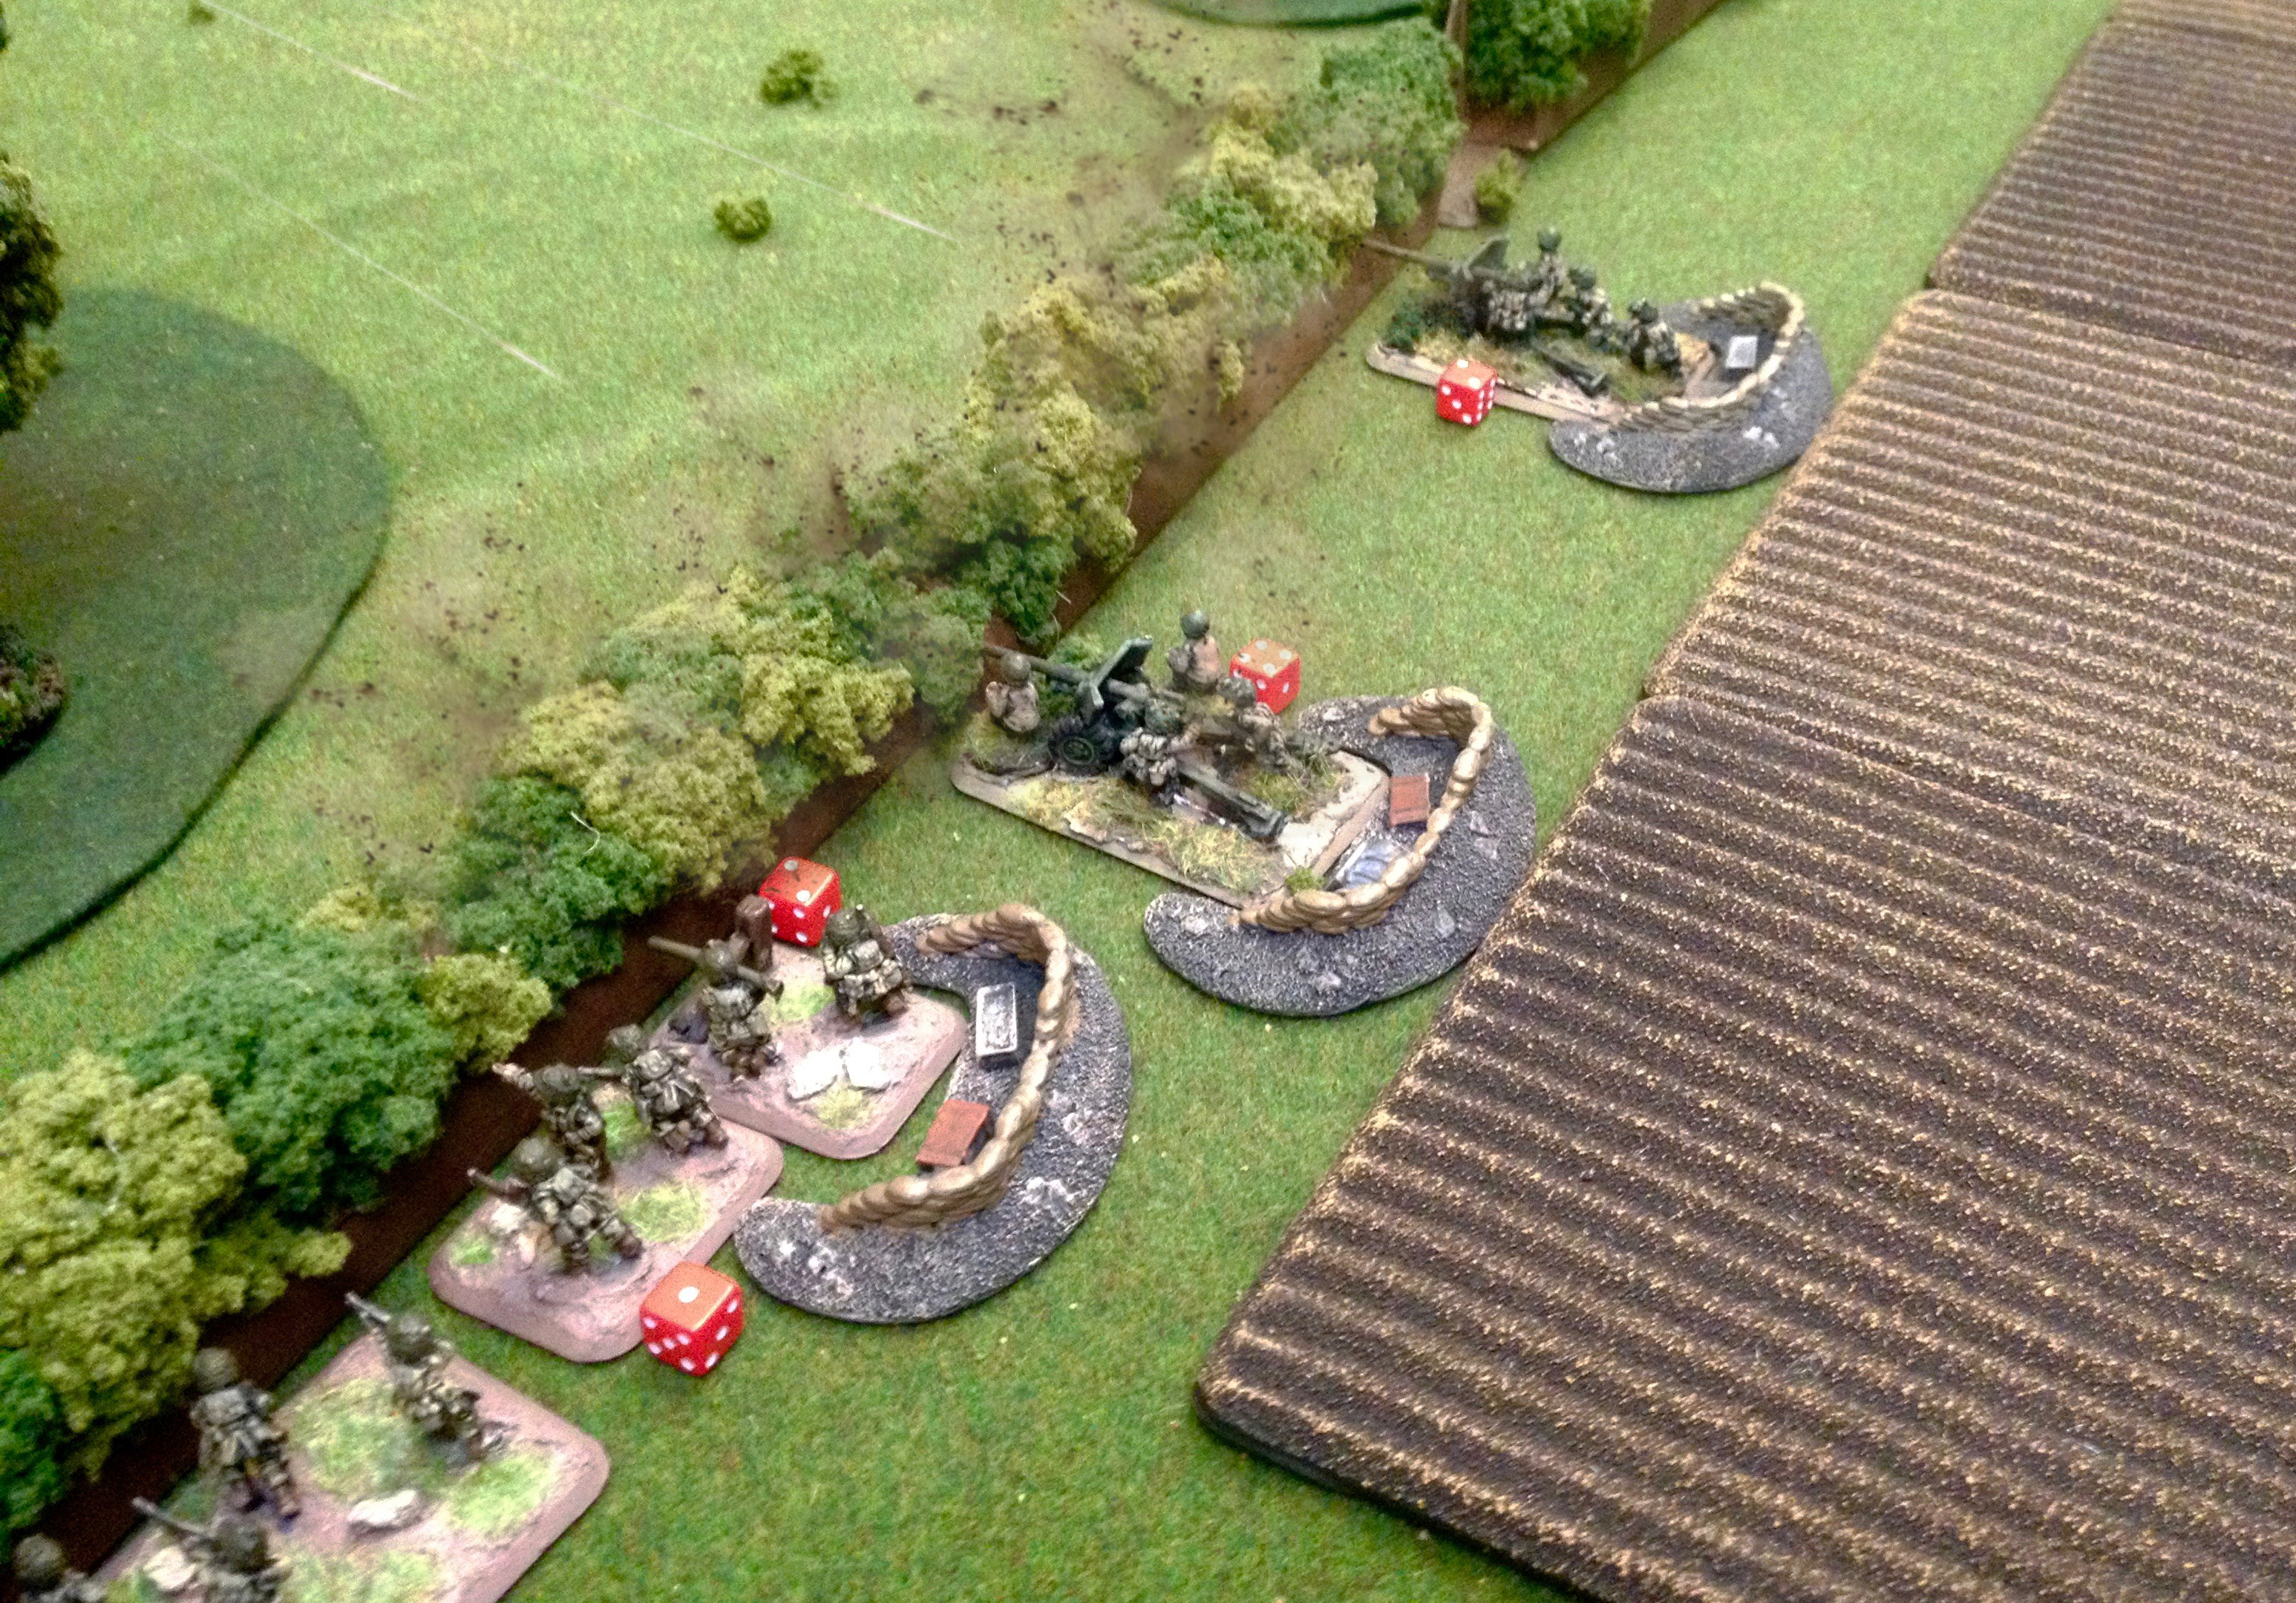
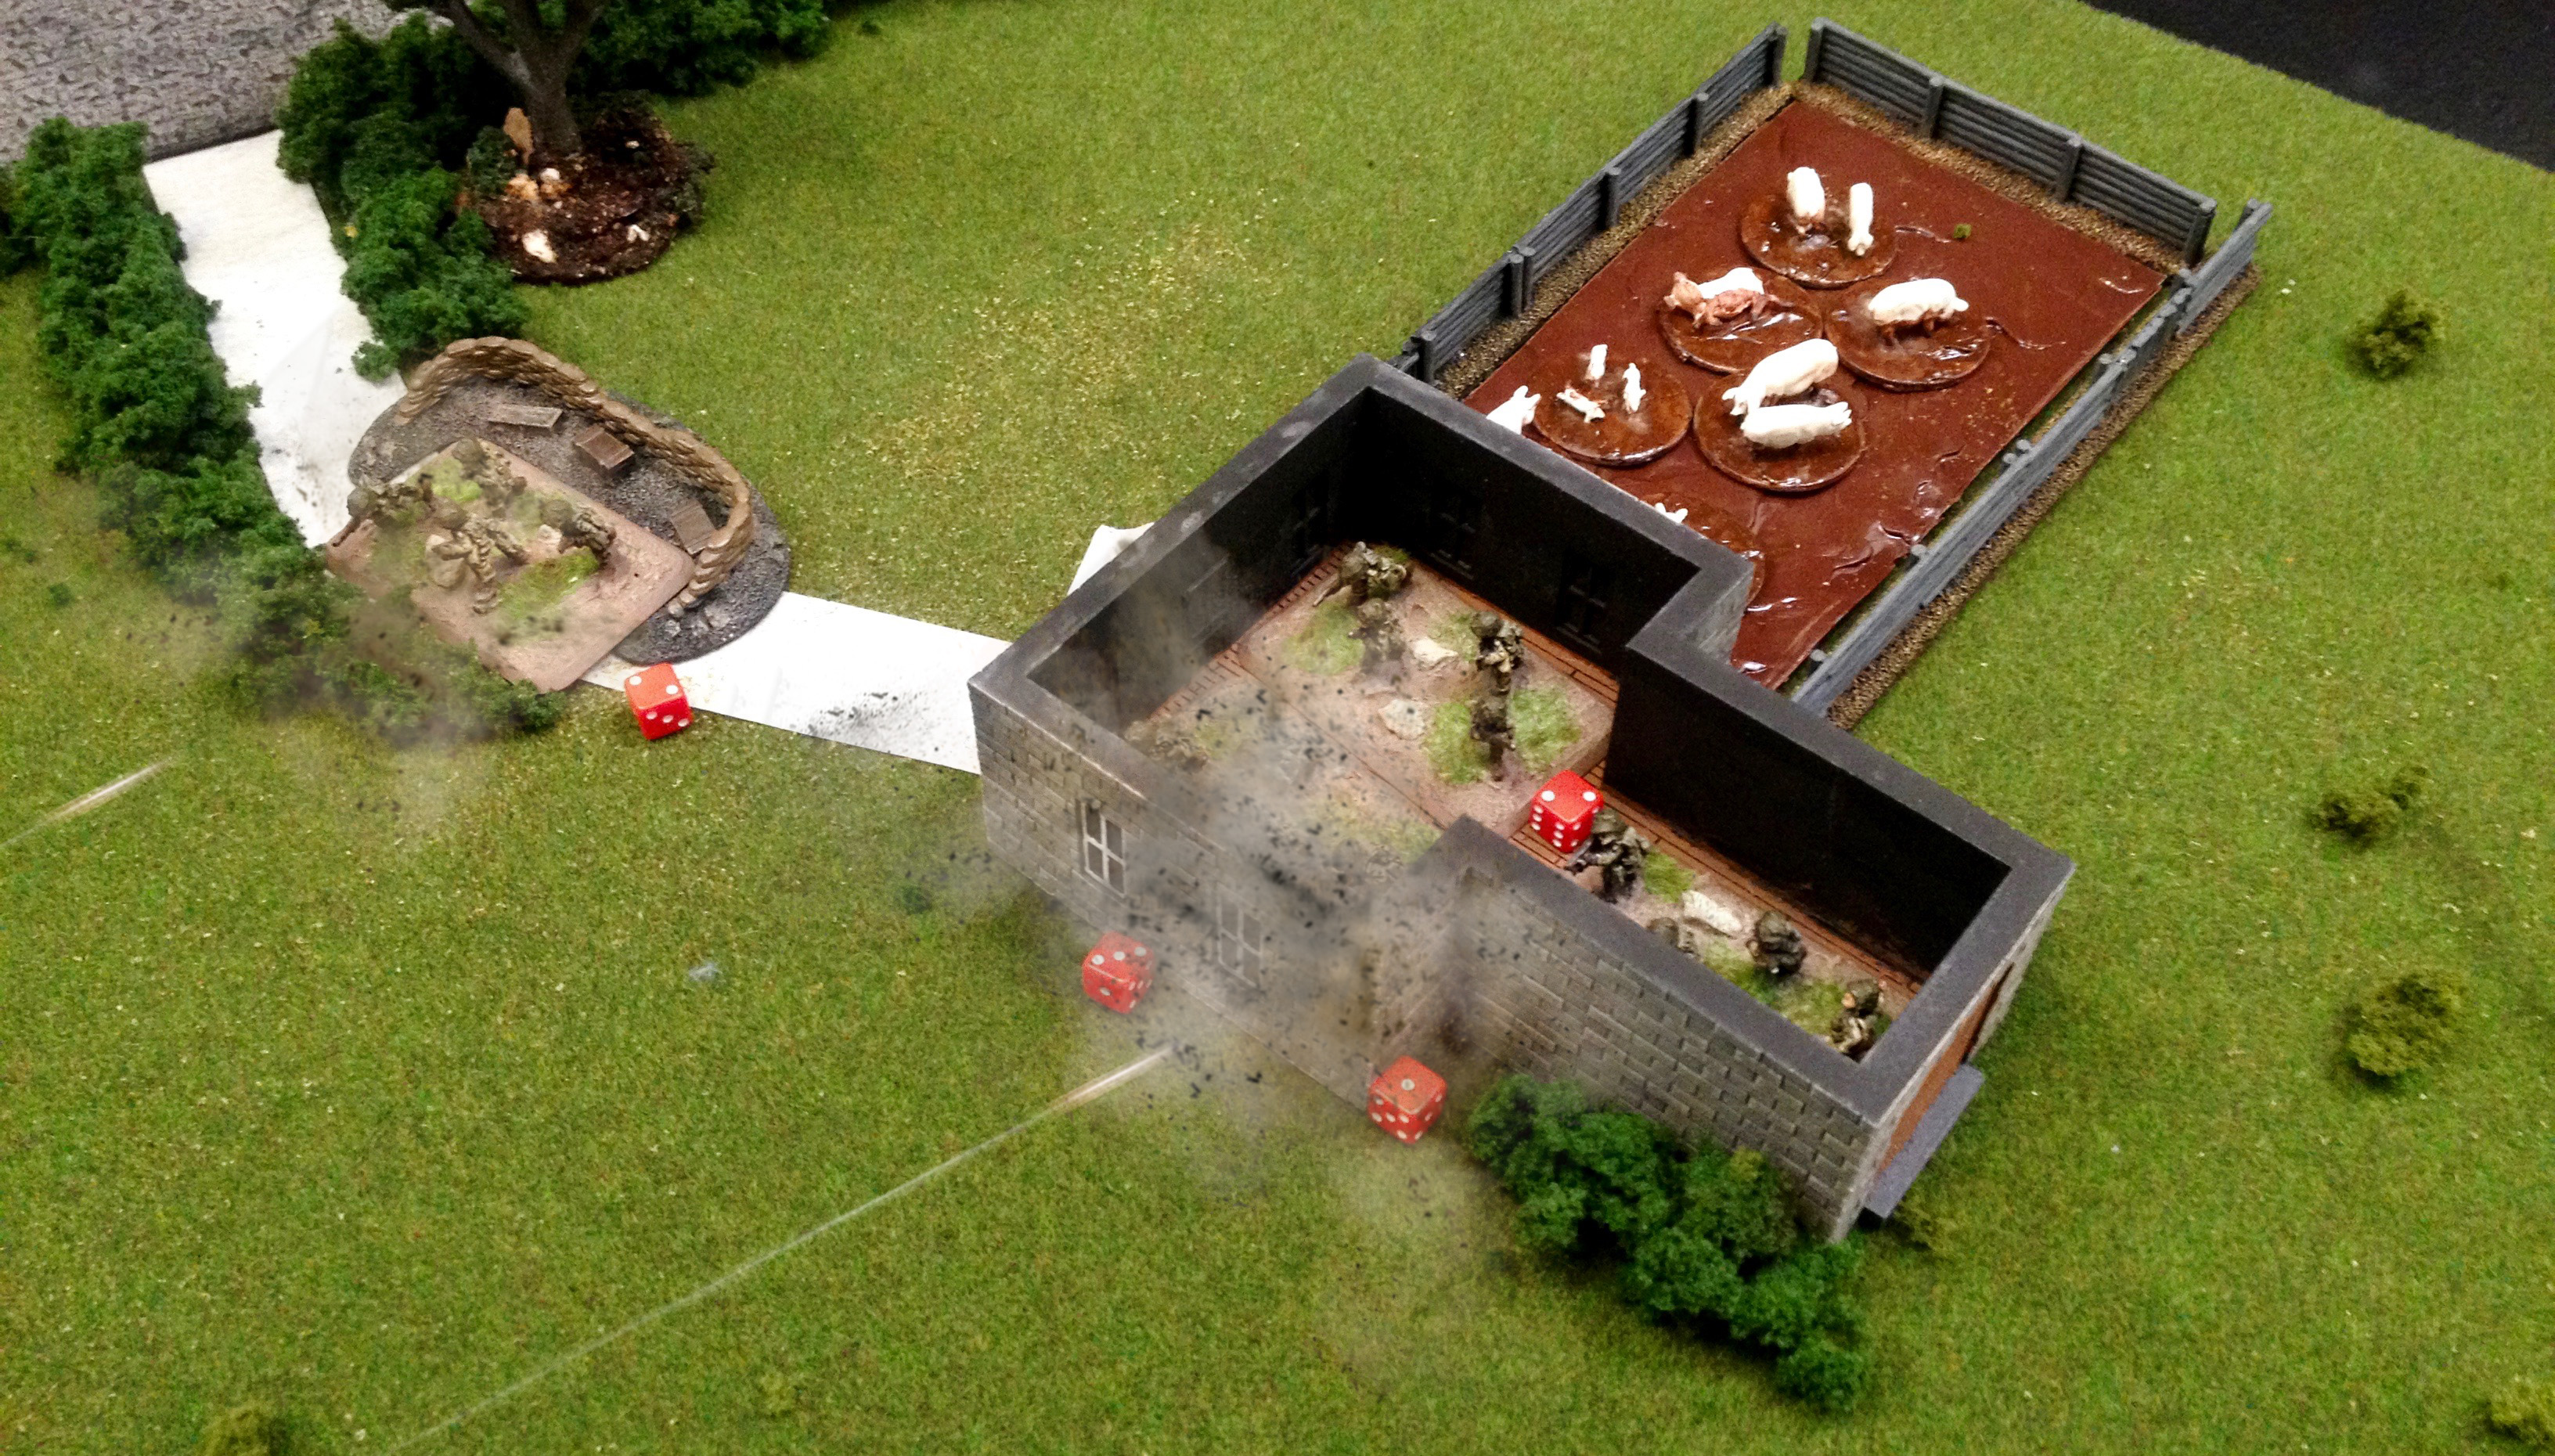
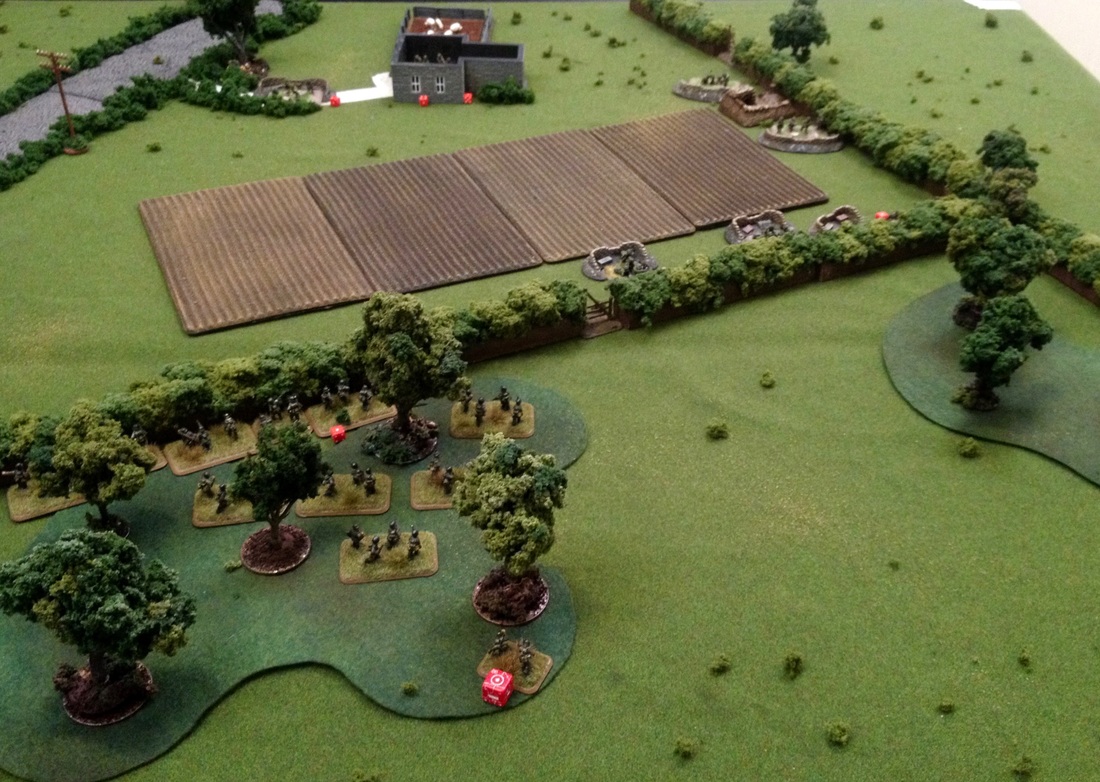
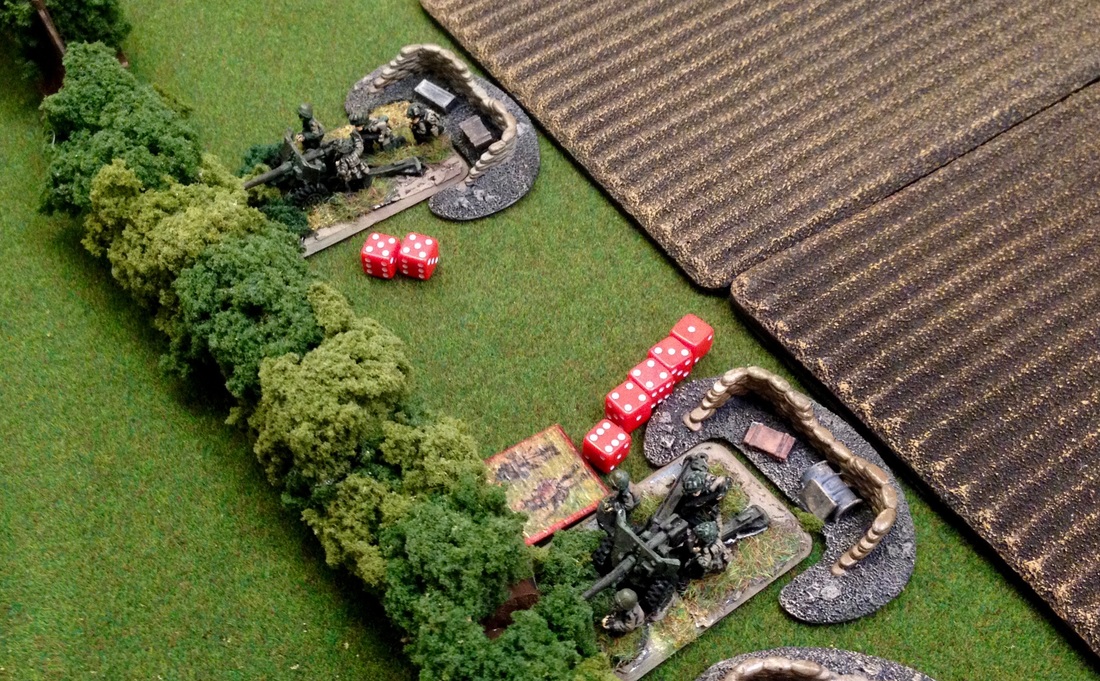
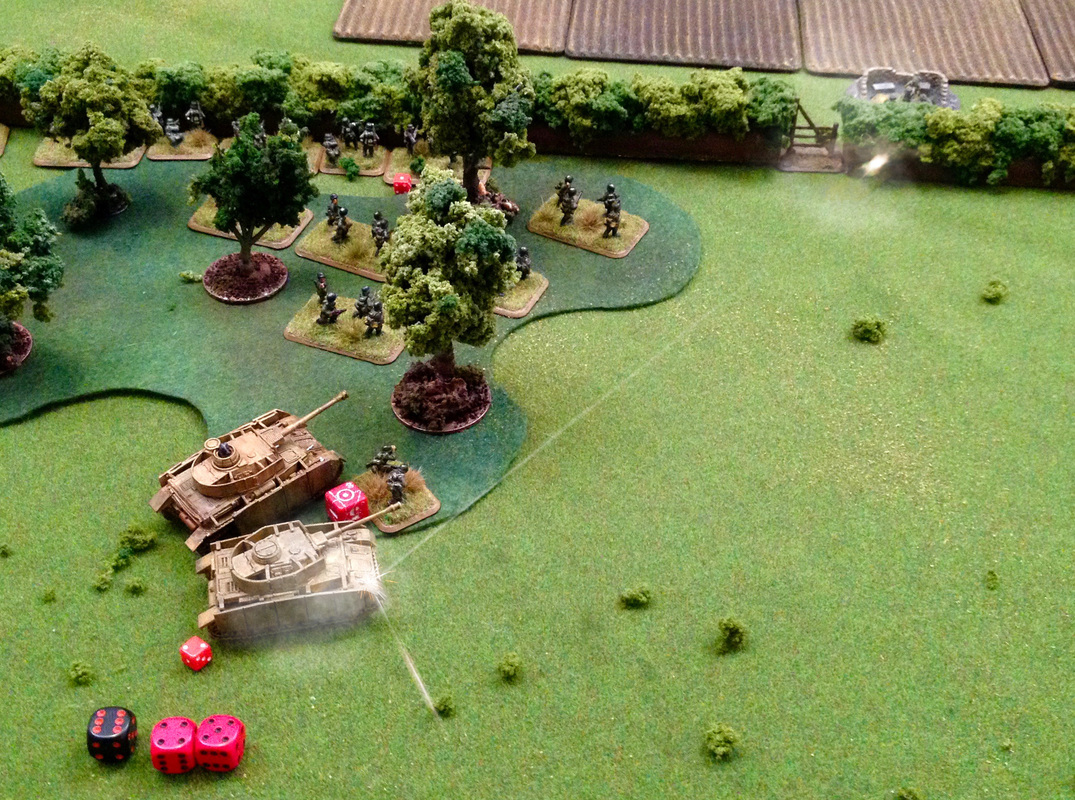
The Axis use their order to observe with the FO and use their last Hero Point to drive on their other tank platoon. Axis pull 1,1 and Allies pull 2. The Germans see a tactical withdrawal as the wiser choice and the battle concludes. *Author's Note 2018: Please note, the game has evolved quite a bit since this article was written. This article represents the game at that point in time, and is still an enjoyable read, if I do say so myself. Thanks!* Instead of doing a picture dump and lazily try to fill in the bits of narrative my feeble brain can remember, I've decided to try and do a legit solo AAR for Hail of Fire, hopefully to allow me to offer a blow by blow account and better explain the systems. So lets get to it! Here is our battlefield: This village and crossroads will make up the battlefield for today's game. American Paratroopers with Glider support will be defending the the North half of the field while the German grenadiers and Panzer IVs will be attacking from the South. Our German force includes six units. Offboard 10.5cm artillery with FO, Recon Infantry platoon, Two x Panzer IV platoon, and two x Grenadier platoon each with attached tripod-mounted MG. Our American Force also has six units. Two x Paratroop Rifle platoon with bazooka and 60mm mortar, 57mm AT platoon, Glider Rifle platoon with bazooka, Sherman Platoon, and offboard 81mm mortars with FO. The US chose the building furthest North to be one objective, and the Germans picked a spot to the East, passed the farmhouse, as the other. The US chose to have their two Para platoons and the AT guns on the table, hidden, leaving the tanks, artillery, and the Glider platoon in reserve. Both sides roll for their Hero Points, Germany getting 6 and the US getting a measly 1. These would normally be kept secret, but as Im playing solo I'll be aware of both. TURN 1 Both sides roll their Order dice with Germany rolling 3 and the US rolling 1. High-roller always takes the difference of the two values, so Germany will start the game with two Order Points and the US with one. As the attacker, the Axis start first and may take as many actions as they want, until line of sight is established with the enemy, at which point Order Points must be spent. The Axis choose to start with their Recon platoon on the table, with the rest either hidden or off the board to the South (you can see the deployment of the Recon platoon in the first pic of the battlefield) . For their first order, the Axis choose to move their recce up to the hedgline, closer to the crossroads. When moving units, two dice are rolled. These teams are Infantry, so they can move up to a number of inches equal to the higher of the two dice. In this case, 6". Infantry platoon leaders move up to twice the distance rolled, and can offer a team in their unit an additional 3" of movement if they end their move in base contact with the leader, which is what happens here as the leader brings a team with him to the corner of the hedgeline. The US can "reveal" their deployed units anywhere they want, without pre-plotting, inside their deployment zone once the game has started, however they have to be either outside of line of sight of enemy, or in concealing terrain and outside a certain number of inches of enemy. Ideally, the US wants to wait to reveal in order to get the best drop on the enemy when they're in the open and unprotected, but because these are Recon troops, the US has to reveal themselves even farther away than they normally would. Once the Germans move too close, the US will have missed their opportunity and will have given the ground to the enemy. The "reveal radius" from these Recon troops goes right up to the building on the corner. These buildings are important features to control, and so the US decides to reveal one of their Para platoons while they still can. The Recon report their first sight of enemy! The US would normally want to use an Order Point to opportunity fire when they reveal, but the angles only allow one paratrooper team to fire at the enemy and the US decides to save the point for better use later. Now that line of sight has been established, the Axis must spend its first of two Order Points to continue. They choose to move their recce again, rolling another 6" up along the hedgeline. With their last Order Point, they choose to move one of their Panzer platoons onto the board. When moving vehicles, roll two dice and add them together. The Panzers move 6". The Axis are now out of Order Points this turn, though they may spend Hero Points as Order Points if they choose. They decide to save their Hero Points and pass initiative to the Allies. The Allies have one Order Point and choose to use it for their once-per-turn Reserves Roll. They roll one die and get a 3. A 5 or 6 would grant a result, so they get nothing this time. The US can also use Hero Points if they wish, but choose to save them and Turn 1 is over. Before Turn 2 begins, the Germans need to pull two chits from the digital chit bag, one for each objective they do not control. They pull a 0 and a 1. As the battle goes on, both sides will continue pulling chits (normally keeping the total secret from their opponent) and once their total reaches a certain limit, their force routs and the game is over. This total is 10 plus 2 for each unit in the game. As both sides have six units in this game, that means when one side has reached 34 points, the game is over and that player has lost the fight. TURN 2 Both players now roll order dice. Axis: 5, Allies: 4. This means the Axis will have one Order Point this turn and the Allies will have four and start as the active player. They choose to roll for reserves immediately, using three of their Order Points to roll three dice. 1, 1, and 4... Nothing. They choose to save their last point for reaction and pass the initiative to the Germans. The Axis have a powerful tool in their Recon unit, and after forcing the US to reveal one of their elite units on one side of the field, they chose to use their one order to continue to sneak 5" Northeast along the bocage and see what they can find. The US recognizes that the German Recon is quickly gaining control of the Eastern fields, and decides its now or never to make sure their teams are in place. The Recce has done their job... The US reveals the second Para platoon, placing four rifle teams across the field in the farm house, a rifle team and mortar team by the objective, and a rifle, bazooka, and platoon leader over on the far East corner of the bocage. Two of the four 57mm guns are also placed on the bocage eyeing the panzers' approach. Bocage is very thick and only offers a 90˚ field of view when trying to see through it, allowing the guns to deploy closer than the usual 16" from the Recon teams as they are out of line of sight. The US uses their last Order Point to opportunity fire on the just-moved Recon troops. The afformentioned bocage means many in the para unit are at too steep an angle to see the enemy troops, only allowing for the four rifle teams by the farm house to fire. As they all have line of sight to their platoon leader they may all fire together as one order, though one team would have to fire through another friendly team, and so must sit this one out. Three rifle teams mean six dice rolled. 4+ to hit enemy in the open, but the Recon troops are concealed by the bocage (5+) and are at long range for the rifles (6). They must choose an enemy team to be the target of the fire, and declare the German rifle team in contact with their leader. If more than one hit is rolled, it will be allocated out to other valid target teams within 6" of the declared team. Only one "6" is rolled and the target is marked with a single "Received Fire Point". RFPs are resolved when the team is next ordered to do something, and result in the team being either Ready, Suppressed, or Killed. This causes neither player to immediately know the effect of shooting until the team either moves or fires back. The Axis are out of Order Points, but are still considered the active side until the turn ends and so choose to use one of their many Hero Points to issue another order. Now that they have a glimps of two of the Allied anti tank guns, the panzers immediately receive the order to unleash their machine guns into the bocage. Only two of the tanks have an angle to see the the declared target, and so a total of eight dice from their machine guns are rolled. The target is concealed and at long range, so 6's are needed to hit, and five 6's are rolled! Received Fire Points are allocated to the target gun, as well as the second AT gun, and the bazooka and leader teams from the paratrooper platoon who are also valid targets and within 6" of the declared target team. Another Hero Point is spent to fire again, scoring three more hits, and another point spent to fire yet again, scoring another hit. Nine RFP's have been allocated out and the Germans choose to end the turn, saving their remaining three Hero Points. The Axis pull two chits from the chit bag: 0,2. TURN 3 Order Dice are rolled. Axis: 2 / Allies: 4. This leaves both sides with two Order Points, but the side that rolled higher will start the turn as the Active side. The Allies main concern is getting their reserves before it's too late. They use both of their Order Points to roll two dice for reserves. 1, 3. Nothing. They pass to the Germans who reveal their first Grenadier platoon right behind the recce troops, placing the machine gun with their leader and a rifle team up on the bocage, and the rest of the platoon in the woods right behind them. Both the defender and the attacker may deploy hidden units on the field. In addition to not being near or in sight of enemy, they must also be either in their own deployment area, or further forward as long as they are revealed behind their forces most forward team on the field, as happened with these grenadiers. They spend their first Order Point to fire on the paras at the farmhouse. The rifle team rolls two dice and needs 6's to hit, while the tripod MG rolls four dice and doesn't suffer the penalty for long range, hitting on 5's. Also the MG team has its platoon leader in contact with them, allowing them to re-roll their misses. Not a single hit is rolled! The Axis use their last Order Point to fire again, scoring two hits. And before ending the turn, they use one of their Hero Points to fire a third time. Four more hits! The Germans pull two more chits from the bag: 2,2. TURN 4 Order dice - Axis: 6 / Allies: 2 (4/2) The Axis fire again on the farmhouse, scoring two hits (which is how we arrive at the eight RFPs shown in the photo above), and again, hitting once more. The PzIVs then fire their MGs at the AT guns. Eight dice, needing 6s. One hit. With their last Order Point, they reveal their artillery's Forward Observer in the woods behind the bocage, and mark it as "observing". If the FO doesn't move or fire for the remainder of the turn, a ranging round will land at the begining of the next turn. Rather than use either of their two remaining Hero Points, the Axis pass initiative to the Allies, who use their first order to have their AT guns "Go to Ground". This allows teams in the open or in soft cover to resolve their Received Fire Checks as though they're in hard cover, and those in hard cover (like these dug in guns) to count "killed" results as "suppressed". However they wont be able to be issued any more orders for the remainder of the turn. One gun rolls well enough to be "ready" next turn, while the other is suppressed. Thankfully they went to ground, as the roll of 1 would have detroyed them otherwise. (Result of Received Fire Checks laid out below) [NOTE FROM FUTURE BRANDON: I realize now that because the teams don't have line of sight to their platoon leader, these guns could not have been ordered togteher to Go to Ground. I would have to order only one and resolve it. I cheated... against myself.] The Allies use their last Order Point to roll one die for reserves and get a 3. Still nothing. They pass and the turn is over. The Axis pull two chits: 2,1. Turn 5 Before Order dice are rolled, the observing FO sees where the artillery's ranging round lands. The small crater marks the desired location for the barrage, a d10 is rolled to point in a random direction (a GW scatter die works too) and 2d6 determine the distance the ranging round lands (with a 10 or more resulting in a direct hit from offboard guns). 8" puts the round some where in the woods and too far away from the enemy to lead to an effective barrage. The FO gives the artillery crew corrected coordinates and will see where another ranging round lands at the begining of the next turn. Order dice - Axis: 3 / Allies: 3 Both sides roll the same number on their Order Dice, meaning however many Hero Points they had left, if any, go away and they roll for new points. Axis go from two points to three points, and the Allies go from one to six! Order dice are re-rolled. Order dice - Axis: 5 / Allies: 4 (1/4) The Allies spend their first order to fire one of the AT guns at the panzers. Because I, for reasons I honestly can't remember, chose to keep the AT platoon leader hidden with the other two guns, the guns are not both in line of sight of the platoon leader and so must be given and resolve orders individually. Two dice at the target tank, in the open and in range, 4+. No hits. They use the rest of their Order Points to roll three dice for reserves. 4, 3, 1. "They're never coming, are they..." Initiative is passed to the Germans, and they try to move the panzers out of the line of fire. They move 7", splitting up to go to the woods on either side of the field. The Allies use a Hero Point to order the suppressed AT gun to op-fire. A Rally Check is performed first and the gun passes and is no longer suppressed and so may fire. Two shots at a concealed tank, no hits... The Axis use a Hero Point of their own to move the panzers again, into more protected firing positions. The leader tank tries to move through the woods, but fails its Quality Check and is slowed, stopping 1" into the terrian. The Allies use another Hero Point to op-fire on the panzers. One hit! For each hit on the tank, the Allies rolls a number of dice equal to the gun's AT rating (AT:3). For each point of AT higher than the PzIV's armor rating (AR:1), a Penetration die (or Pen die) is rolled, and the rest are "Ping" dice. Ping dice cause an RFP on a 6, while Pen dice cause RFPs on a 4 and 5, and destroy the vehicle immediately on a 6. The allies roll two Pen dice and one Ping die, resulting in two RFPs on the hit PzIV. (I must have knocked one of the red Pen dice when I moved them for the picture, as the rolls shown would have resulted in three RFPs rather than the two I wrote down in the notes...) And that's where we leave the first part of our report. Part 2 to come!
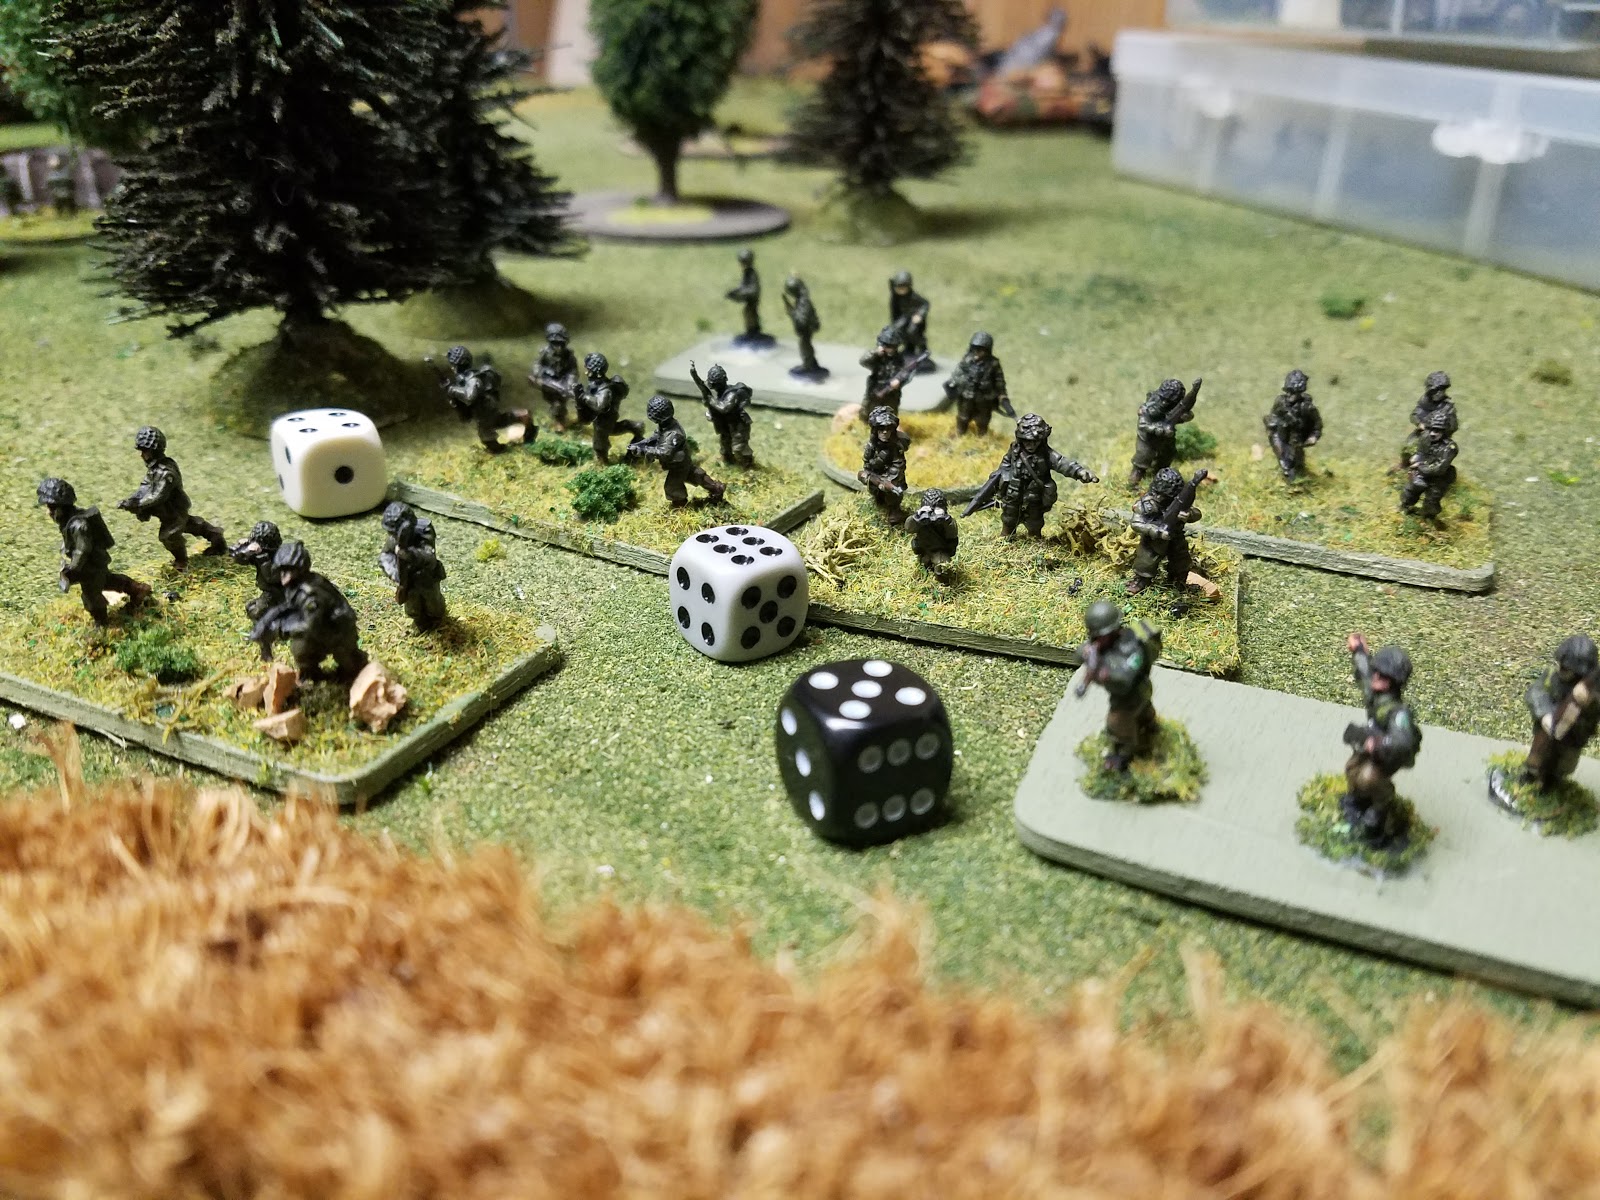
A short, two part Hail Of Fire AAR from "Sound Officers Call!" The elite paratroopers of the 101st try to take the German positions, but get more than they bargained for... Screaming Eagles Attack! |
RETRO BOOMArchives
December 2018
Categories |














 RSS Feed