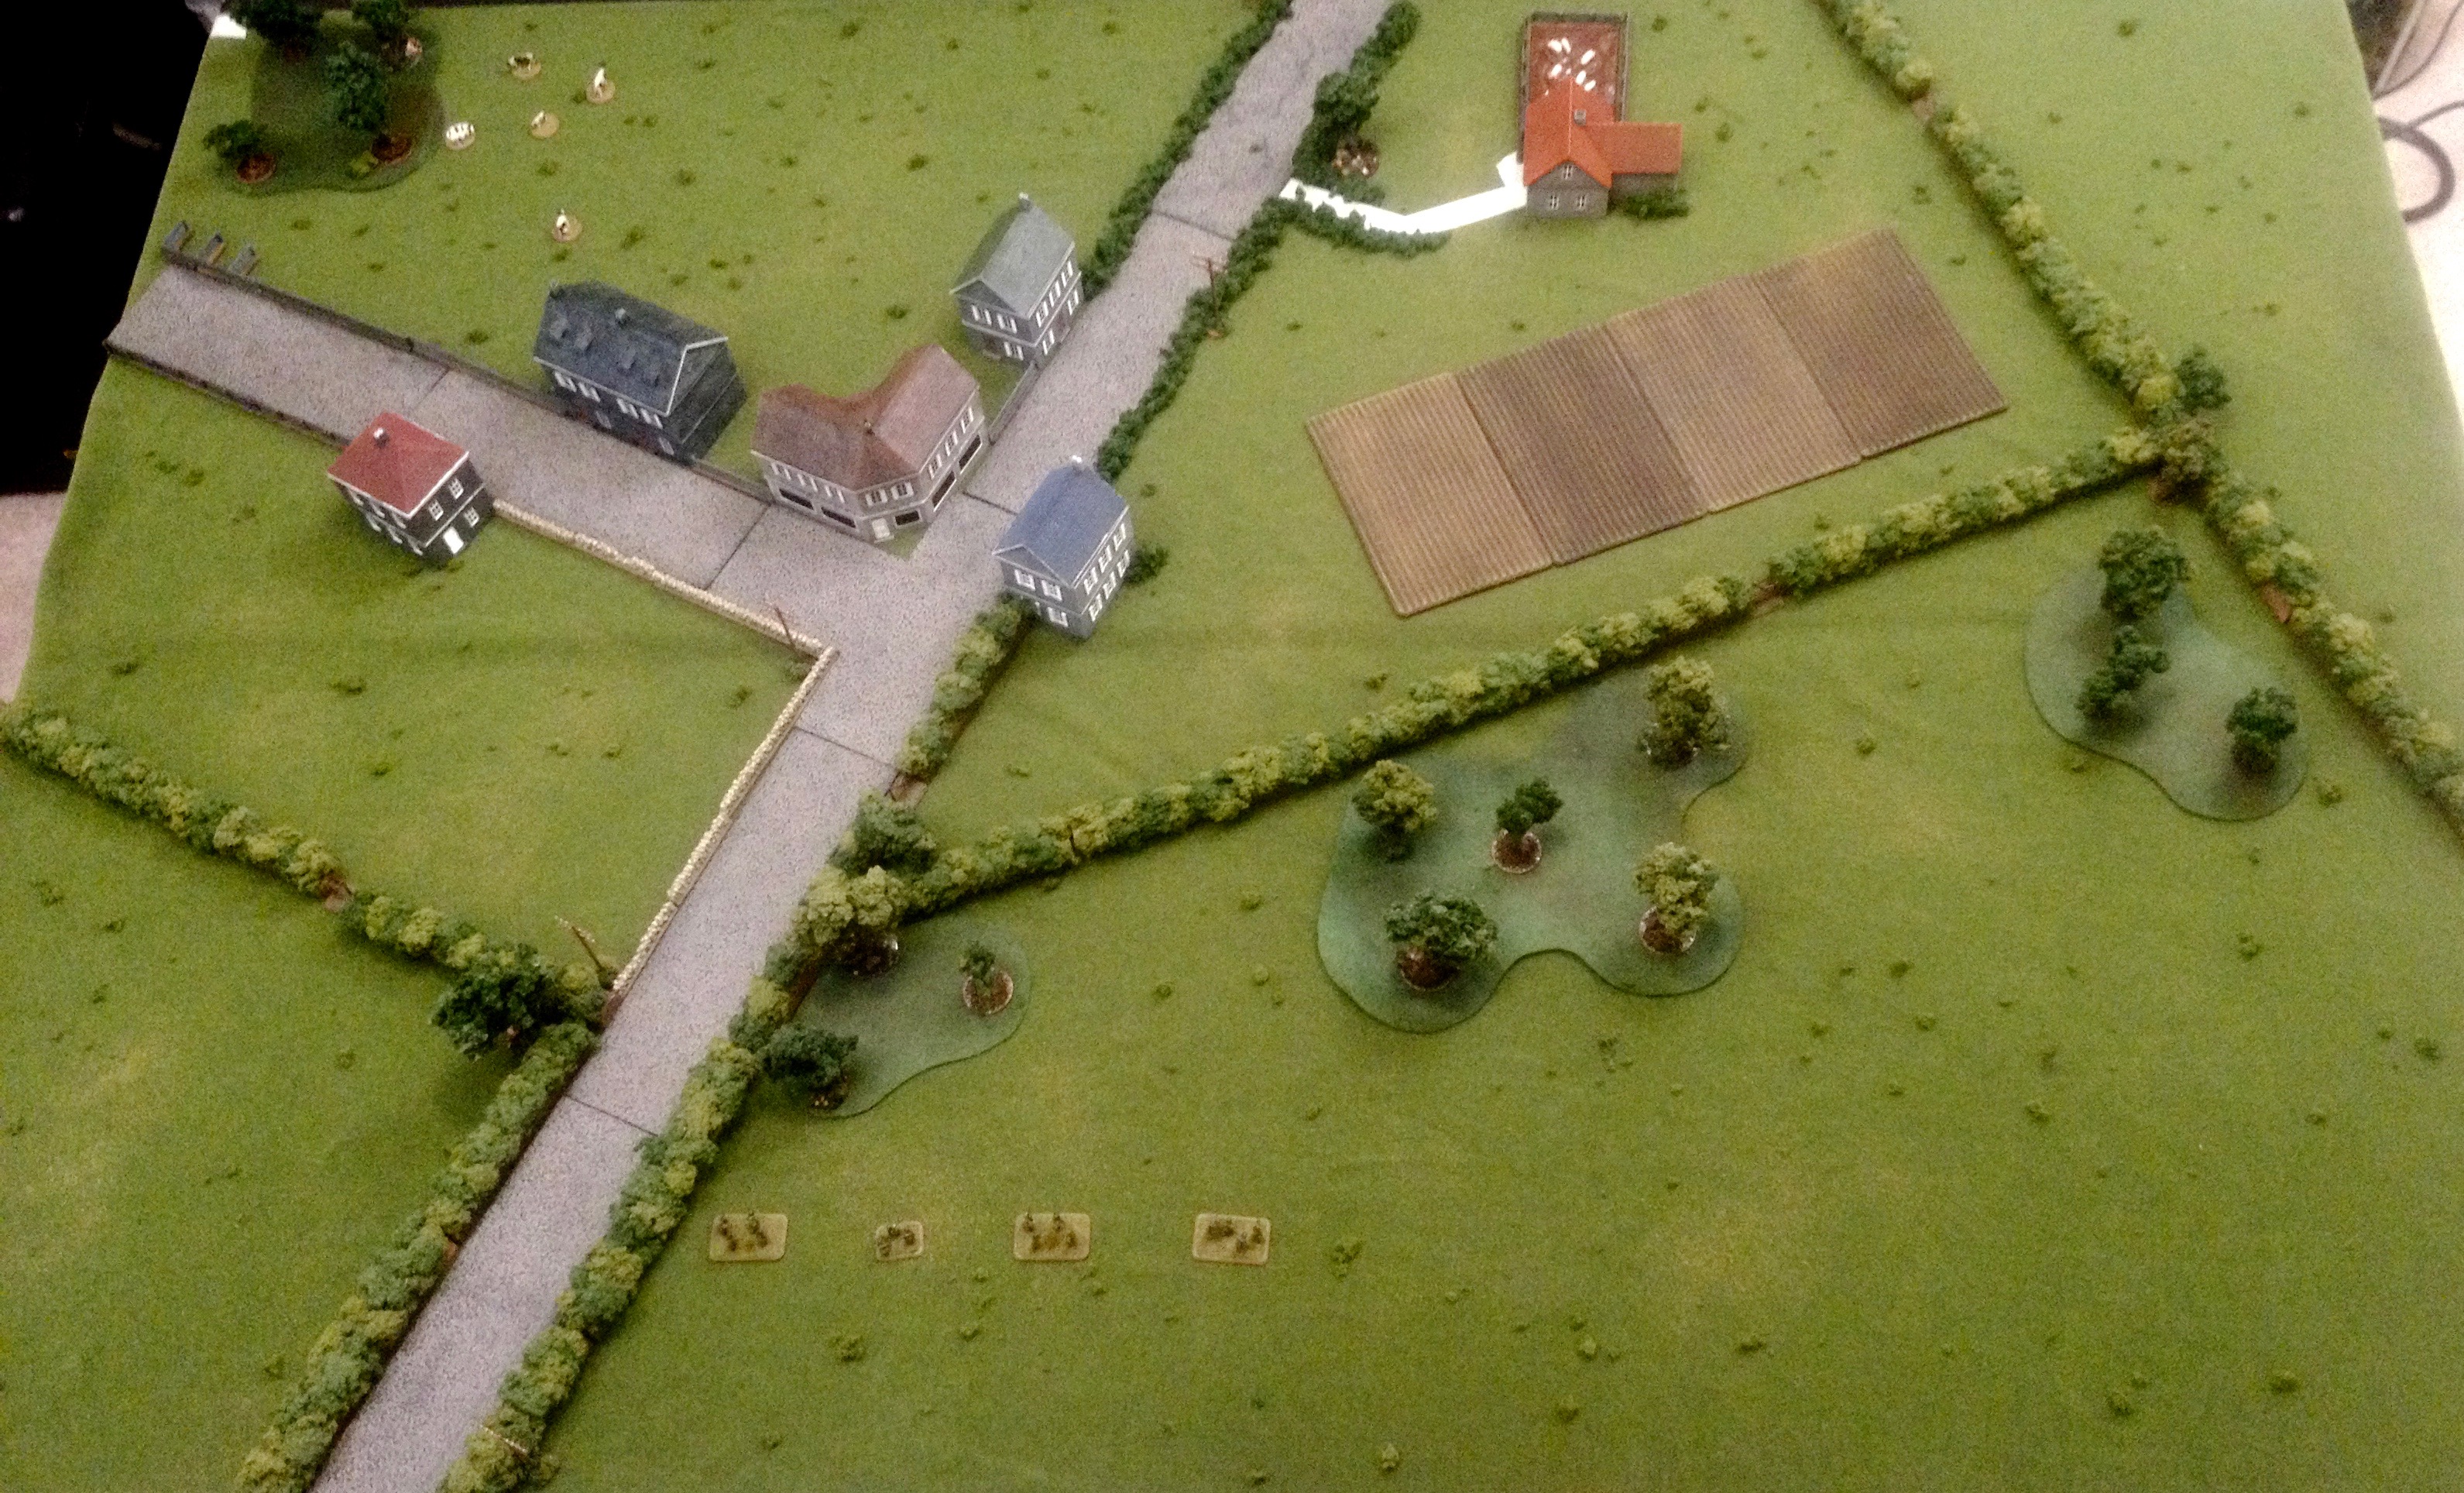
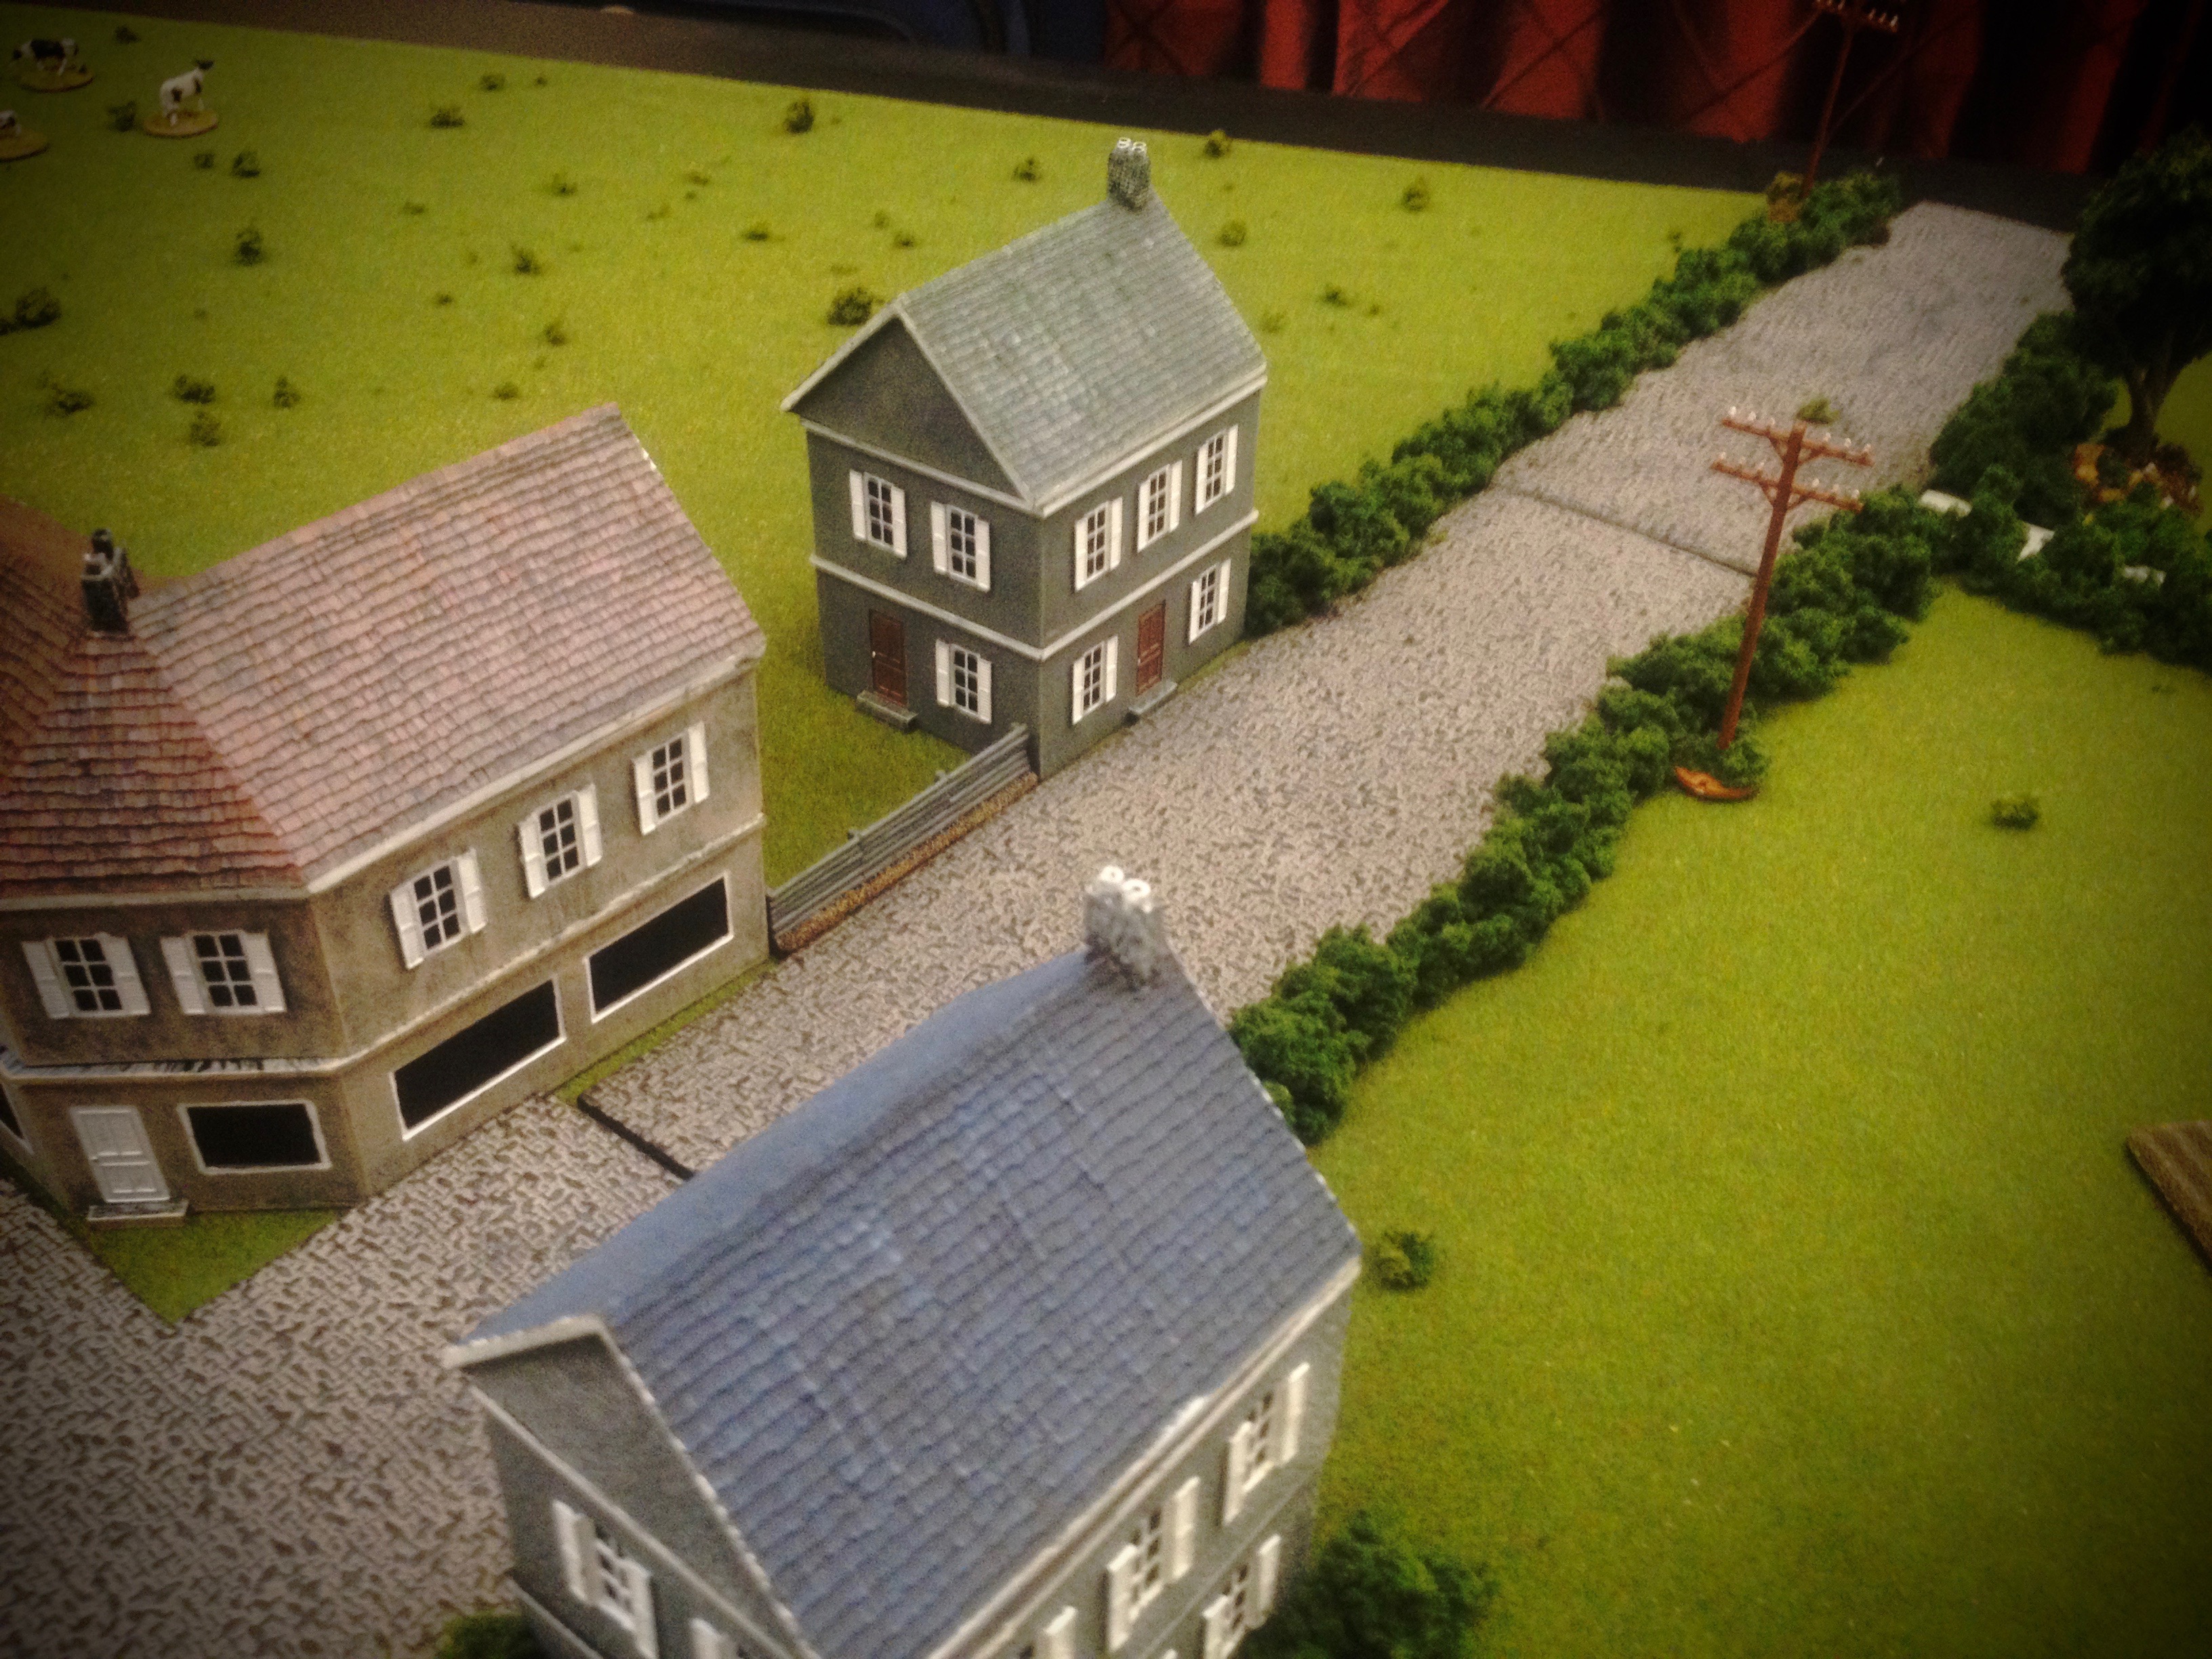
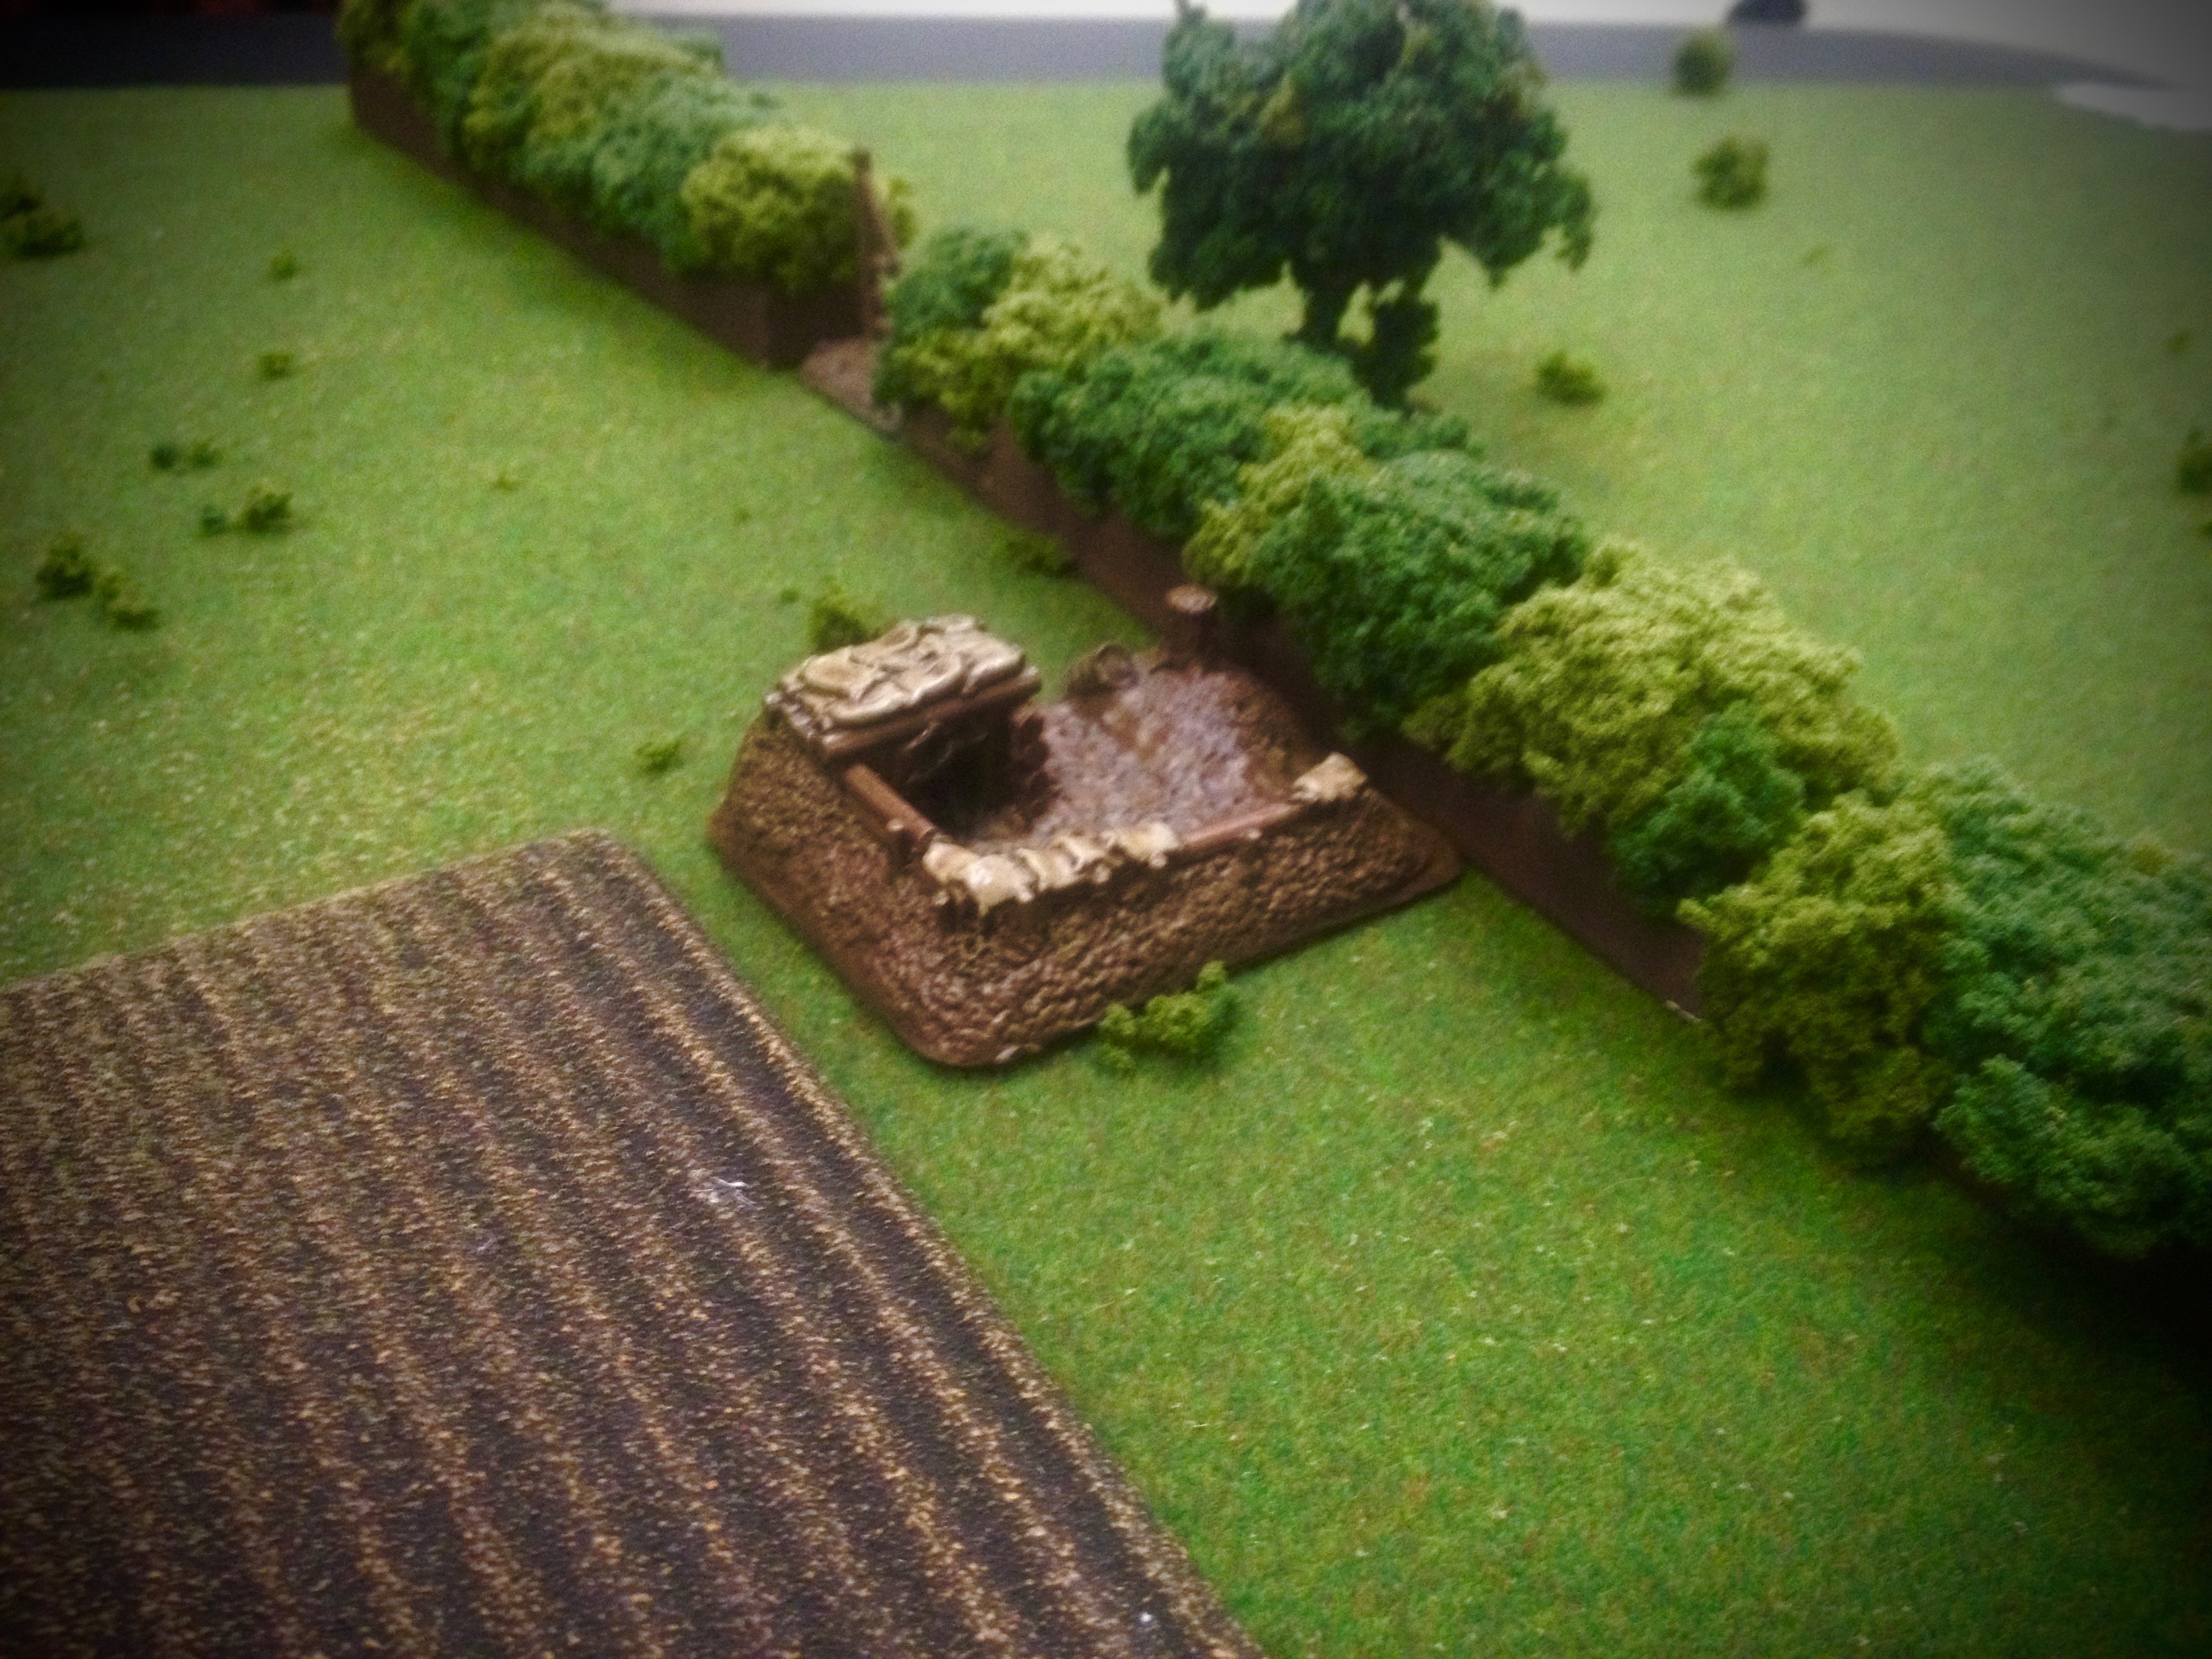
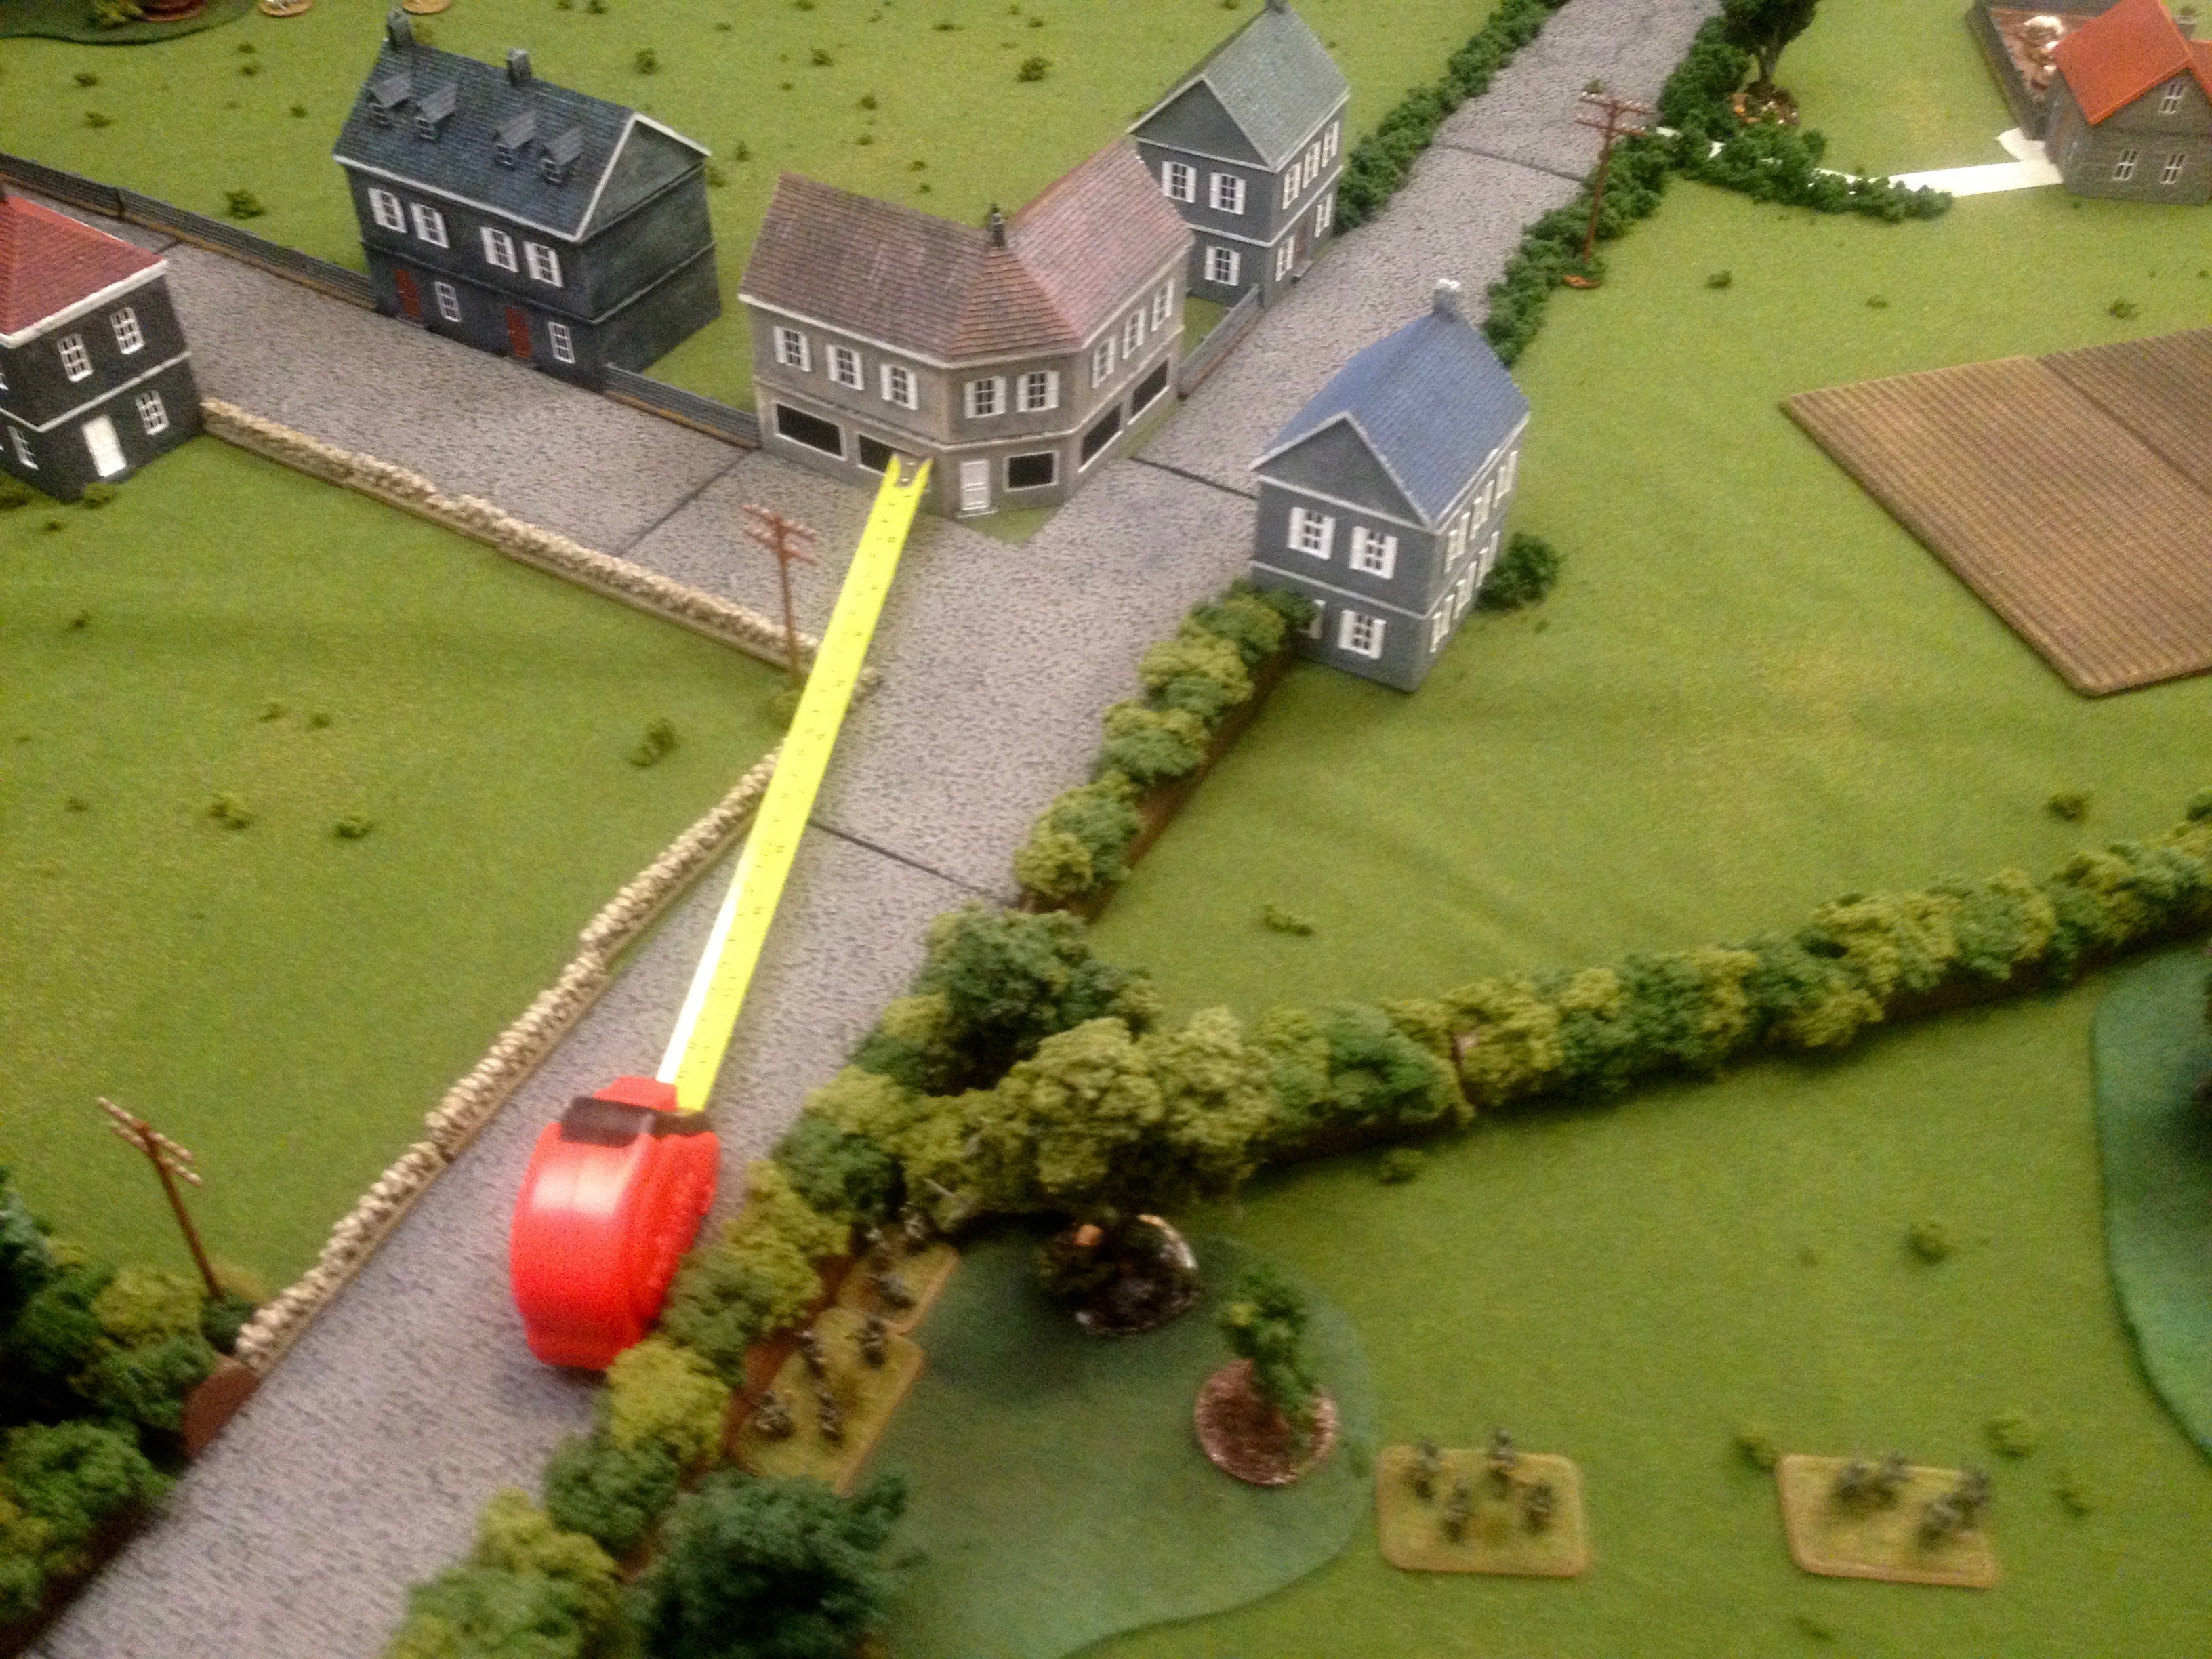
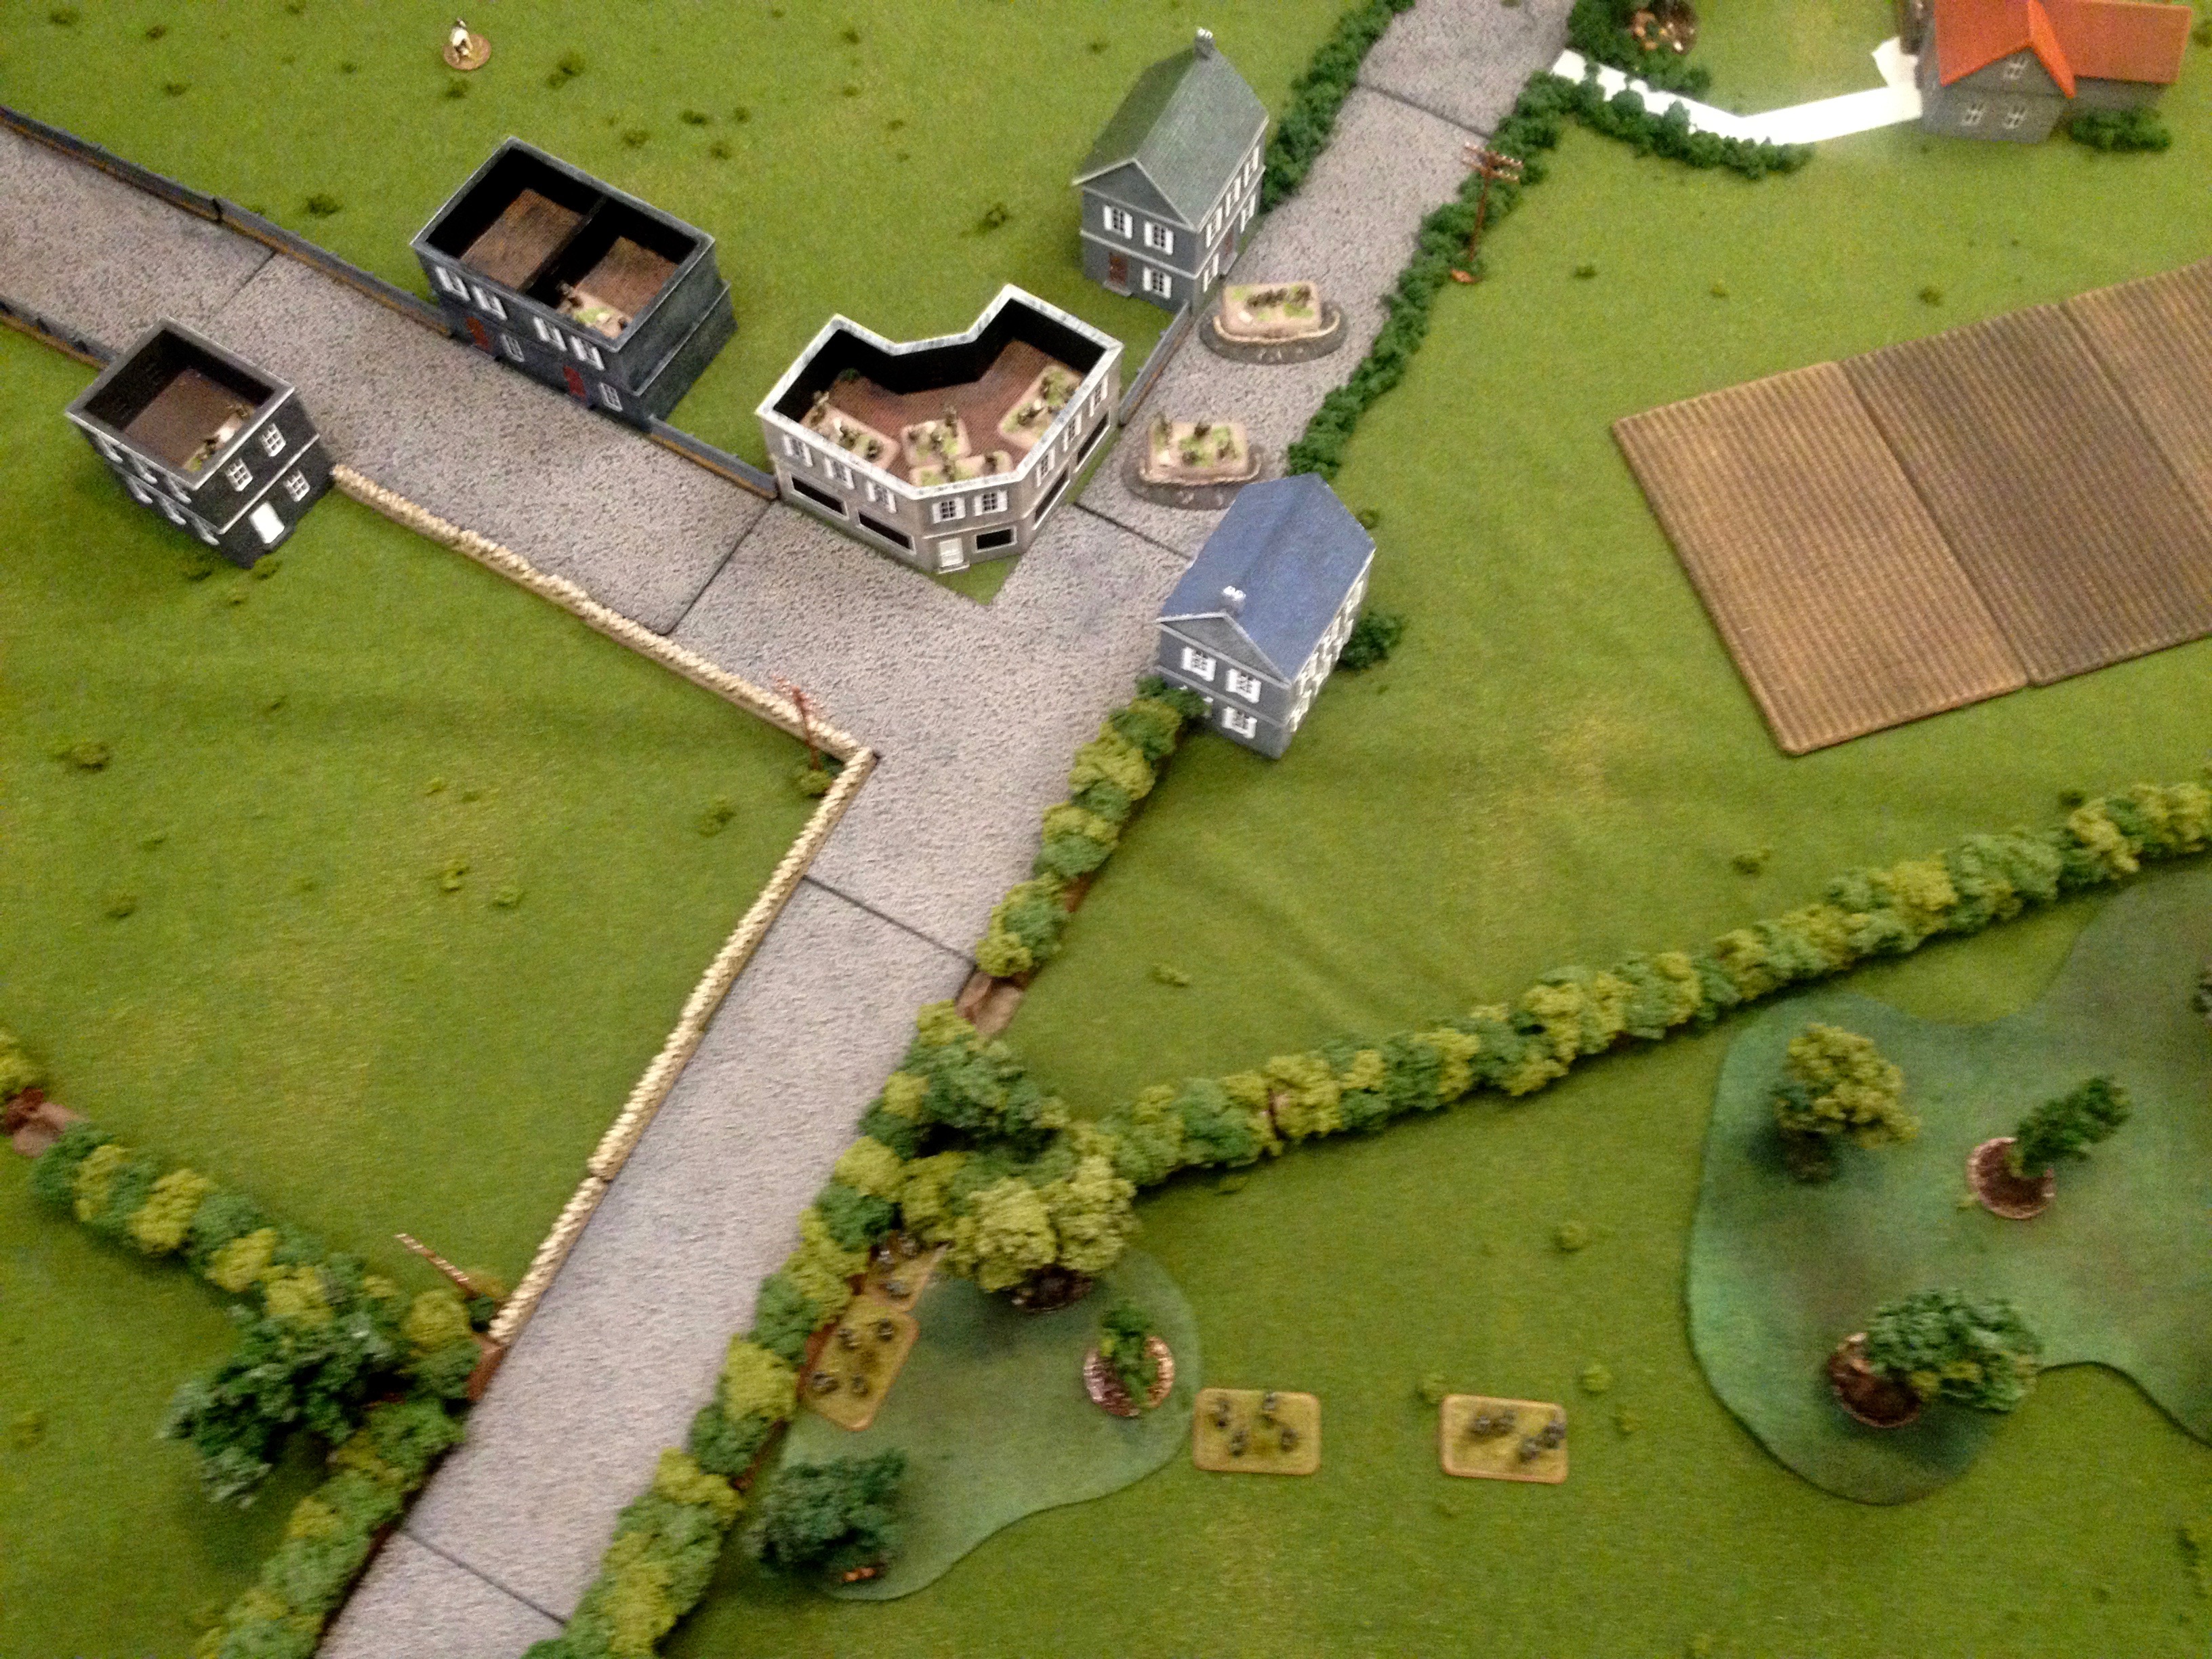
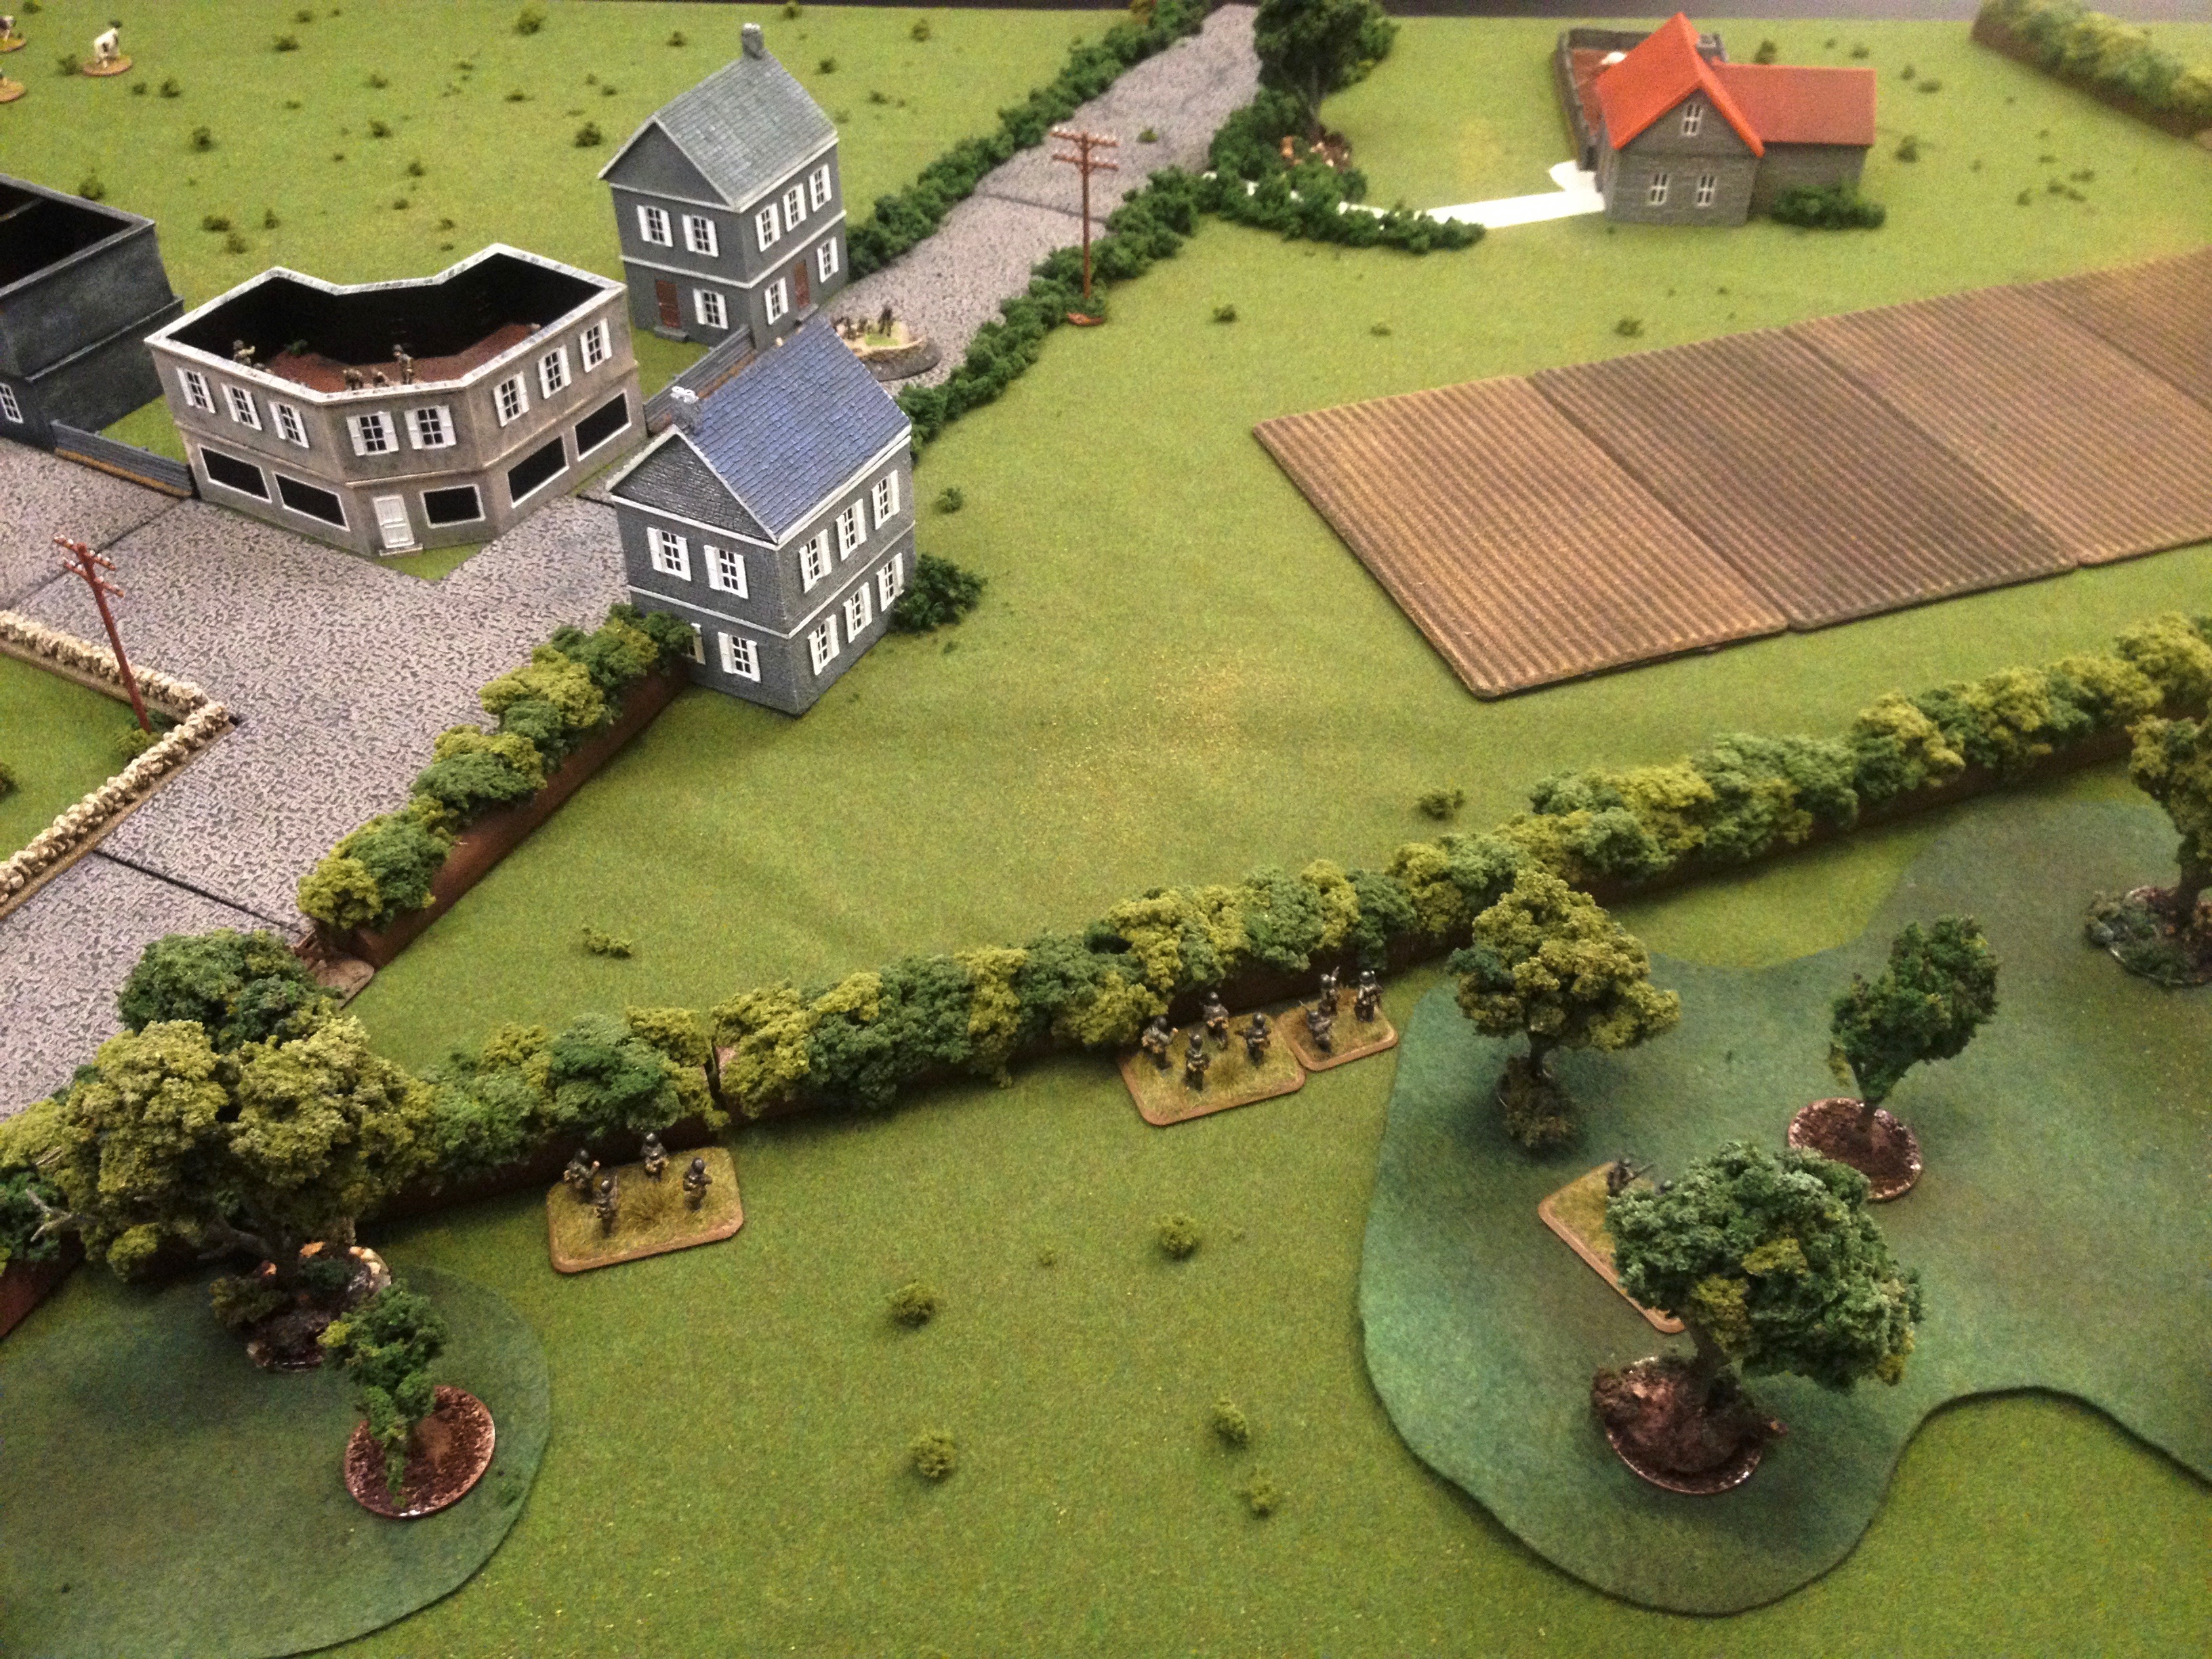
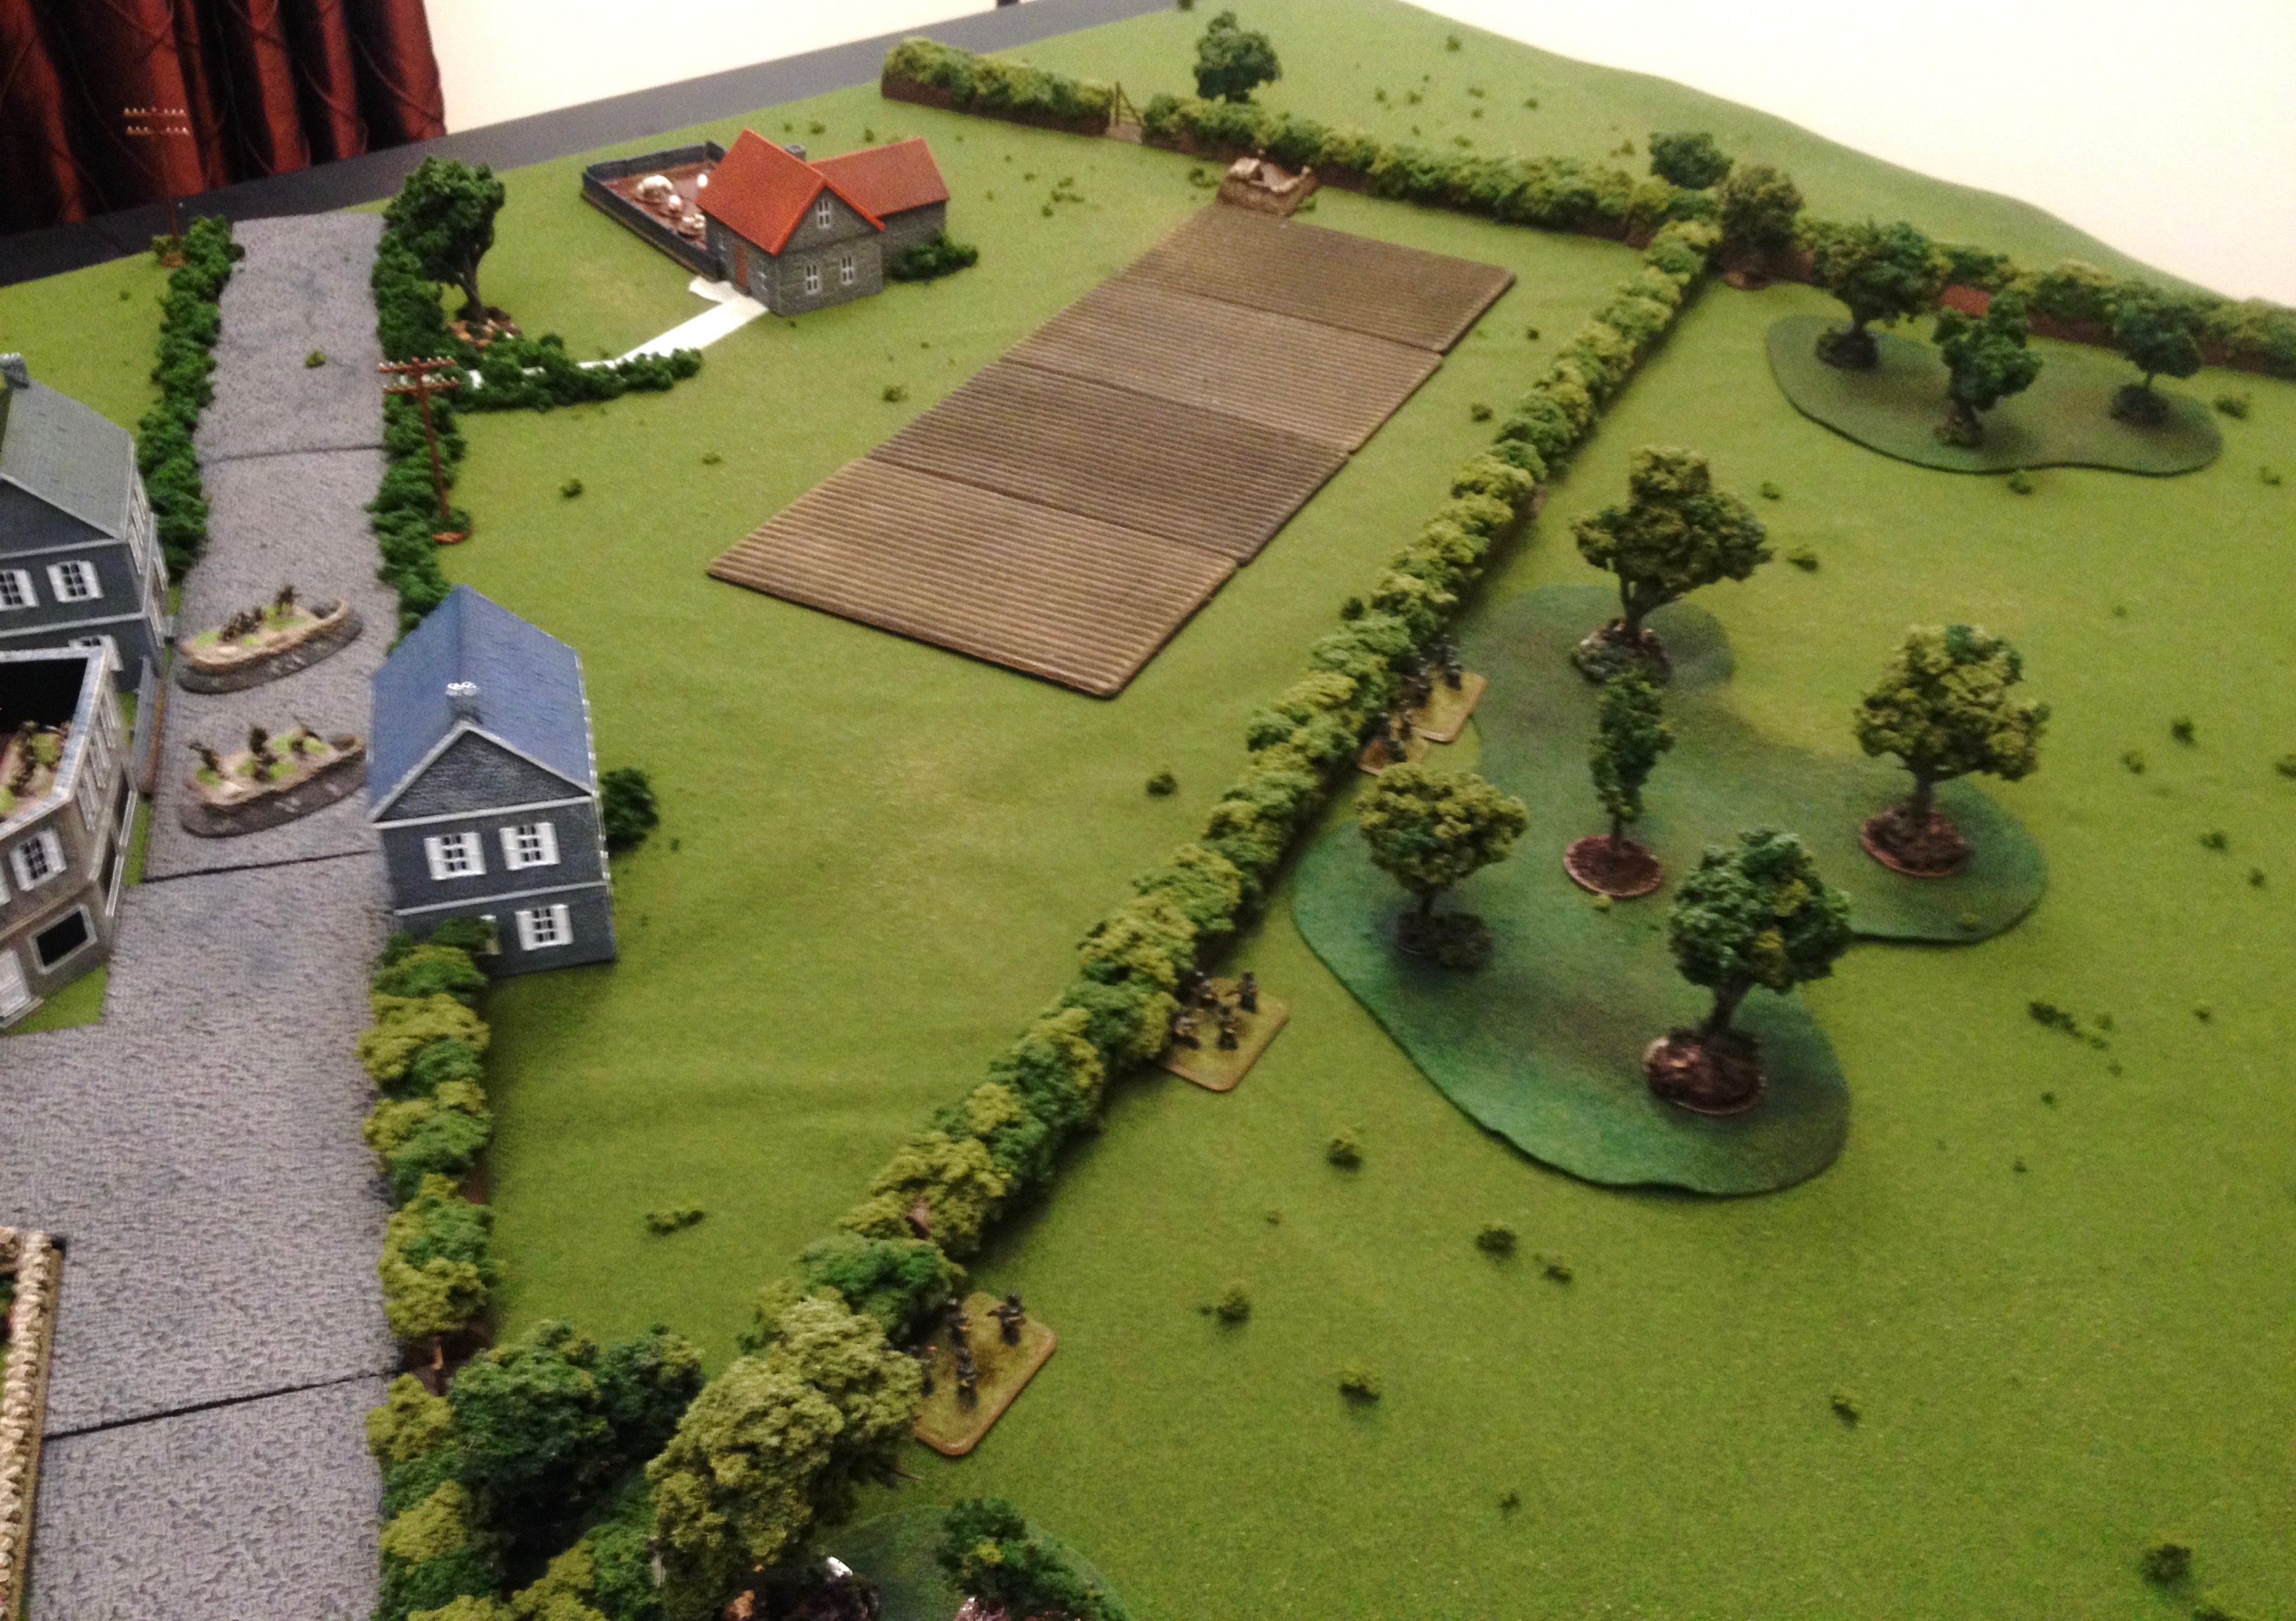
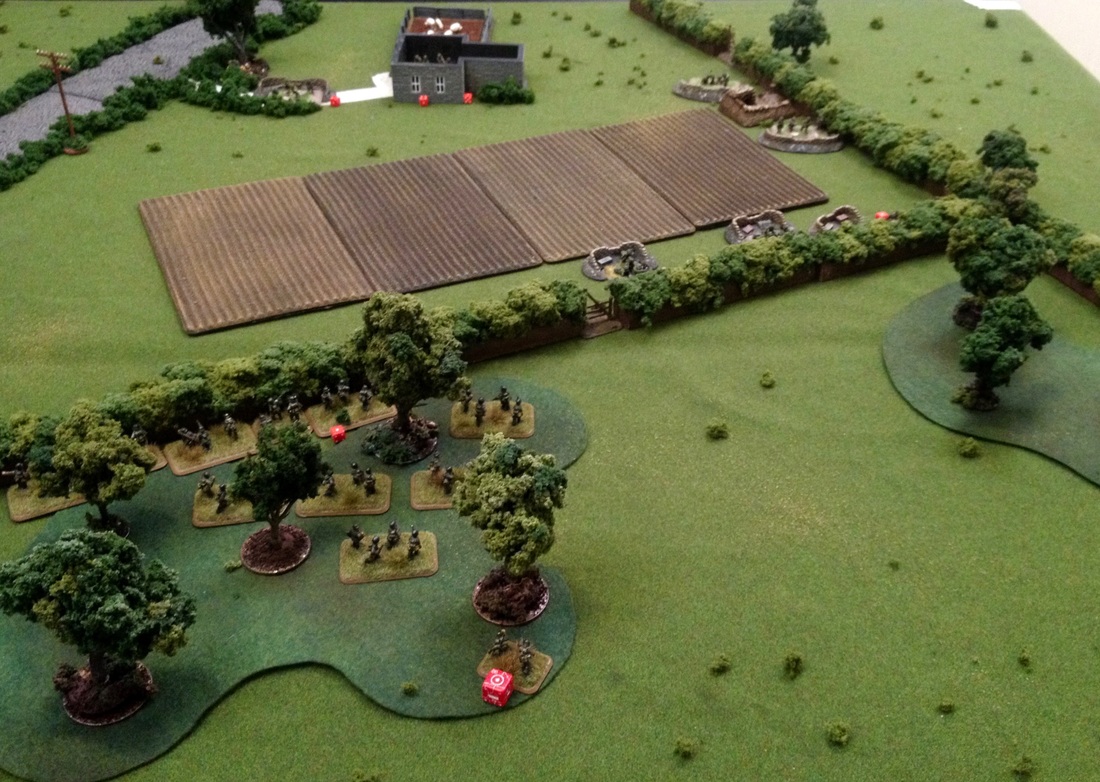
Instead of doing a picture dump and lazily try to fill in the bits of narrative my feeble brain can remember, I've decided to try and do a legit solo AAR for Hail of Fire, hopefully to allow me to offer a blow by blow account and better explain the systems. So lets get to it! Here is our battlefield:
Our German force includes six units. Offboard 10.5cm artillery with FO, Recon Infantry platoon, Two x Panzer IV platoon, and two x Grenadier platoon each with attached tripod-mounted MG.
TURN 1
Both sides roll their Order dice with Germany rolling 3 and the US rolling 1. High-roller always takes the difference of the two values, so Germany will start the game with two Order Points and the US with one.
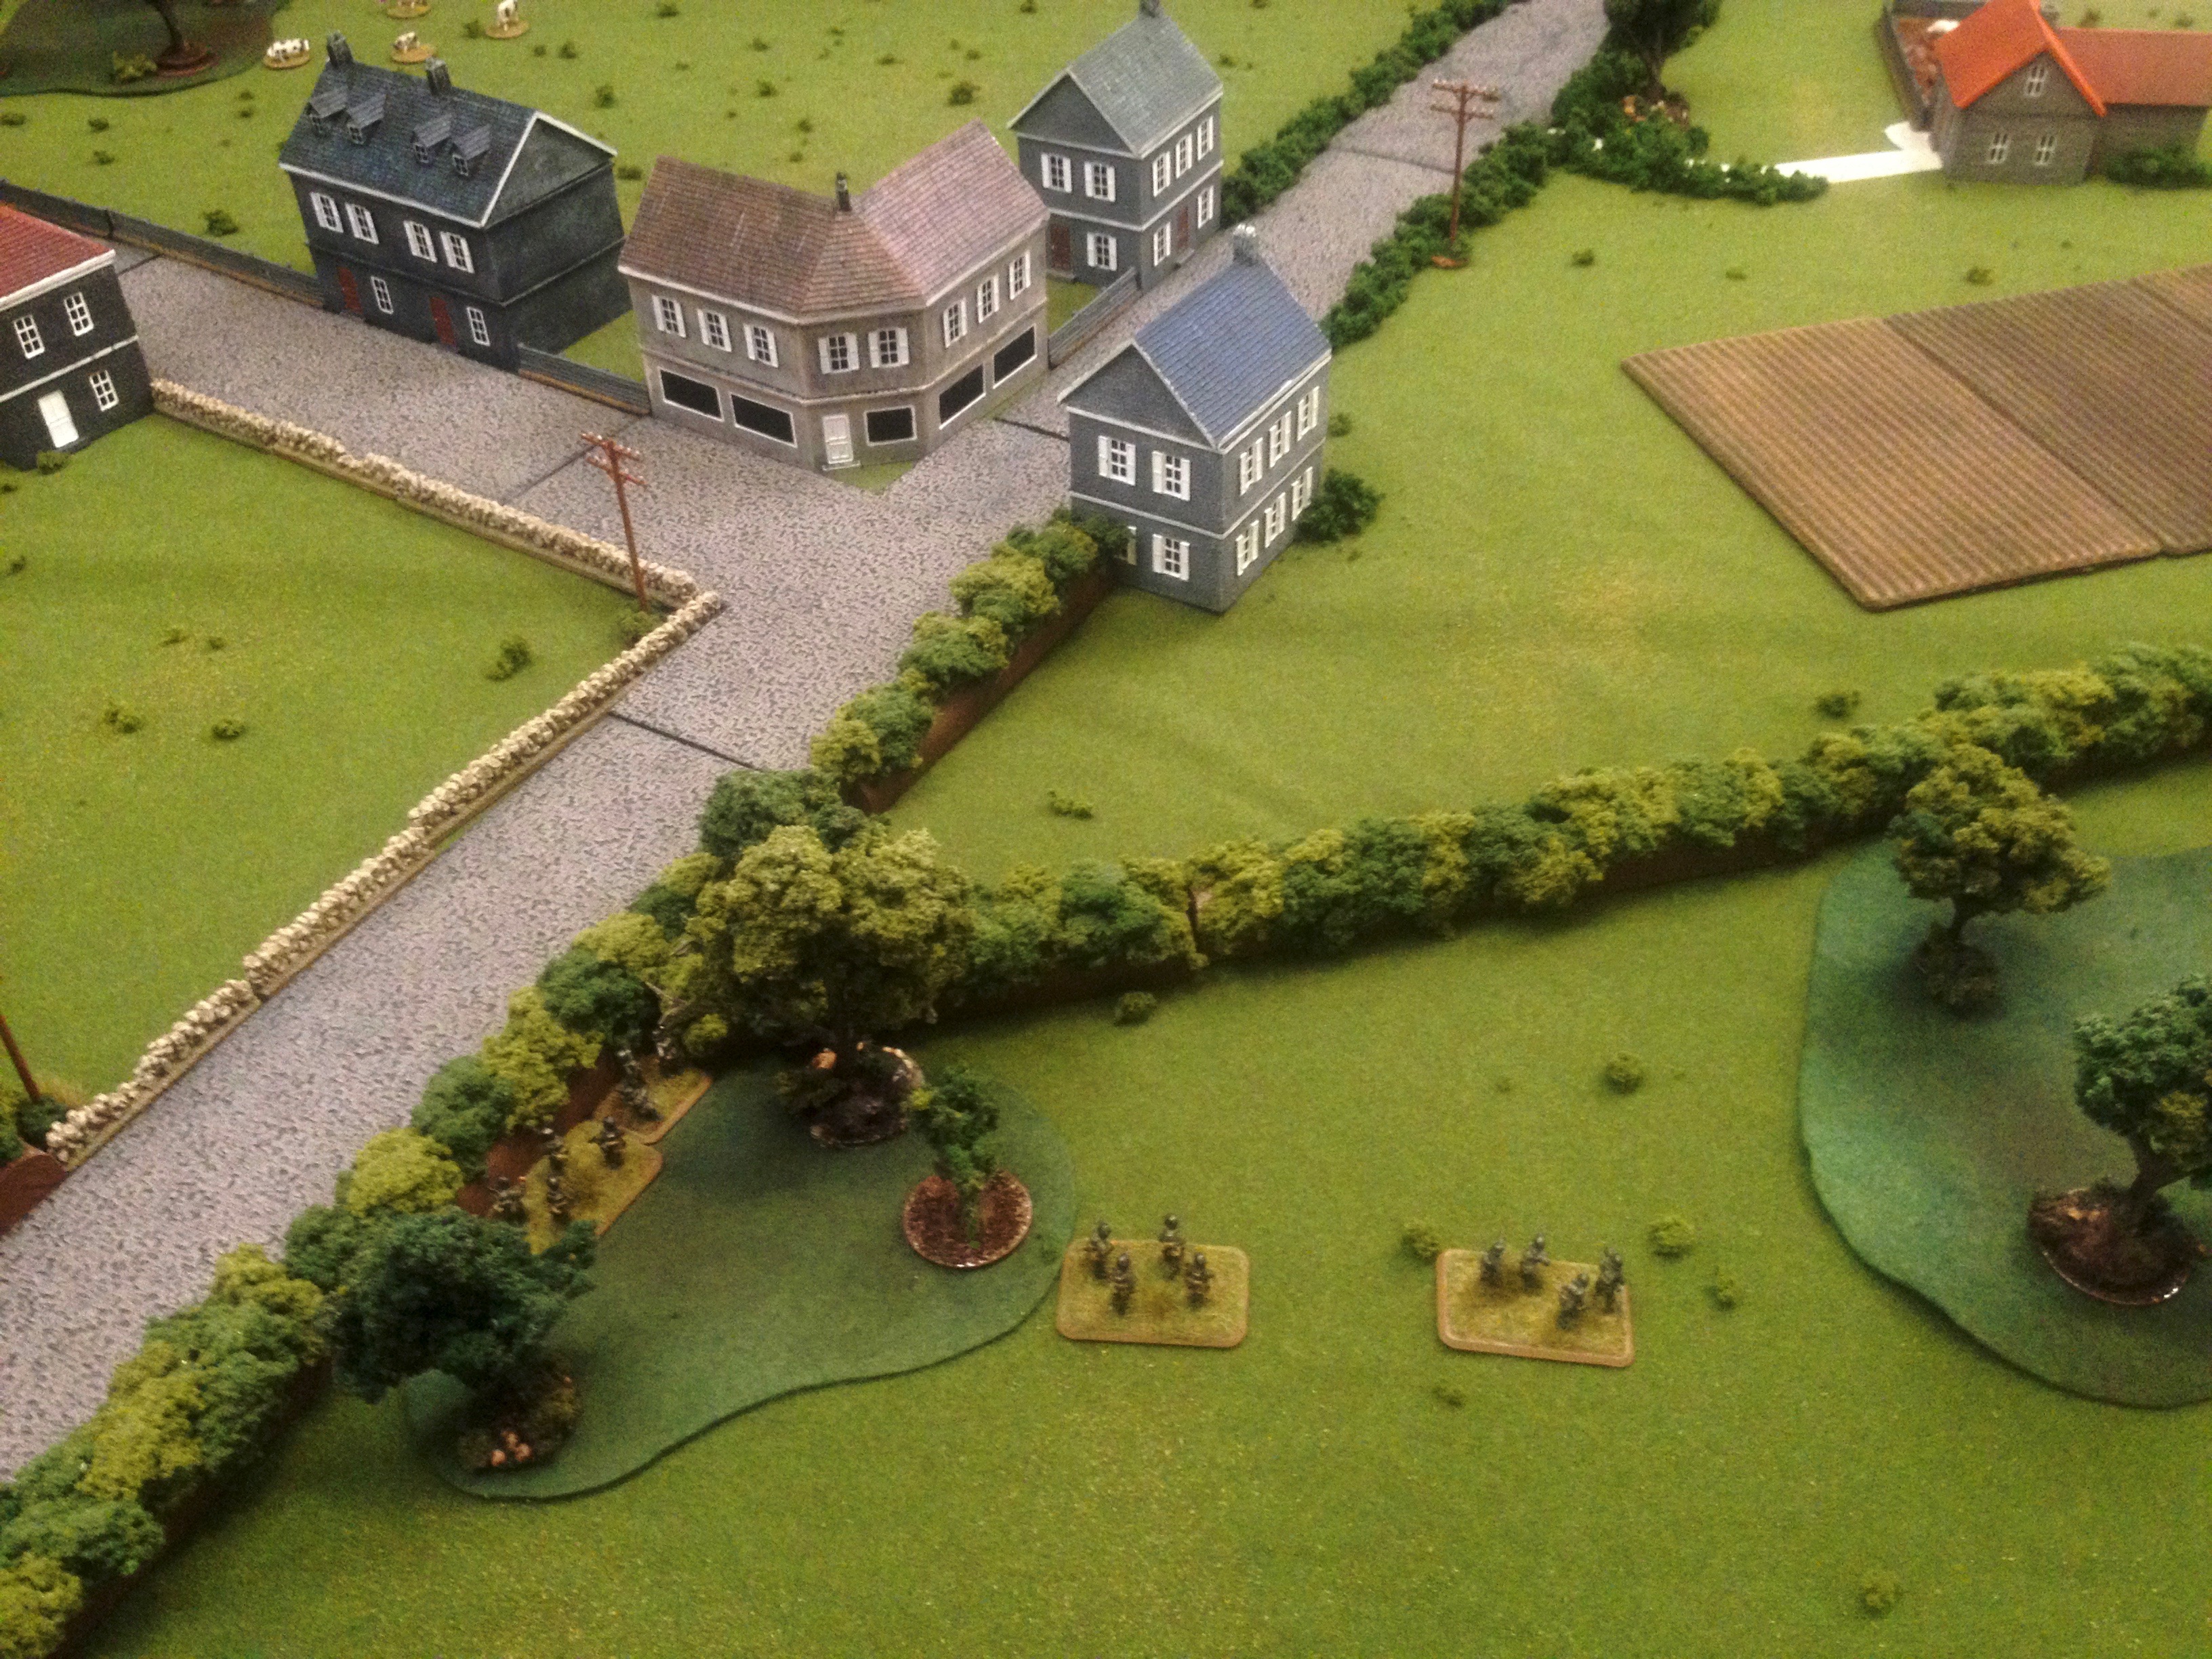
As the attacker, the Axis start first and may take as many actions as they want, until line of sight is established with the enemy, at which point Order Points must be spent. The Axis choose to start with their Recon platoon on the table, with the rest either hidden or off the board to the South (you can see the deployment of the Recon platoon in the first pic of the battlefield) . For their first order, the Axis choose to move their recce up to the hedgline, closer to the crossroads. When moving units, two dice are rolled. These teams are Infantry, so they can move up to a number of inches equal to the higher of the two dice. In this case, 6". Infantry platoon leaders move up to twice the distance rolled, and can offer a team in their unit an additional 3" of movement if they end their move in base contact with the leader, which is what happens here as the leader brings a team with him to the corner of the hedgeline.
Before Turn 2 begins, the Germans need to pull two chits from the digital chit bag, one for each objective they do not control. They pull a 0 and a 1. As the battle goes on, both sides will continue pulling chits (normally keeping the total secret from their opponent) and once their total reaches a certain limit, their force routs and the game is over. This total is 10 plus 2 for each unit in the game. As both sides have six units in this game, that means when one side has reached 34 points, the game is over and that player has lost the fight.
TURN 2
Both players now roll order dice. Axis: 5, Allies: 4. This means the Axis will have one Order Point this turn and the Allies will have four and start as the active player. They choose to roll for reserves immediately, using three of their Order Points to roll three dice. 1, 1, and 4... Nothing. They choose to save their last point for reaction and pass the initiative to the Germans.
The Axis have a powerful tool in their Recon unit, and after forcing the US to reveal one of their elite units on one side of the field, they chose to use their one order to continue to sneak 5" Northeast along the bocage and see what they can find.
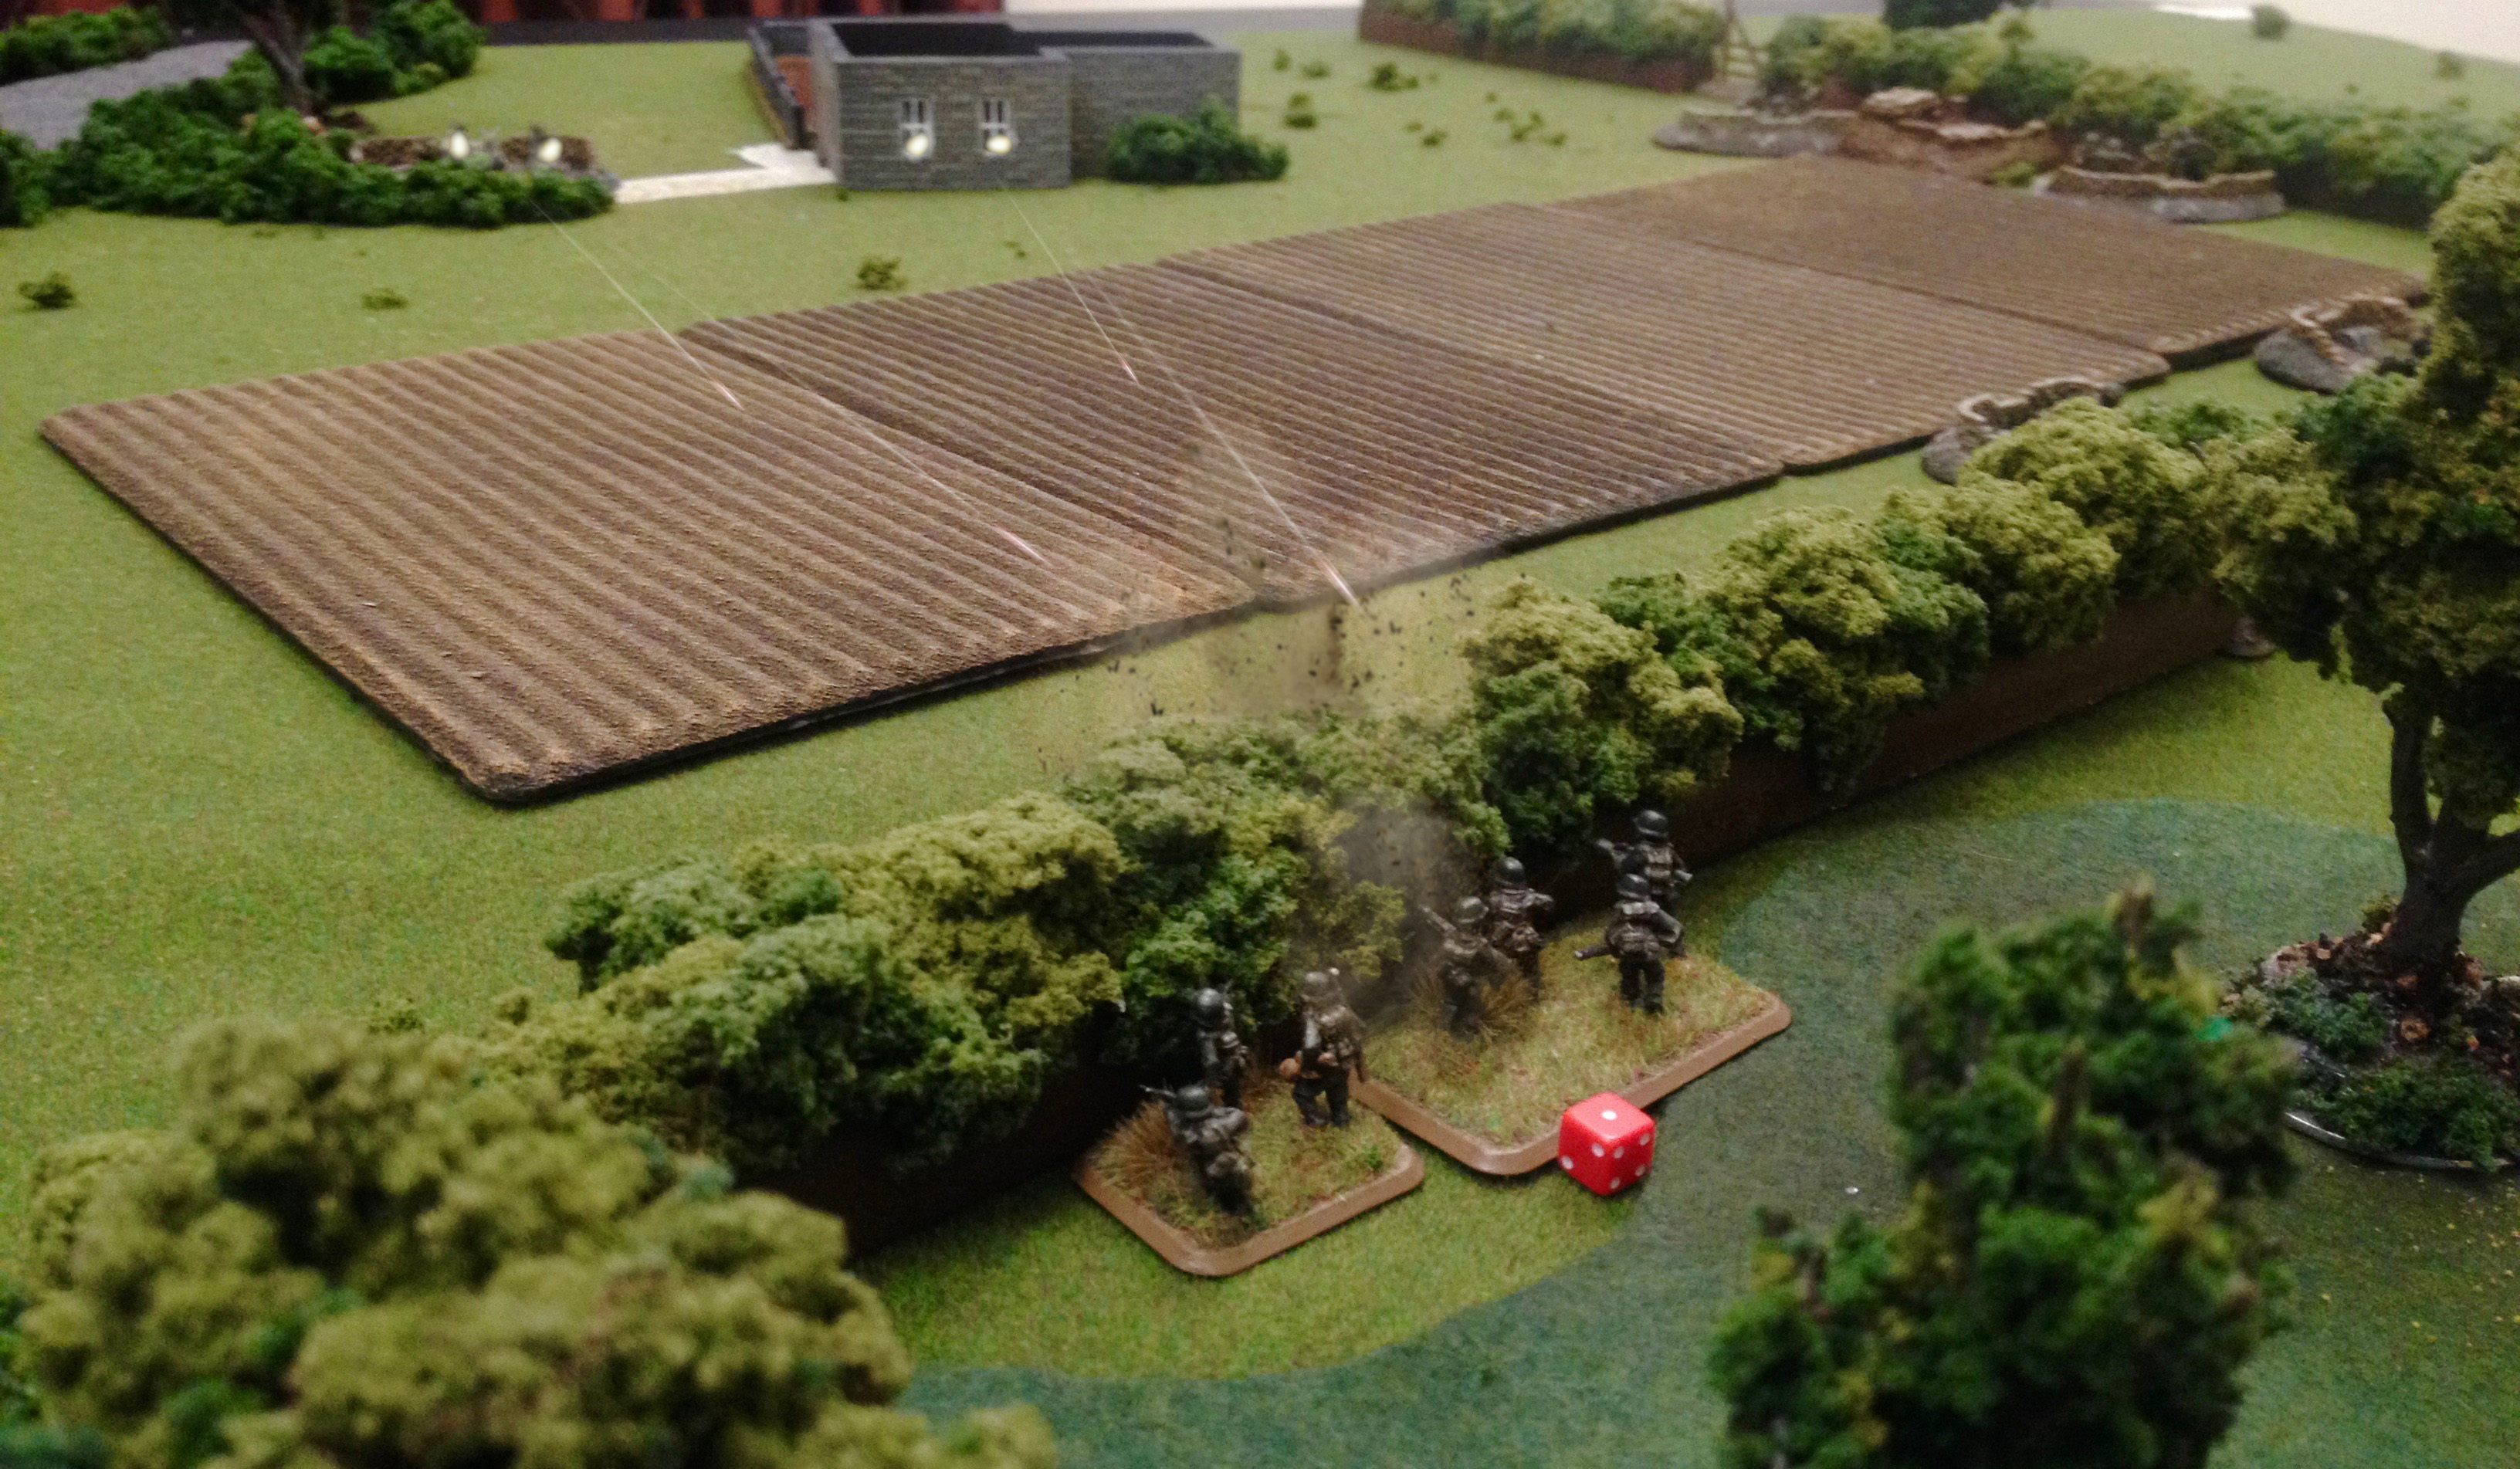
The US uses their last Order Point to opportunity fire on the just-moved Recon troops. The afformentioned bocage means many in the para unit are at too steep an angle to see the enemy troops, only allowing for the four rifle teams by the farm house to fire. As they all have line of sight to their platoon leader they may all fire together as one order, though one team would have to fire through another friendly team, and so must sit this one out. Three rifle teams mean six dice rolled. 4+ to hit enemy in the open, but the Recon troops are concealed by the bocage (5+) and are at long range for the rifles (6). They must choose an enemy team to be the target of the fire, and declare the German rifle team in contact with their leader. If more than one hit is rolled, it will be allocated out to other valid target teams within 6" of the declared team. Only one "6" is rolled and the target is marked with a single "Received Fire Point". RFPs are resolved when the team is next ordered to do something, and result in the team being either Ready, Suppressed, or Killed. This causes neither player to immediately know the effect of shooting until the team either moves or fires back.
TURN 3
Order Dice are rolled. Axis: 2 / Allies: 4. This leaves both sides with two Order Points, but the side that rolled higher will start the turn as the Active side.
The Allies main concern is getting their reserves before it's too late. They use both of their Order Points to roll two dice for reserves. 1, 3. Nothing. They pass to the Germans who reveal their first Grenadier platoon right behind the recce troops, placing the machine gun with their leader and a rifle team up on the bocage, and the rest of the platoon in the woods right behind them. Both the defender and the attacker may deploy hidden units on the field. In addition to not being near or in sight of enemy, they must also be either in their own deployment area, or further forward as long as they are revealed behind their forces most forward team on the field, as happened with these grenadiers.
They spend their first Order Point to fire on the paras at the farmhouse. The rifle team rolls two dice and needs 6's to hit, while the tripod MG rolls four dice and doesn't suffer the penalty for long range, hitting on 5's. Also the MG team has its platoon leader in contact with them, allowing them to re-roll their misses.
TURN 4
Order dice - Axis: 6 / Allies: 2 (4/2)
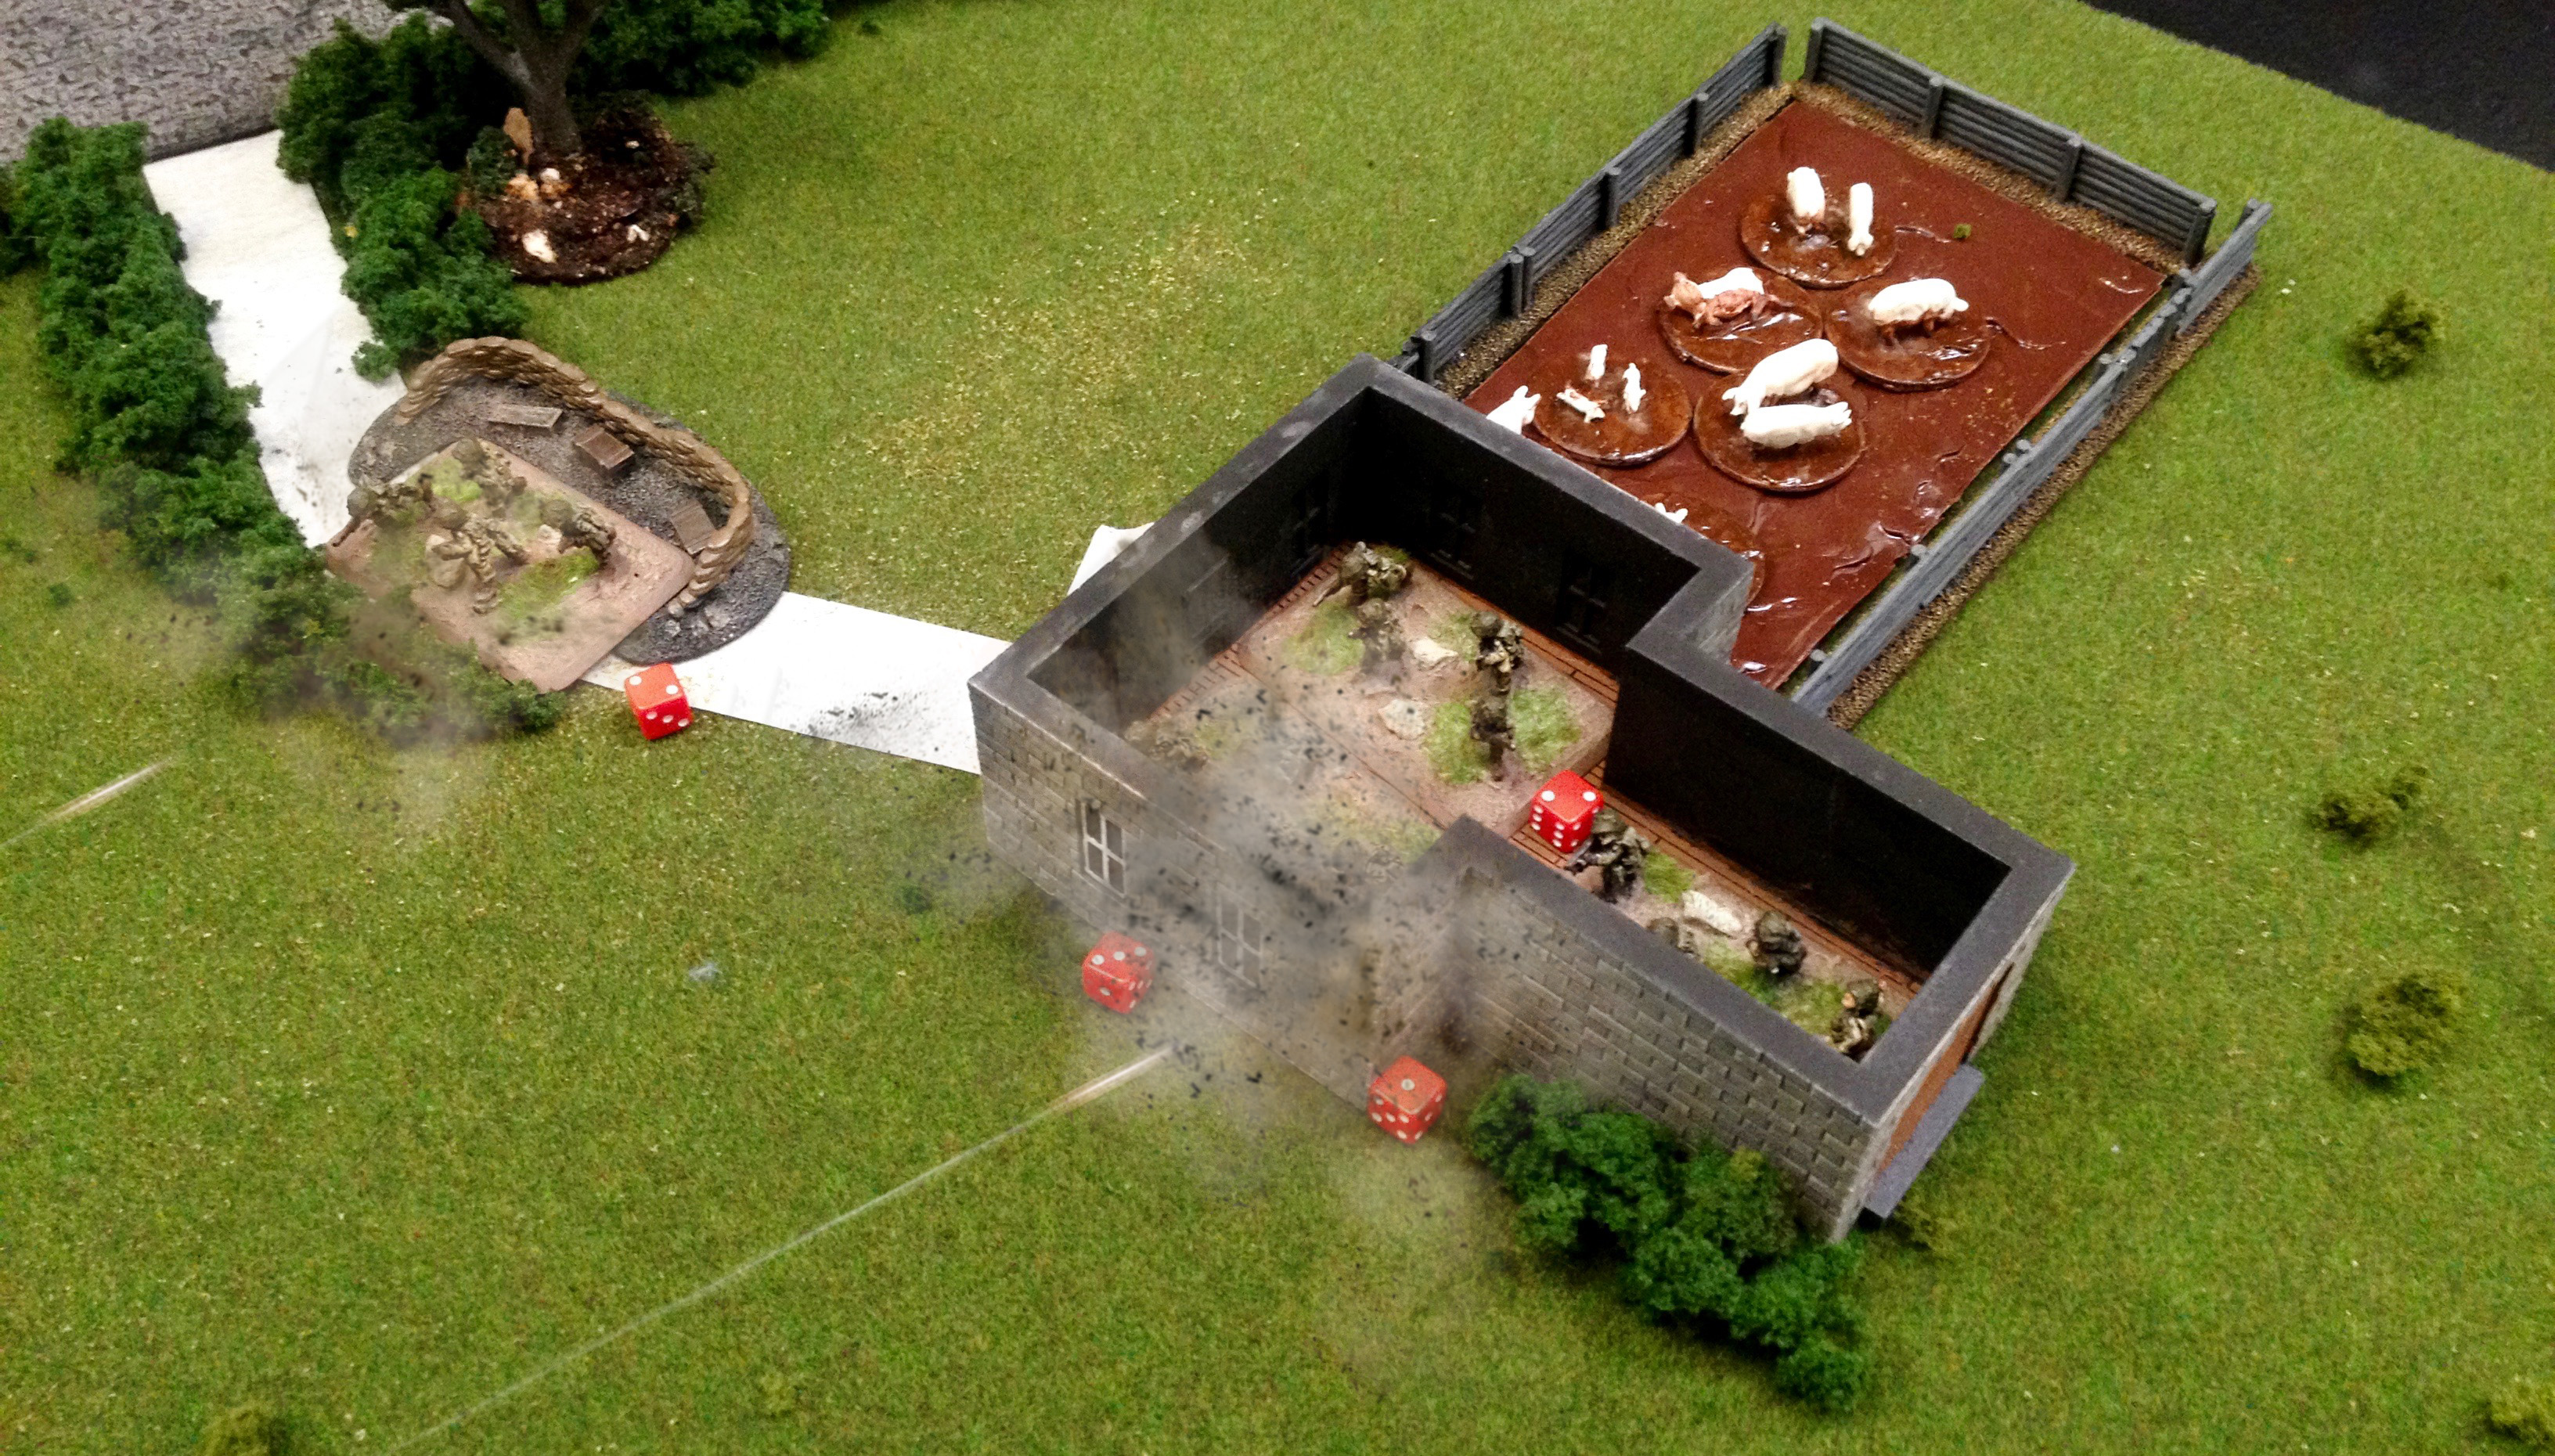
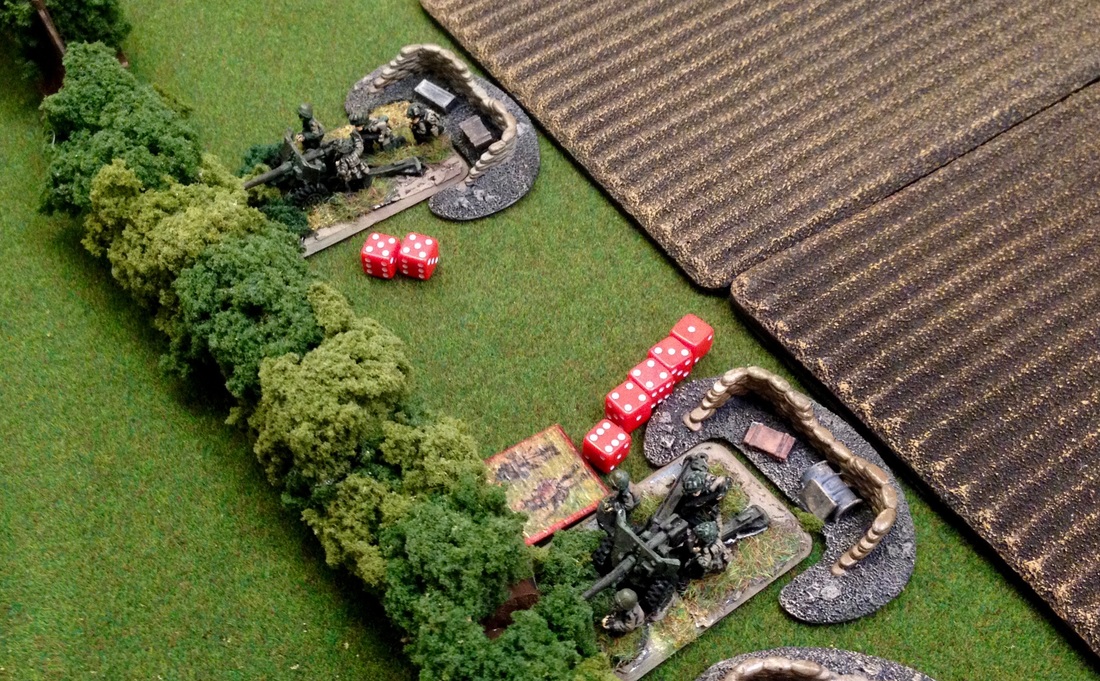
The Axis fire again on the farmhouse, scoring two hits (which is how we arrive at the eight RFPs shown in the photo above), and again, hitting once more. The PzIVs then fire their MGs at the AT guns. Eight dice, needing 6s. One hit. With their last Order Point, they reveal their artillery's Forward Observer in the woods behind the bocage, and mark it as "observing". If the FO doesn't move or fire for the remainder of the turn, a ranging round will land at the begining of the next turn.
The Allies use their last Order Point to roll one die for reserves and get a 3. Still nothing. They pass and the turn is over. The Axis pull two chits: 2,1.
Turn 5
Before Order dice are rolled, the observing FO sees where the artillery's ranging round lands.
Order dice - Axis: 3 / Allies: 3
Both sides roll the same number on their Order Dice, meaning however many Hero Points they had left, if any, go away and they roll for new points. Axis go from two points to three points, and the Allies go from one to six! Order dice are re-rolled.
Order dice - Axis: 5 / Allies: 4 (1/4)
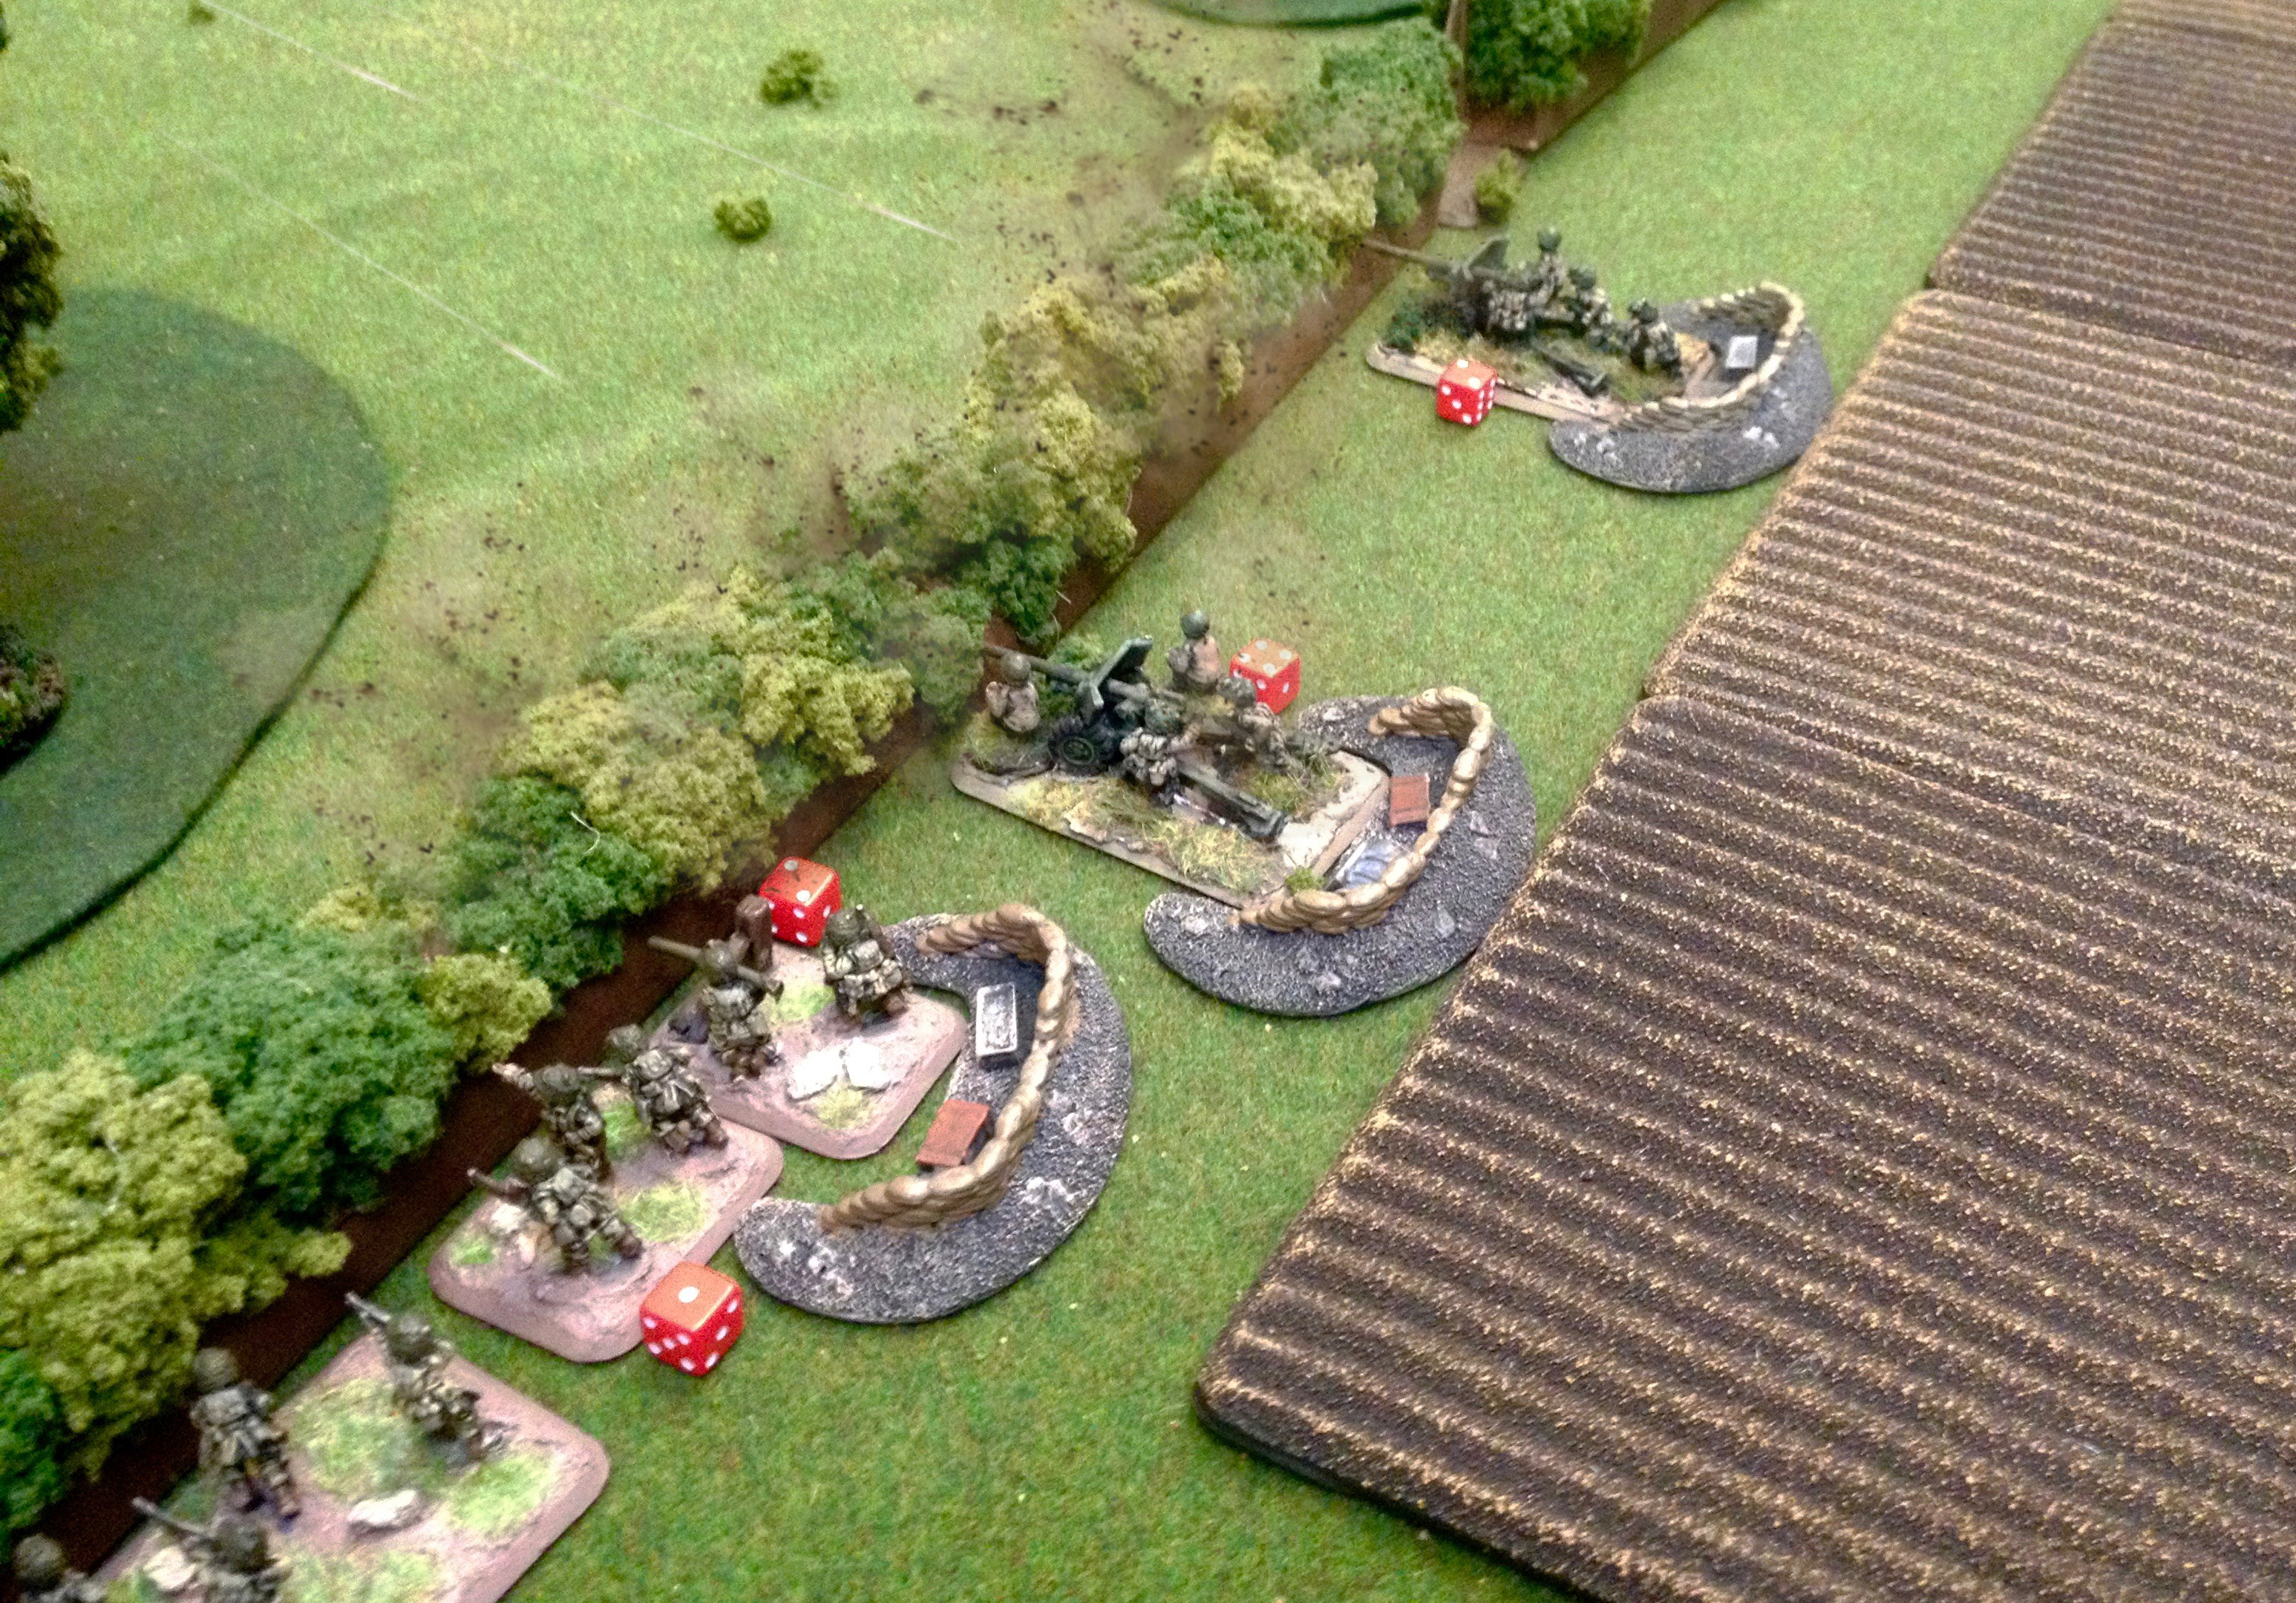
The Allies spend their first order to fire one of the AT guns at the panzers. Because I, for reasons I honestly can't remember, chose to keep the AT platoon leader hidden with the other two guns, the guns are not both in line of sight of the platoon leader and so must be given and resolve orders individually. Two dice at the target tank, in the open and in range, 4+. No hits.
Initiative is passed to the Germans, and they try to move the panzers out of the line of fire. They move 7", splitting up to go to the woods on either side of the field.
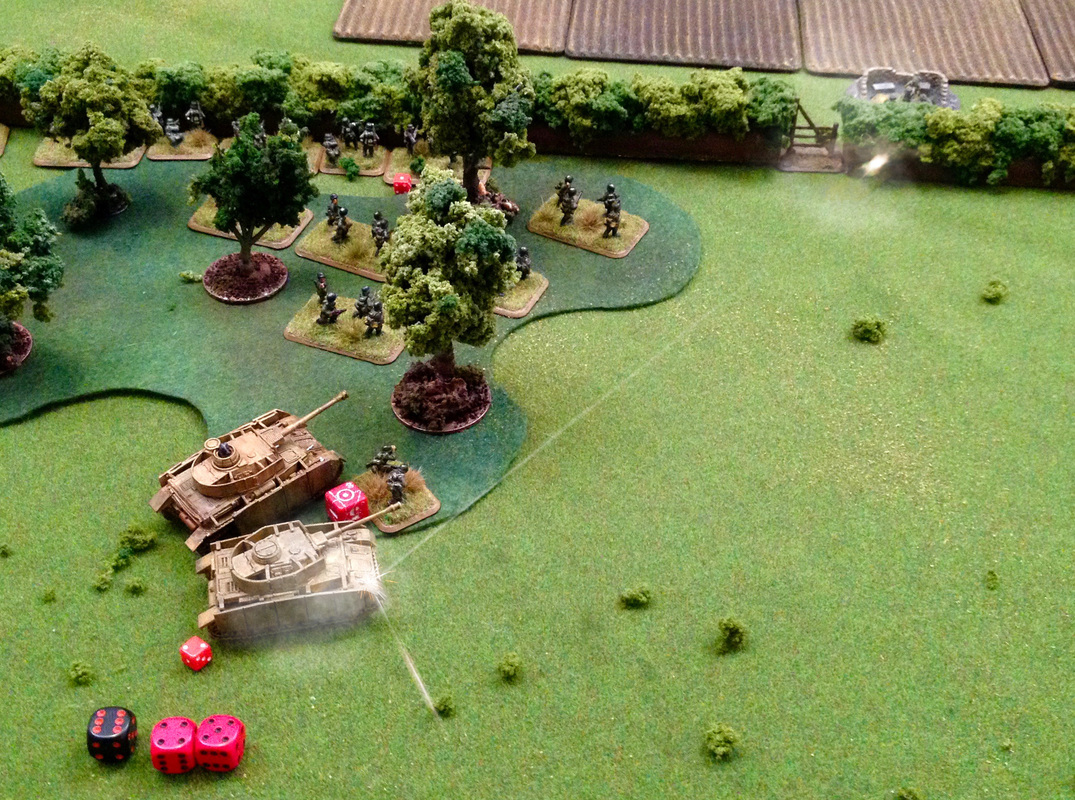
For each hit on the tank, the Allies rolls a number of dice equal to the gun's AT rating (AT:3). For each point of AT higher than the PzIV's armor rating (AR:1), a Penetration die (or Pen die) is rolled, and the rest are "Ping" dice. Ping dice cause an RFP on a 6, while Pen dice cause RFPs on a 4 and 5, and destroy the vehicle immediately on a 6. The allies roll two Pen dice and one Ping die, resulting in two RFPs on the hit PzIV. (I must have knocked one of the red Pen dice when I moved them for the picture, as the rolls shown would have resulted in three RFPs rather than the two I wrote down in the notes...)







 RSS Feed